

As we are officially in the fall season (and it's actually starting to look/feel like it), I've decided to compile a list of the cutest and easiest fall DIY projects.
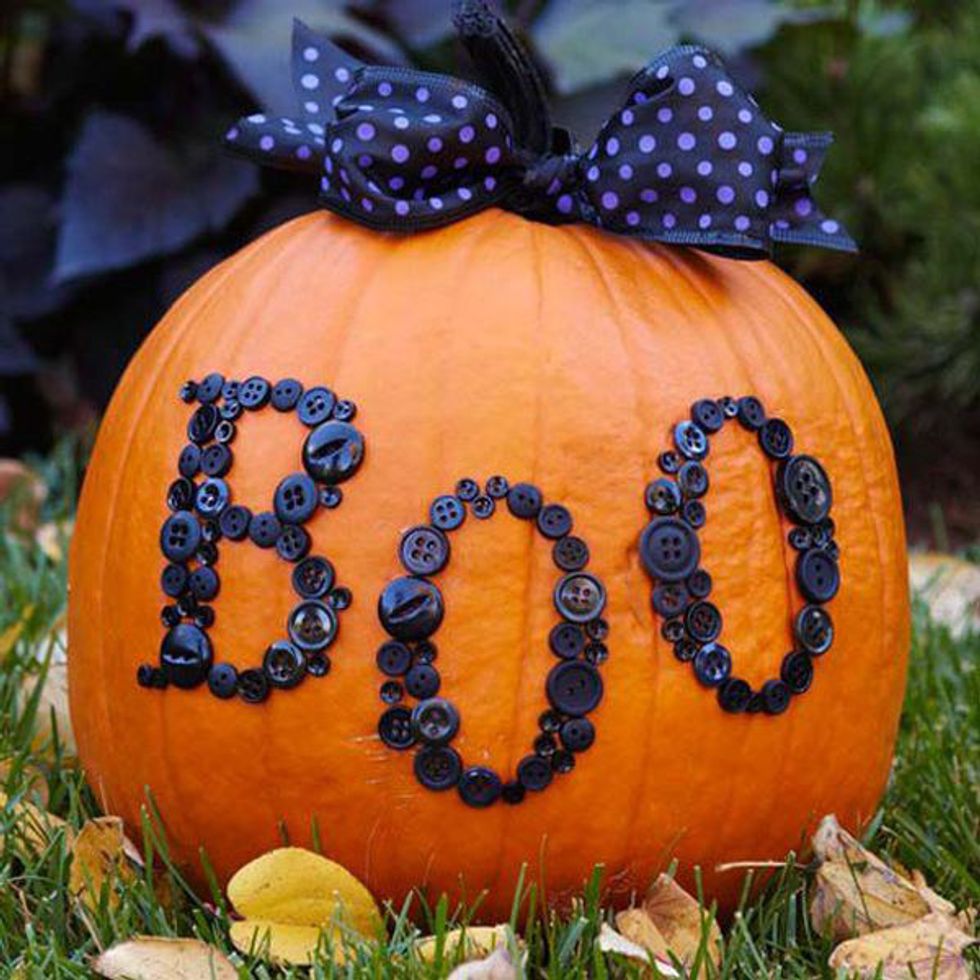
1. Obviously, pumpkin decorations.
Items needed:
a pumpkin of choice
anything you want to decorate with
Pumpkin decorating is one of the most fun activities of the fall season. Pumpkins are little spheres of endless possibilities. You can just paint them pretty autumnal colors or carve a specific design into them. Pumpkins are also usually cheap (at least under $10) at pumpkin patches and depending on the type of craft being used (buttons, paint, etc.), they can be inexpensive as well. Pinterest has so many cute ideas, so if you're planning on pumpkin decorating, I suggest checking the website out!
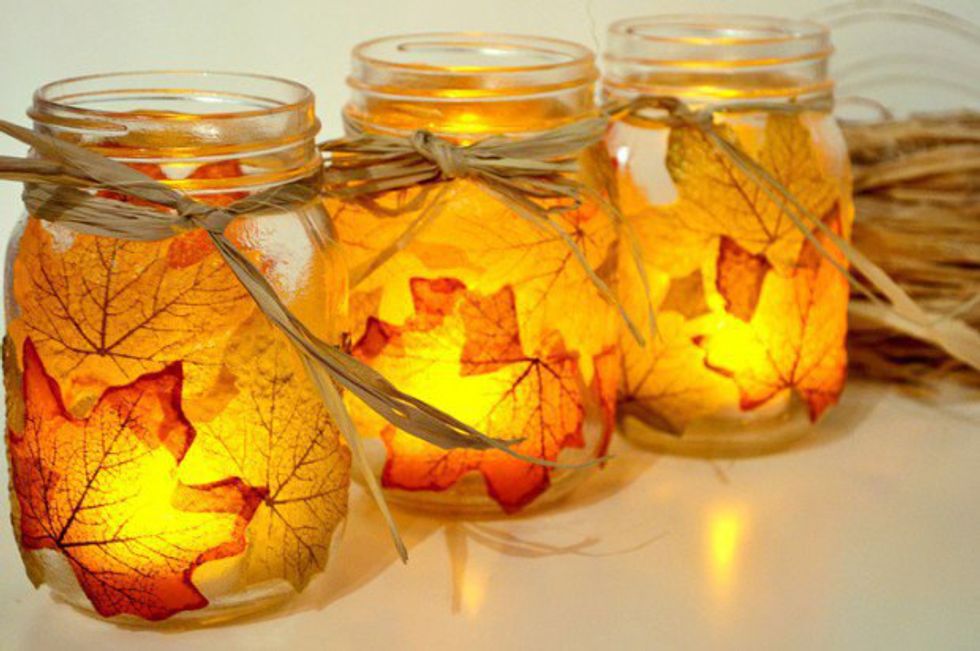
2. A Leaf Jar
Items needed:
leaves (fake or natural, whatever you prefer)
mod podge
sponge brush
a mason jar
This is real simple. All you do is paint the leaf with the mod podge and then stick the leaf to the inside of the jar. These jars make really pretty fall decorations, and if you want to try and be advanced, you can even stick a candle in the jar to give leaves a glowing effect.
3. ALL THE TREATS
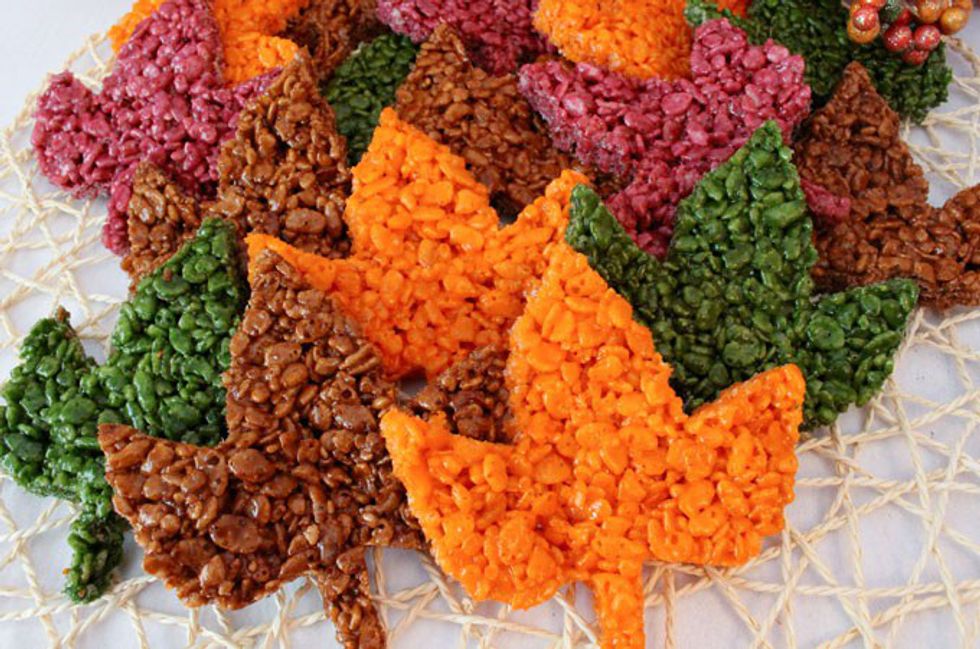
Oh, boy. There are so many fall treats to make! Once again, Pinterest has many, many different recipes. For the recipe of this treat, click here.
4. Autumn Dining Set
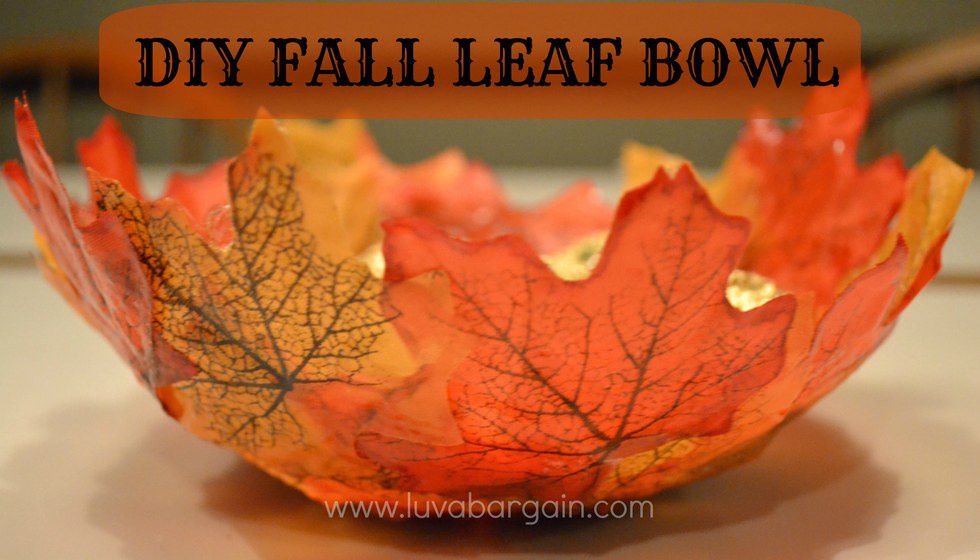
The best way to get into the seasonal mood? A leaf bowl to hold your treats.
Items needed:
leaves (once again, real or fake)
A balloon
mod podge
sponge brush
All you'll need to do is blow a balloon up to the size of the bowl that you would like. Next, apply the mod podge to the balloon and stick the leaves to the area. Make sure to apply more mod podge to each leaf as you go, as it'll help hold the leaf in place. For a more in-depth tutorial, click here.
5. Candy Corn Artwork
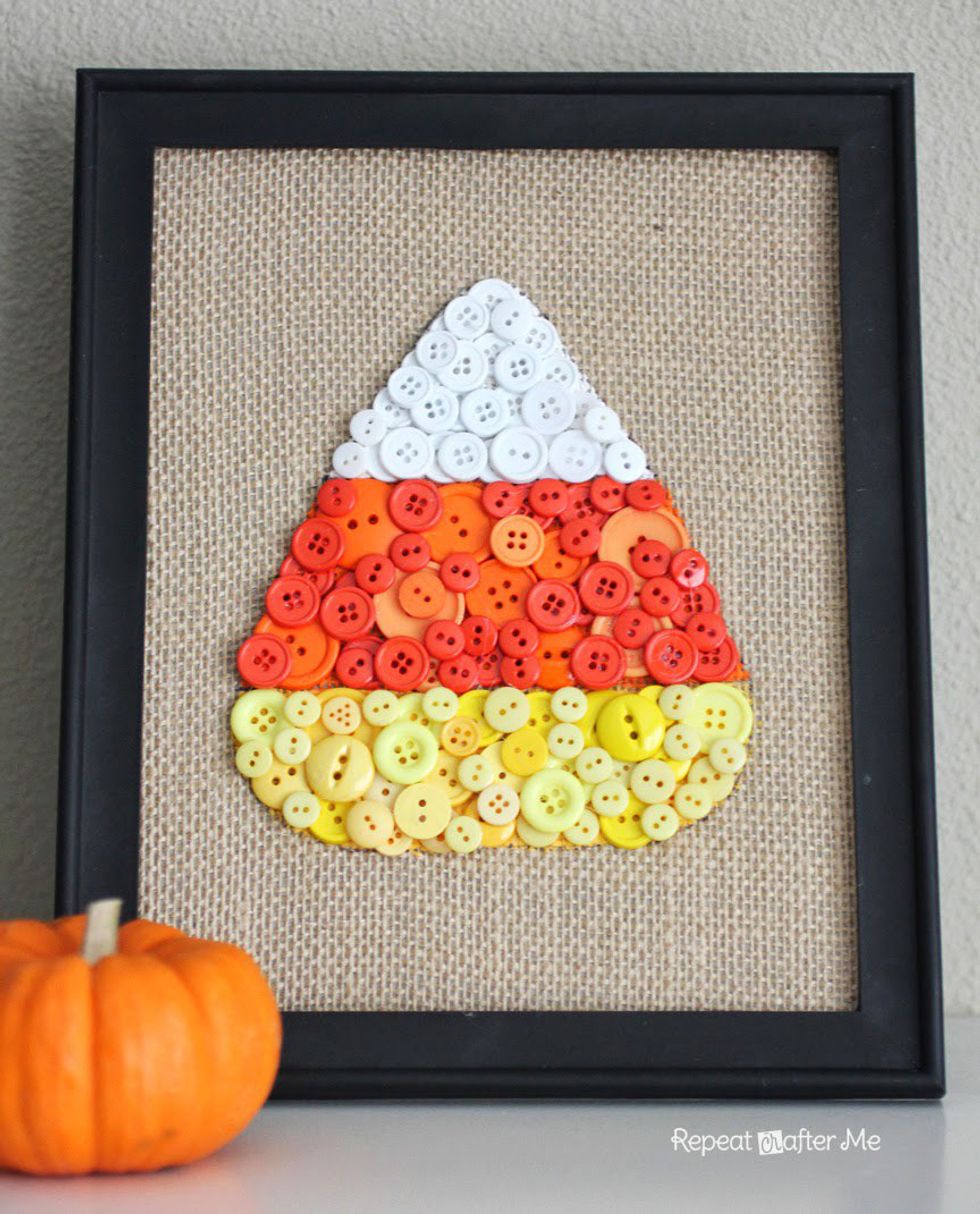
Finally, what may be the simplest DIY: the candy corn artwork.
Items needed:
buttons (white, orange, and yellow)
glue
a canvas
a frame
So, here's what you'll need to do. I suggest placing the buttons on the canvas before you start gluing, that way you can ensure you get your intended design. After you have the buttons placed the way you would like, start gluing them to the canvas. Let the artwork dry, and then frame it! For a more in-depth tutorial, click here.
I hope you are able to think of something you would love to create! Don't forget: if you can't think of anything to do, Pinterest is there for you. Have fun and be careful with any crafts you may try!