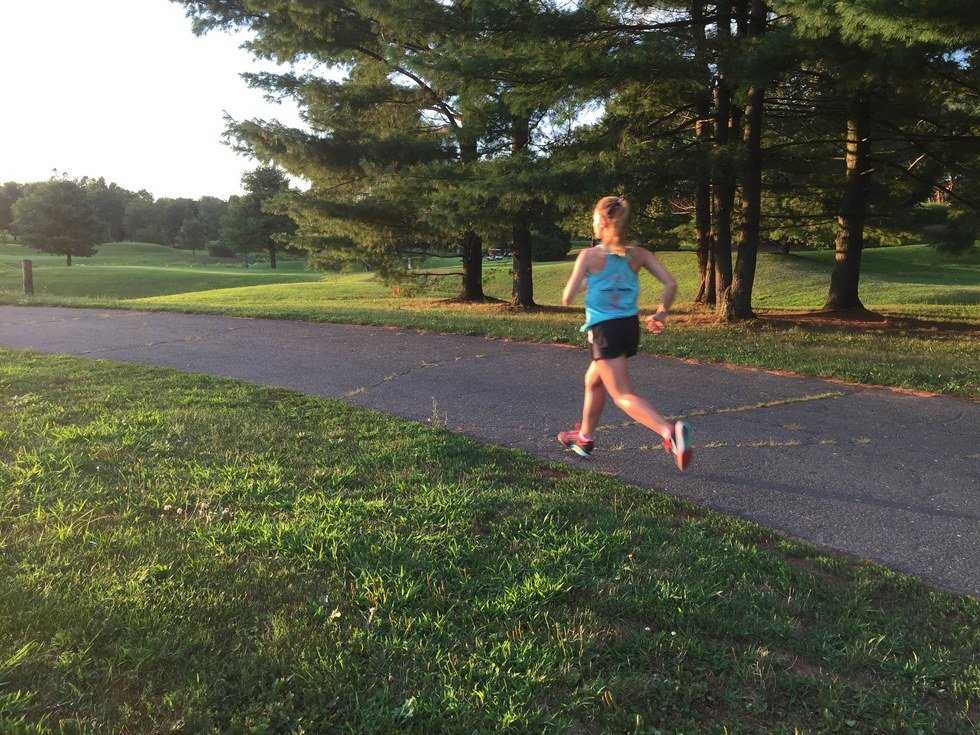
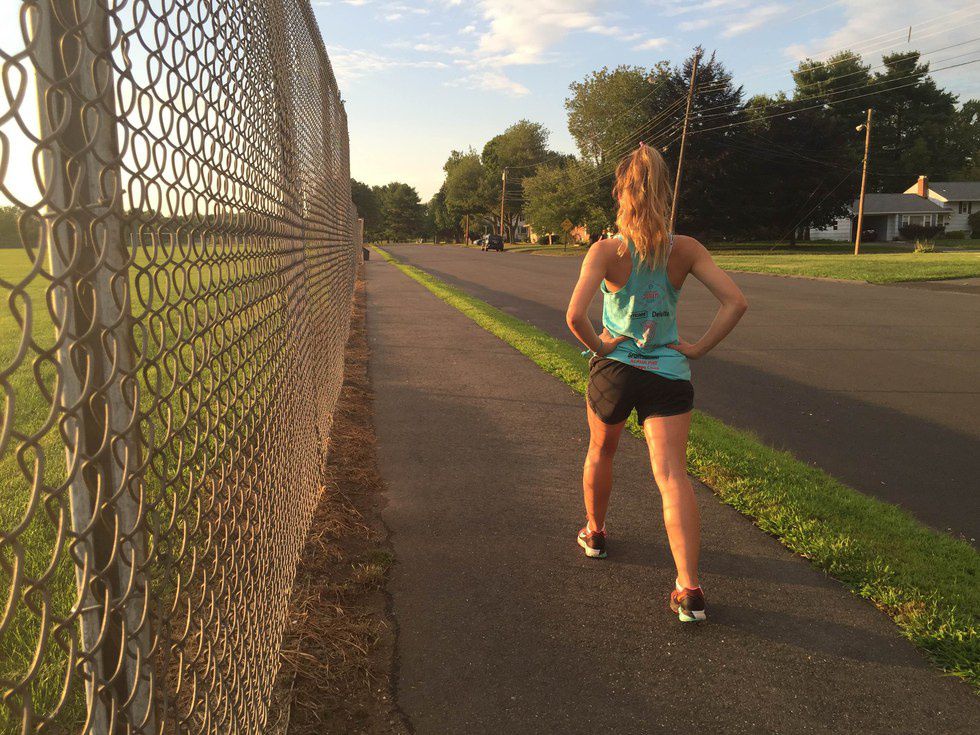
Running is my meditation. I feel most confident and in tune with my body and soul when my muscles are pounding into the ground, when my sweat is cooling me off in the wind, and when my breathing is just a hair too fast for comfort. You could say I get high off endorphins, and I crave these feelings every day at 6:30 when the sun is just beginning to set. As a result, I've developed a routine over the years to keep my workouts fresh, so I always feel stronger when I'm done. I developed this cooldown during four years as a sprinter in high school; we always made a point to cool down as a team once our one mile warm-up was completed. I can say with confidence that doing these exercises after every workout has kept me from feeling sore for the past six years. Here's how it works:
- Once you've completed your run, it's important to keep moving; do NOT stop and collapse to the ground or rest your arms on your knees. Instead, slow down to a walk and shake out any muscles that feel tight as you're moving. This is also a great time to do some arm circles — don't forget about the tension you carry in your shoulders while you run, especially if you're holding a phone or car keys in your hands like I often do.
- Before your breathing completely slows down to a comfortable rhythm, start the cooldown! The first portion is fast-paced, so you'll want to use the built up energy you already have to keep going. The second portion is mostly stretching, so don't worry, you'll get a breather eventually.
- I like to perform each portion of the cooldown for about 50 yards, which gives me the full benefit of the exercise without feeling like it's taking too long or making me more tired.
- Keep a good posture throughout these exercises; your shoulders should be relaxed, and your head and chest should be facing straight ahead. Also make sure your arms are moving with your body. Tip: use your elbows as if they are rubber bands to help propel your arms forwards and backwards.
- As with all exercises, continue to focus on breathing. Make this cooldown part of your meditation.
Note: Ignore my face in these photos—my twin sister/photographer enjoyed making me feel awkward while shooting this (aka telling me to do high skips in place because "it's too hard to get a moving shot," laughing hysterically at me while I struggled to get off the ground, and then only letting me see the pictures where my body was absurd and my face was contorted).
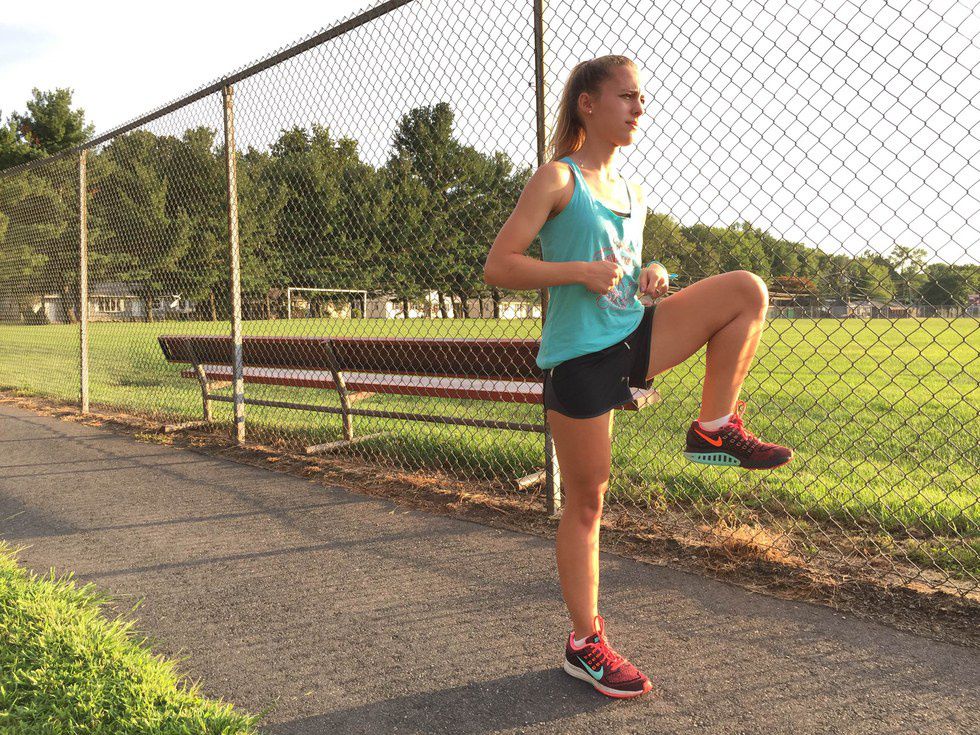
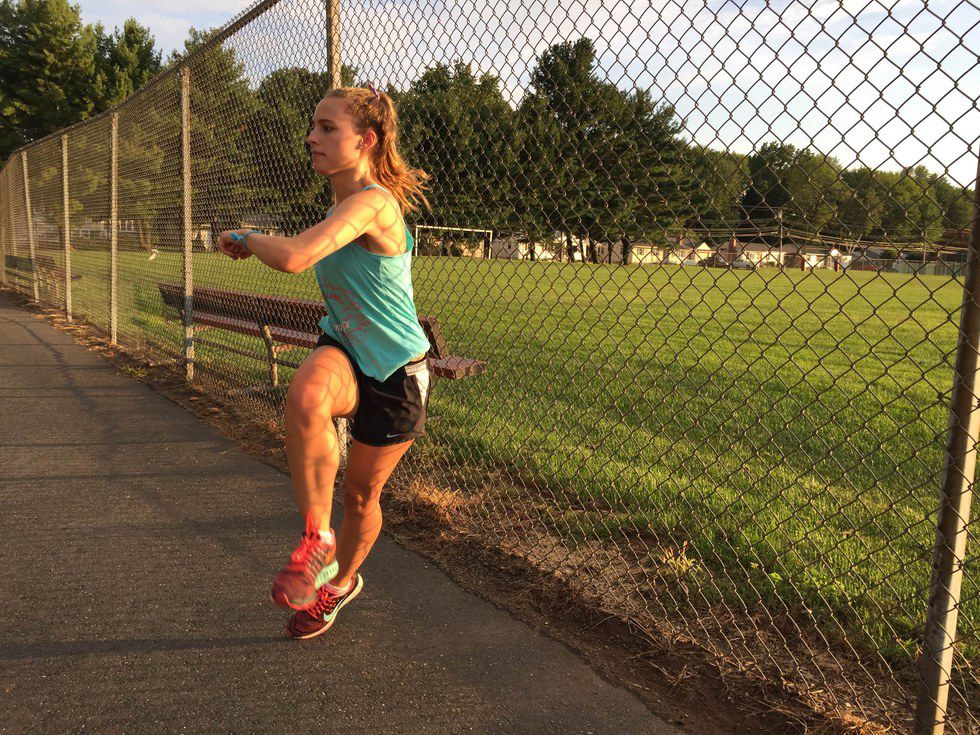
1. High Knees
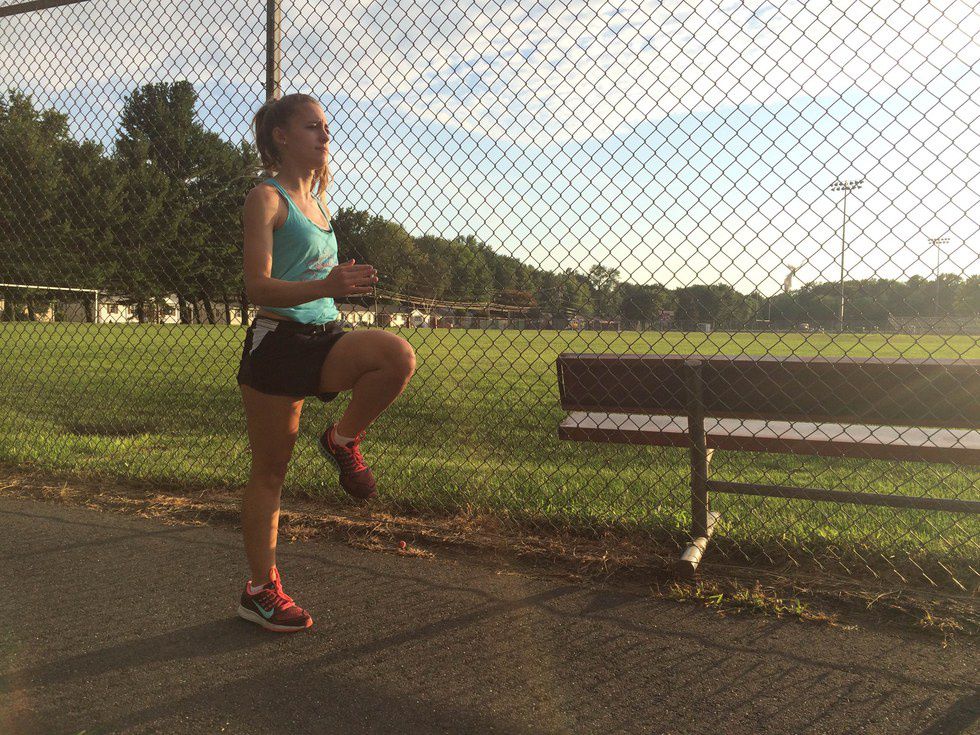
High knees are the perfect start to the cooldown, because they force you to keep a fast pace while providing you with a new way to use your muscles after an exhausting run. Make sure your knees are coming up to your waist in fast, tight steps. As soon as your foot touches the ground, push the other foot off the ground so it feels as though you're spending as much time in the air as possible (think pogo stick). You shouldn't be traveling very far as you do these, since the goal is not distance. The goal is to help your body continue to move in different ways with quick bursts of energy.
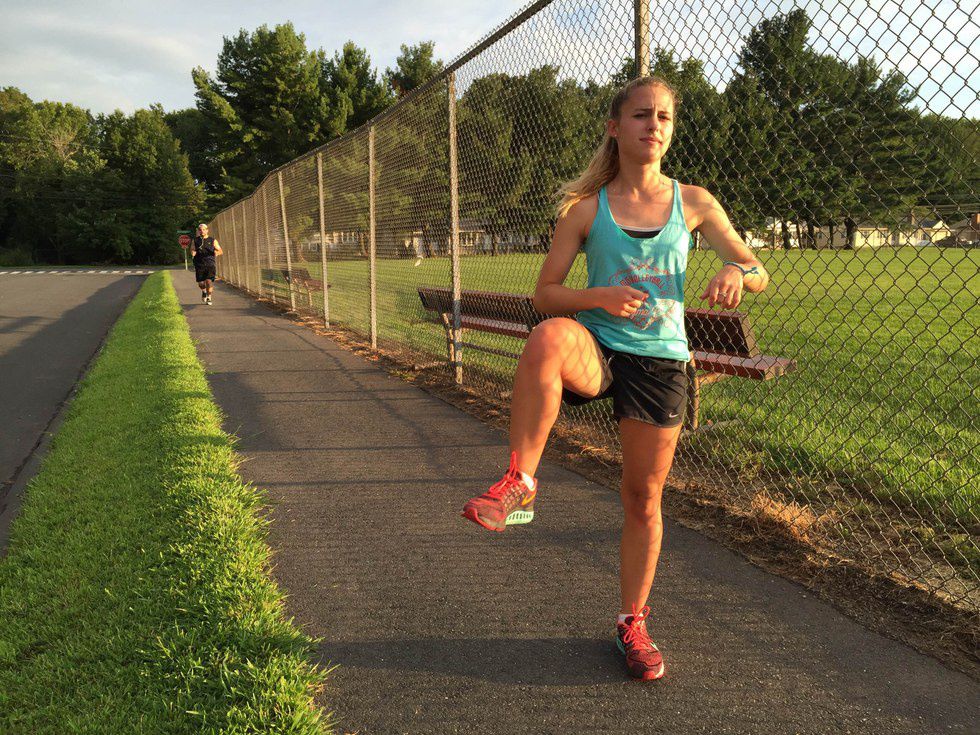
2. Butt Kicks
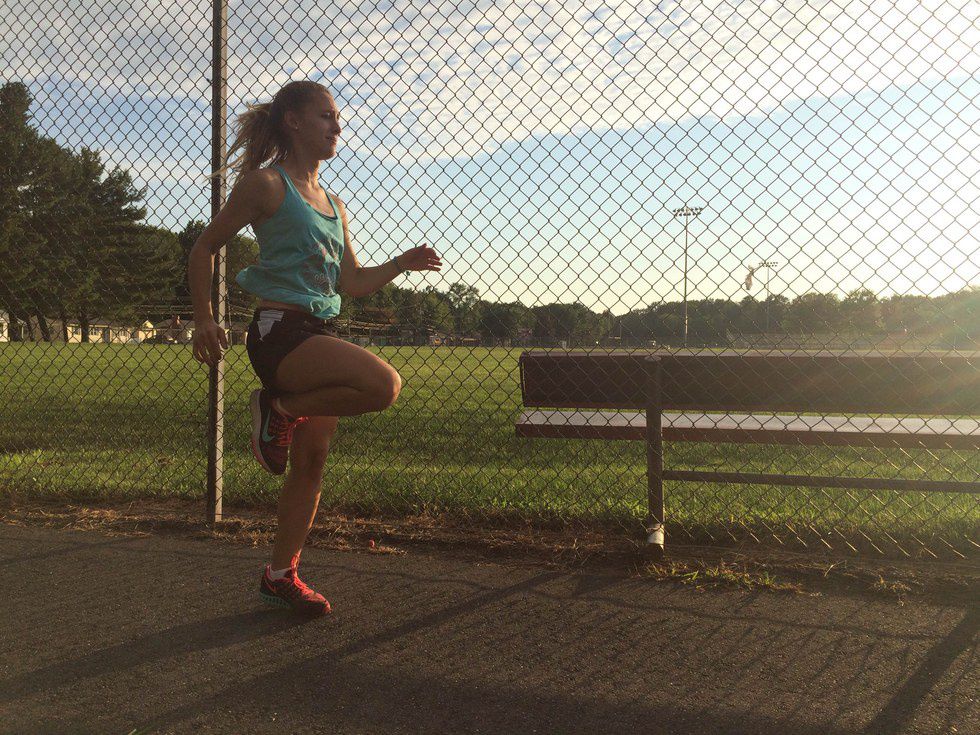
These butt kicks might be different than the ones you were forced to do in gym class. With these butt kicks, repeat the motion of the high knees with one alteration—make an effort to bring your heel to your butt. Your legs should still be parallel with your waist, and you should still be using quick bursts of energy to imitate a pogo stick.
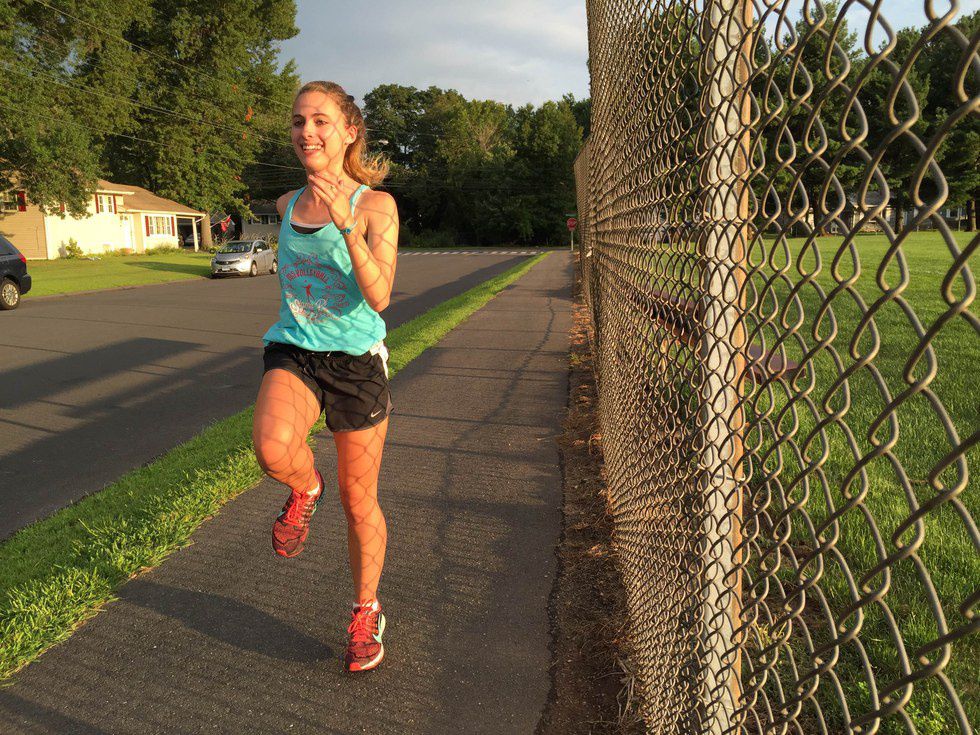
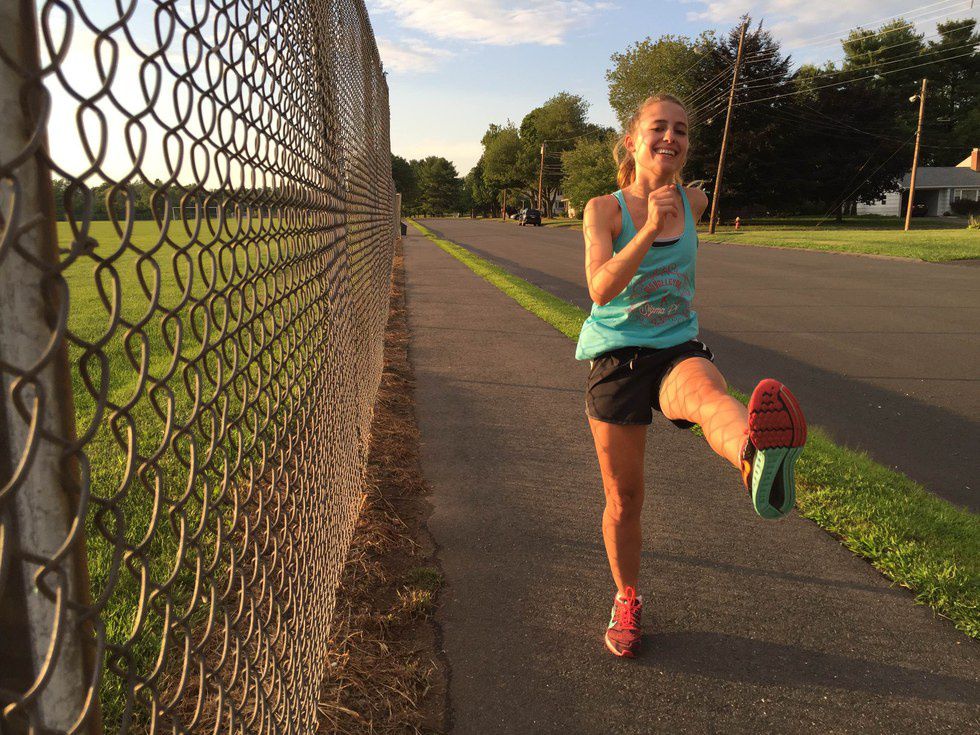
3. High Skips
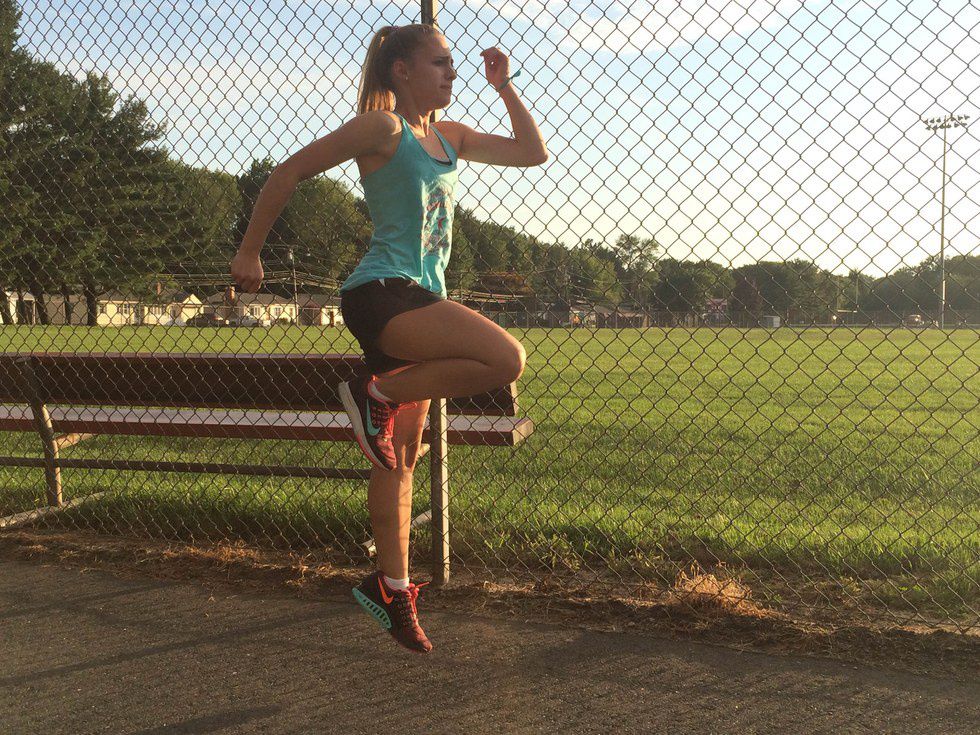
Again, the goal here is to propel yourself off the ground, not to cover more distance. Use your arms to help push you off the ground by raising them in the air to about the height of your eyes. This picture pretty much demonstrates how your form should look. These tend to take more energy, but they're really effective when you try your best to get off the ground as high as possible.
4. Open the Gate
These are hard to depict, but since my sister refused to help me make gifs of myself doing these, I have to try my best to explain. Start with both legs on the ground. Bring your right knee to your waist, and swing it to the right, opening your hip and making a circular motion. Put your foot on the ground once you've completed the circular motion to the right and do a sashay. Now bring your left knee to your waist, swing it to your left side, land your foot on the ground, and do a sashay. When these motions are repeated, you should be moving in a zig-zag, you should have developed a rhythm to your steps, and you should feel your hip/hip flexors cracking just a bit.
5. Close the Gate
This exercise should have the same rhythm and basic steps as open the gate, but reversed. Instead of swinging your knee out to the side, bring your knee up to your waist from the side of your body, and swing in towards the middle of your body. To break it down: start with your body and legs straight, facing forwards. Lift up your right knee to your waist so your knee is facing out to the right of your body. Swing your knee into the center of your body in a circular motion, and place your foot down. Have your left leg lead a sashay to the left, and then use your left knee to close the gate.
6. A-skip
This is primarily a sprinting drill, but it's fun to do and helps your form. This is kind of like a skip, except for the fact that it's very tight, controlled, and focused on form. It imitates how your arms and legs are supposed to be moving in a race. My sprinting coach Steve explained it using the Road Runner as an analogy. The Road Runner's legs move in a tight circle, pushing under itself into the ground to propel itself forward. Watch this video to see how the A-skip is done. Pay attention to how her arms move in relation to the rest of her body.
7. B-skip
My sprinting coach told me this drill was primarily for hurdlers, but it's still fun to do, even though people may give you a weird look. I like to call these skip-kicks, since you're using the same skipping motion as the A-skips but kicking your foot out before placing it to the ground. Watch this video to see how the B-skip is done. Again, pay attention to how her arms move in relation to the rest of her body.
8. Karaoke
Another gym class favorite, also known as "grapevine," but with a minor change. The basic idea is to move sideways by throwing the right leg over and across the left leg, and then throwing it under the left leg, in an over-under motion. Your torso should face forward, but your arms can twist side to side to help keep balanced while your legs cross over each other. When you are lifting your right leg across your left leg, lift your knee high to your waist, imitating the 'close the gate' motion. Instead of smoothly weaving your legs in and out, you should be propelling yourself with the swinging knee motion. Turn your body so it faces the other way to repeat the exercise with your left leg leading.
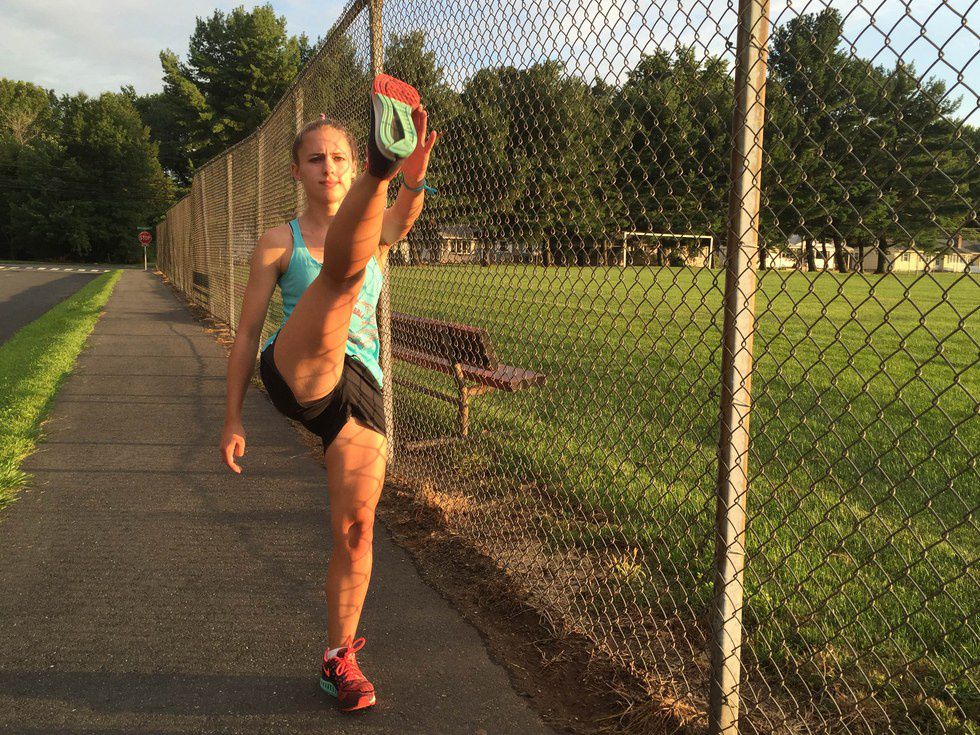
9. High Kicks
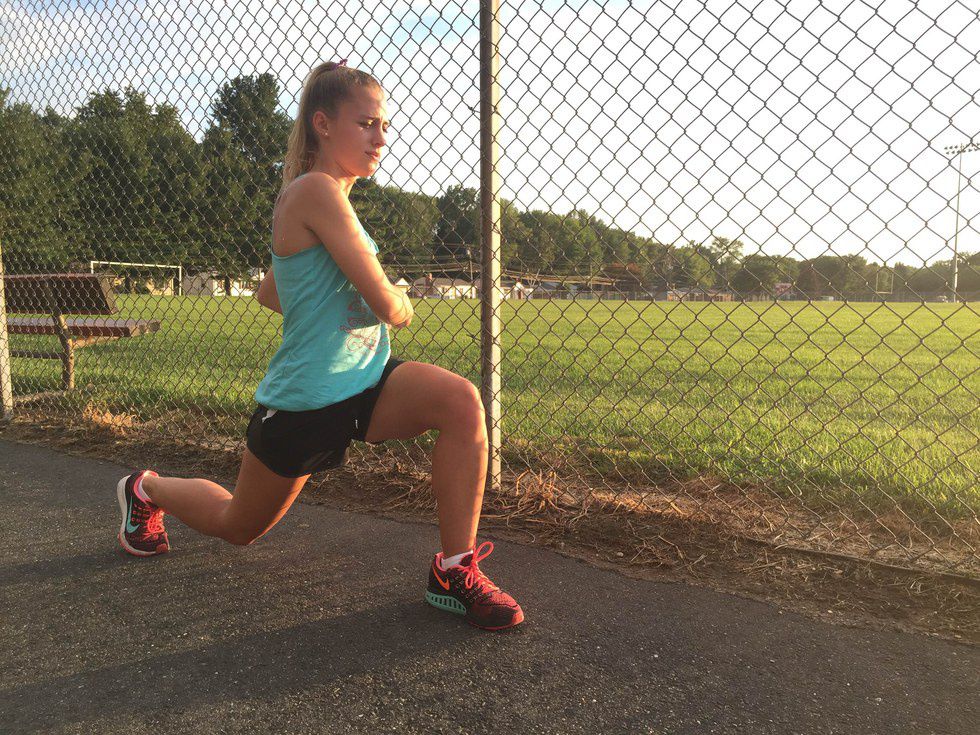
10. Lunges
11. Quad Stretch
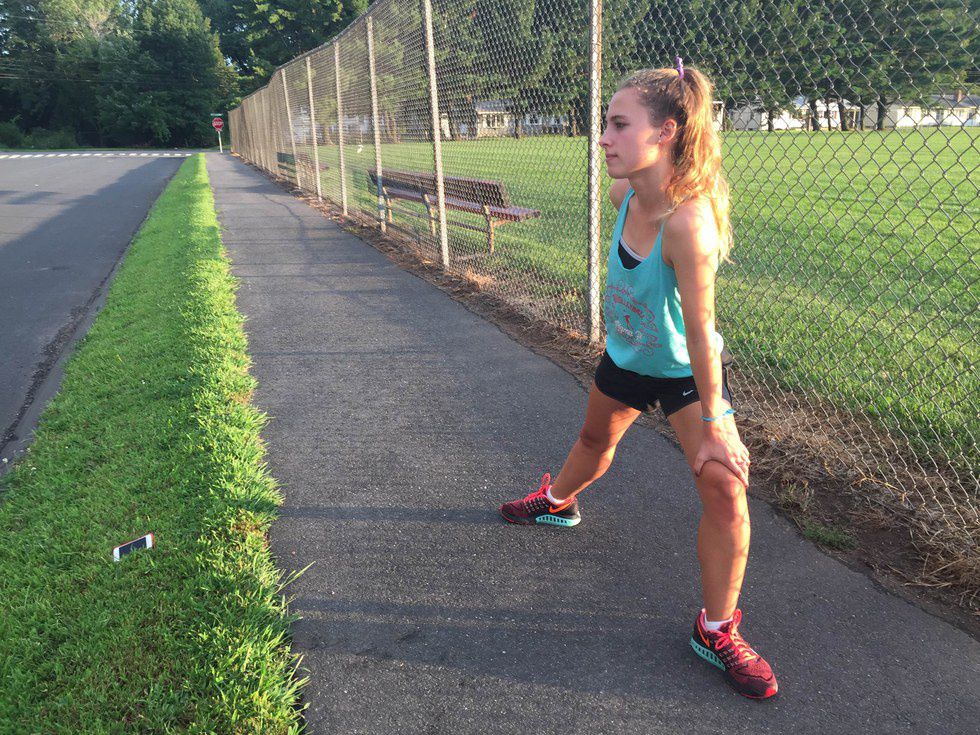
11. Hamstring Stretch

This is also a moving stretch, and when done properly it can target two tight areas in your hamstring muscles. Place one leg in front of you and reach your toes, making sure your back is straight. After a few seconds, reach over to the other leg, keeping your back straight. It's important to lead these stretches with your chest so your body can move as one unit. It may also help to pulse your chest into the stretch so you can dig deeper. Take a few steps afterwards or shake it off if you need to, and do the same for the other leg.
12. Hip Flexor Stretch
13. Groin Stretch
I usually do this stretch in between the hip flexor stretch, since my hip flexors tend to get a little tight when I lean into them sideways, as pictured. Either way, this one's great for your groin area. Keeping one foot facing straight ahead, extend your other leg so that it's facing outwards. Bend the knee of the foot that's facing outward and lean into it. For this stretch, it's fine if your body isn't straight like it needs to be for all of the other exercises. You get a better stretch when you lean into your knee (making sure not to extend your knee over your ankle too much), but again make sure to lead the stretch with your chest. Take a few steps in between, and repeat with the other leg leading.
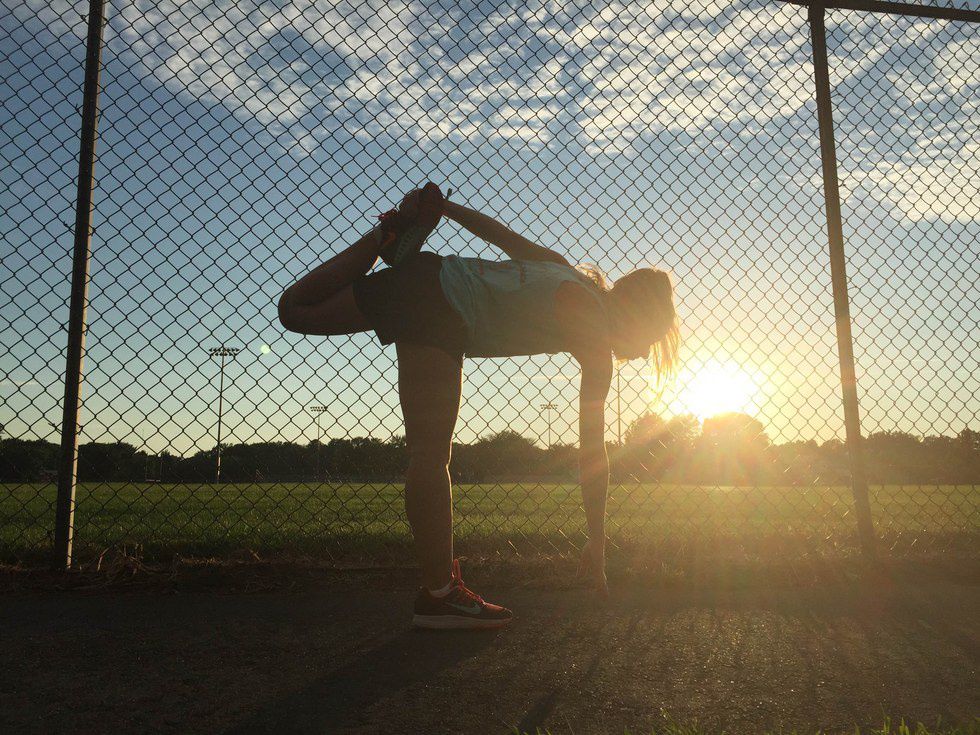
14. Glute Stretch
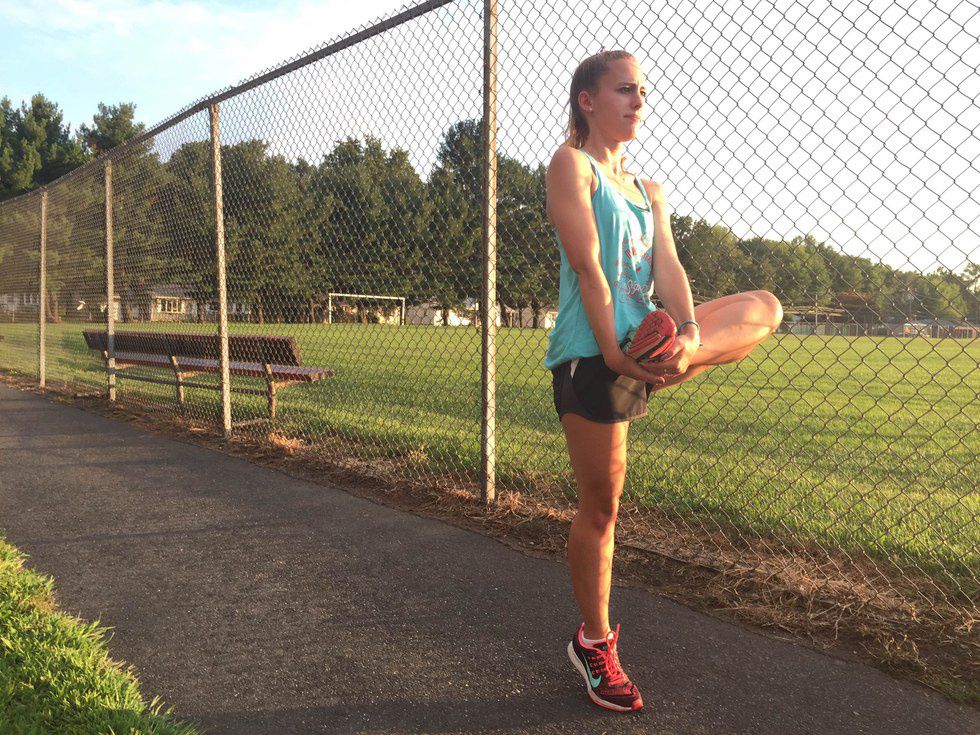
This stretch is the last step in the cooldown and my personal favorite. Bring your knee to your groin area, and pull your foot upwards while rolling up on your toes with the other leg. Rolling up to your toes helps intensify the stretch, in addition to helping you pull your foot upwards. Just make sure you're pulling your ankle up in addition to your foot. You should feel this stretch in the side of your butt. Repeat with the other leg with a few steps in between.
Tips
- It always helps to find a good spot on the ground to do some stationary stretching exercises that could focus on areas you couldn't quite get to in the cooldown. I usually focus on my calves, groin, butt, and neck.
- Scientists have come out with studies proving lactic acid is not responsible for soreness after working out, however the production of lactic acid during muscle exertion can leave a burning sensation. To deal with this burning, I like to shake out my muscles by lying on the ground with my knees bent and feet planted on the ground (sit-up position). I then shake my legs together as fast as I can to get my muscles jiggling. You're going to look weird and get a lot of funny looks, but as T-Swift would say...
- After completing the first two bullet points, try incorporating an ab routine into your workout. It never hurts to work on your core, and you'll see the results relatively fast!
- Keep listening to music as you do the cooldown! It's just as important as everything you did before it, so treat it that way! Keep yourself motivated and moving to the music, and it won't seem like a chore. (I'd recommend EDM or rap—I've never understood the kind of people who work out to Jack Johnson).
- Bonus points if you invest in a pair of wireless headphones—they significantly reduce the hassle of listening to music while you work out. Check out these!