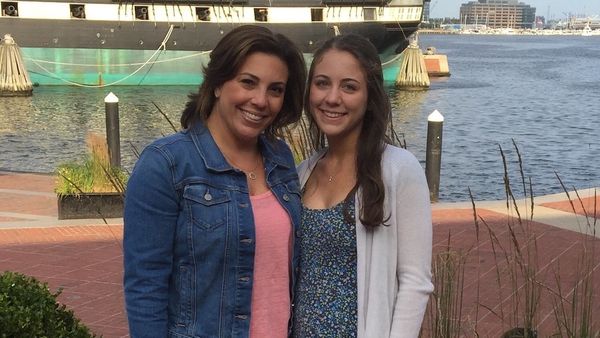

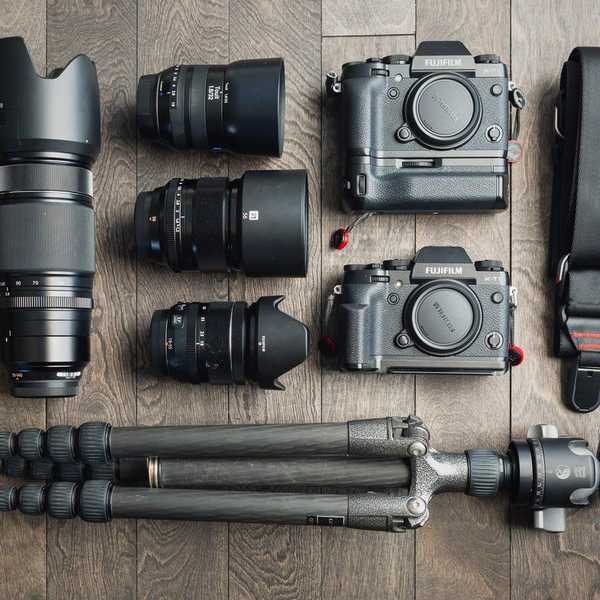
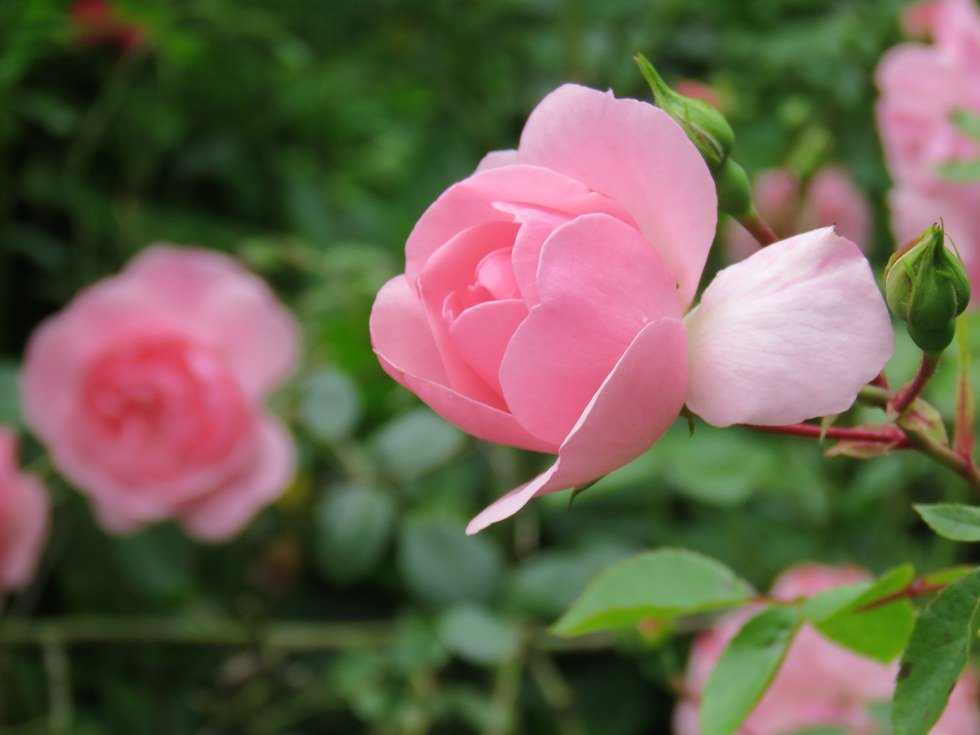
Photography has become a widely popular profession choice for young people now. I even considered it at one point, only to realize it was simply a hobby for me, and not a career. I definitely enjoy using my Canon PowerShot SX60-HS to go places and take pictures of the surroundings or even close ups of flowers, which is my favorite subject. Only very recently, I’ve started to deal with taking portraits of people in nature settings. Mainly, I only deal with nature settings versus urban ones because I happen to be highly allergic to human-congested areas. Though I do have some aggravations with how photography is treated like some easy profession now that anyone can do, I’m only going to give advice on how to better your own “photography” through my personal experiences from learning photography in high school and practicing it myself in different settings. All the photos that appear in this article are my own.
1. The Rule of Threes
Most newbies to learning photography have no idea about this, but it's probably the most important, and easiest way to perfect your photography. That's why it's here at #1. So, imagine there is a tic-tac-toe grid across your image. Got it? Good. If you are focusing on one object shift that object out of the dead-middle of the frame (I knew you had it there) and towards one of the four corners of your middle square. Some people favor one side or corner over the other. I tend to shift all my photos towards the right side rather than the left. Probably because I'm right-handed. This is really easy to Google to get a good example of what you are supposed to see.
2. Zoom
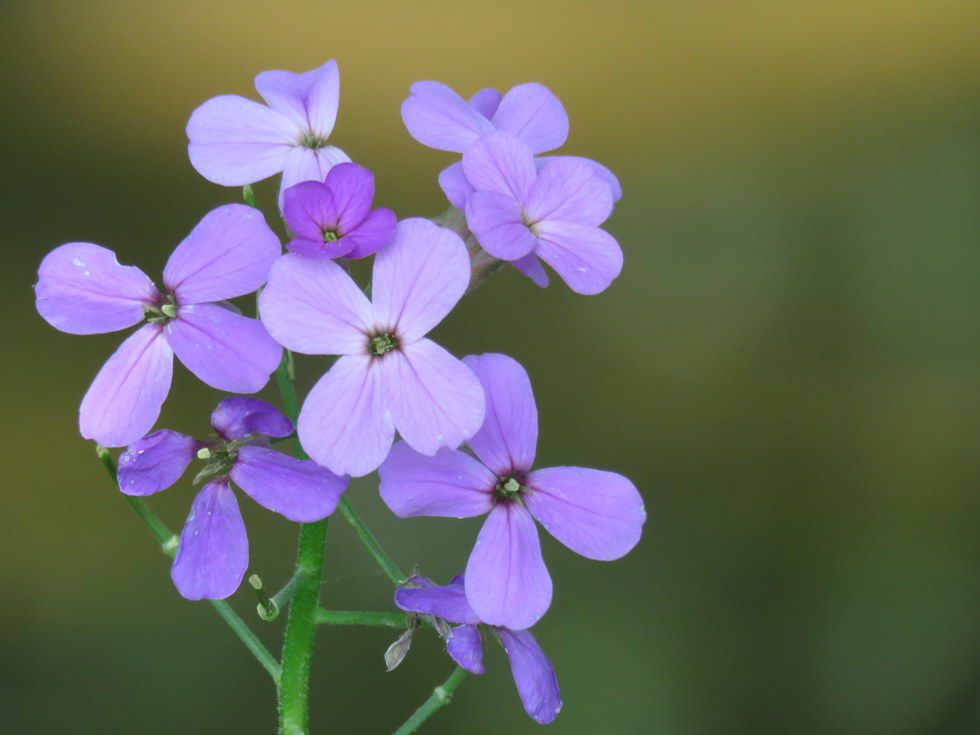
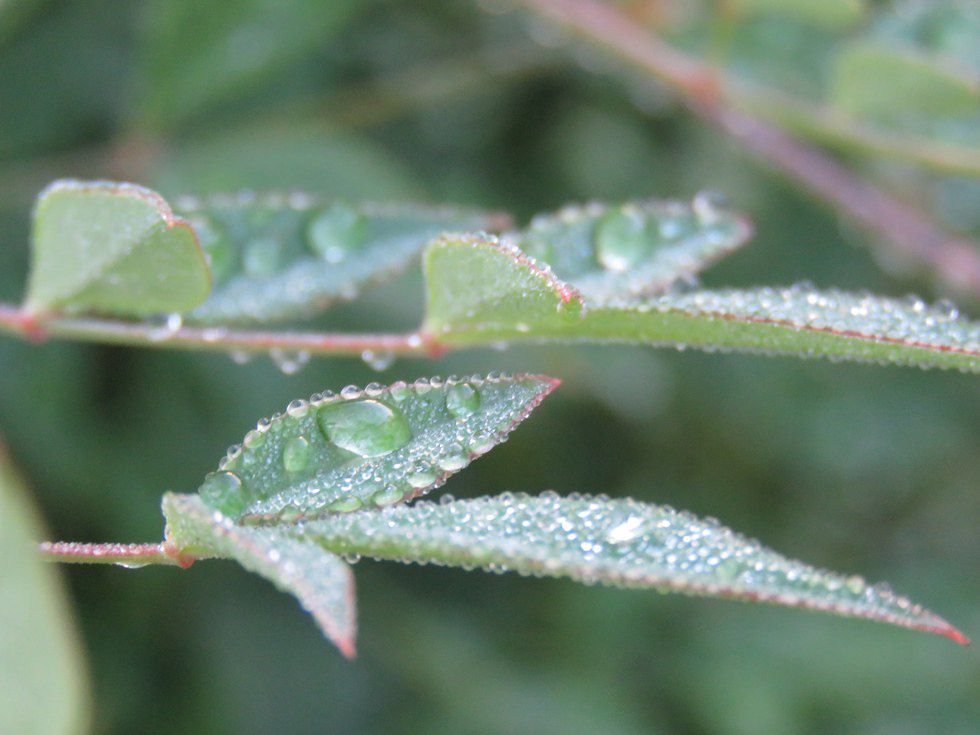
Don’t go all in! Depending on your camera, zooming in could be terrible and your image will turn out horribly grainy! Those are difficult for me to view because I’m used to seeing crisp and clear photos in my own products. If you must go in close to see detail, like a water droplet or tiny flower, figure out where your camera’s threshold is. I’m talking about that fine line where your camera will have a crisp image the first time and then a blurry image the next and you can’t focus at all. If you are having trouble focusing on your object, I’ve learned a really nice trick is to hold your hand or something of solid color behind the object (if stationary) and allow your camera to focus to the object. Remove your solid color and snap the picture! I haven’t done something like this very often, but it’s a great trick.
3. Moving objects
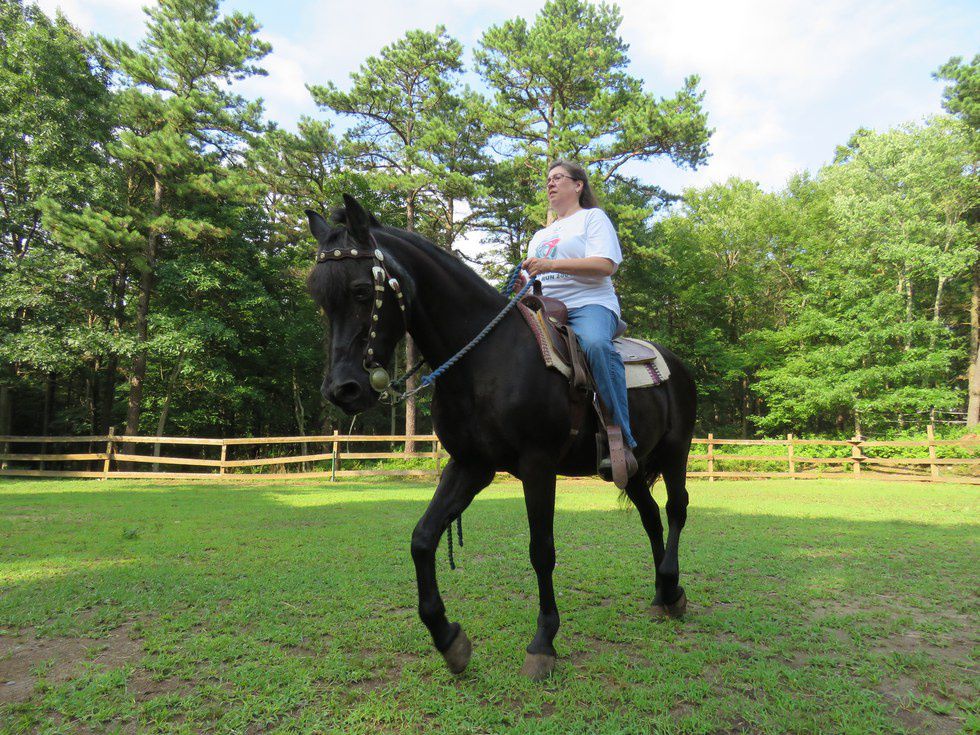
Oh, these are hard to do. I still haven’t quite mastered it with my little Canon. I usually set it to the sports setting when trying to get pictures of my mom horseback riding. Even then, it’s really hard. For this, you need a lot more practice. I would probably expect digital single lens reflex (DSLR) cameras to be much better at these kind of pictures. However, I don’t own one of those expensive beasts. I guess my only advice here would be to practice a large amount and get some speedy reflexes on that shutter button.
4. Watermarks
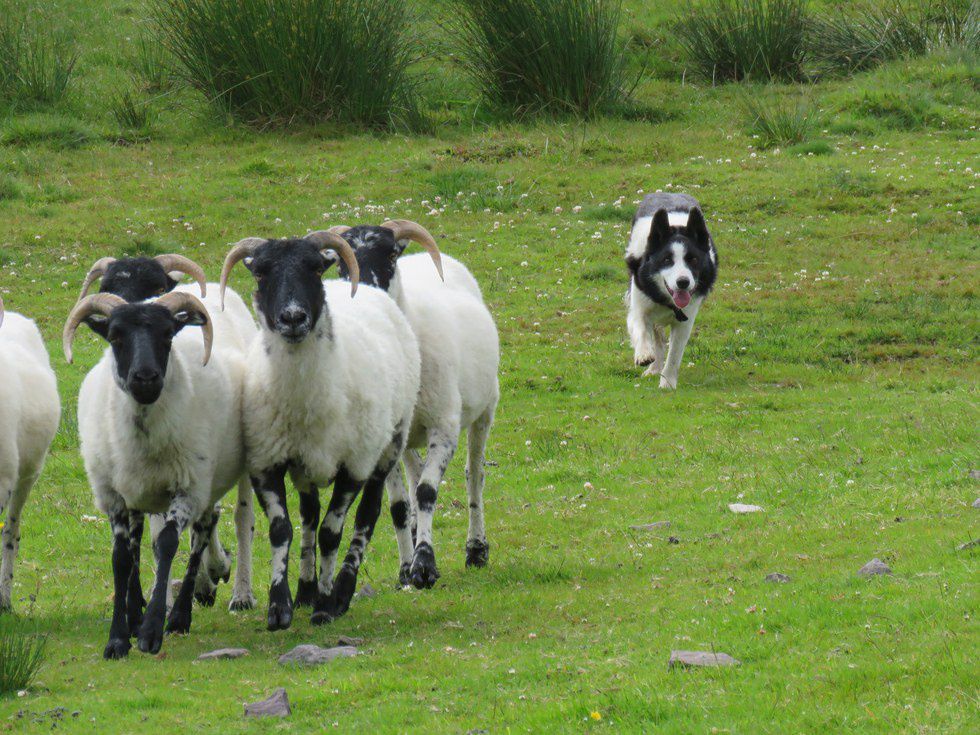
If you are the person that has started a little business for your photography, you’re going want to create a watermark to claim your ownership. However, I’ve seen that people want to place those watermarks off to the side, so it isn’t interfering with the object and the people’s viewing of the photograph. I agree, they’re hard to look around, but you absolutely do not want to do this! Never, ever. If your watermark is off to the side, it is easier for people to crop it out. Thus, your photo is easier to steal. I don’t think you want to be running around the entire internet trying to contact everyone who has your cropped photo and requesting it be removed from the site due to theft. I don’t have any watermarks on my photographs because I don’t run a business! It’s just pure fun for me.
5. Angles
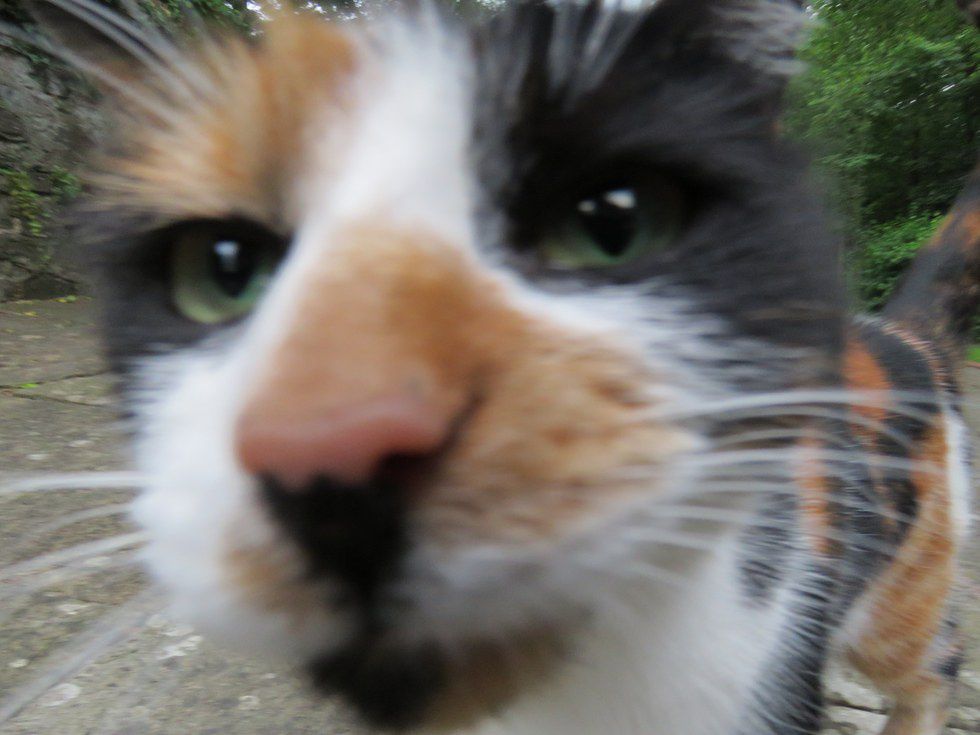
Try taking from the photo from multiple vantage points! Don’t always just do straight on because that will get boring and it doesn’t offer much perspective. If you want to make an object seem larger than reality, get down on your knees. You won’t die if you get a little dirt on your pants. If you want an object to appear smaller, get up high. It’s all about perspective! Get the vantage point you need or want. I love taking pictures from below and close up. The change in perspective often tricks the viewer’s mind and it might even cause them to think differently because different angles cause different thoughts.
6. Smiling?
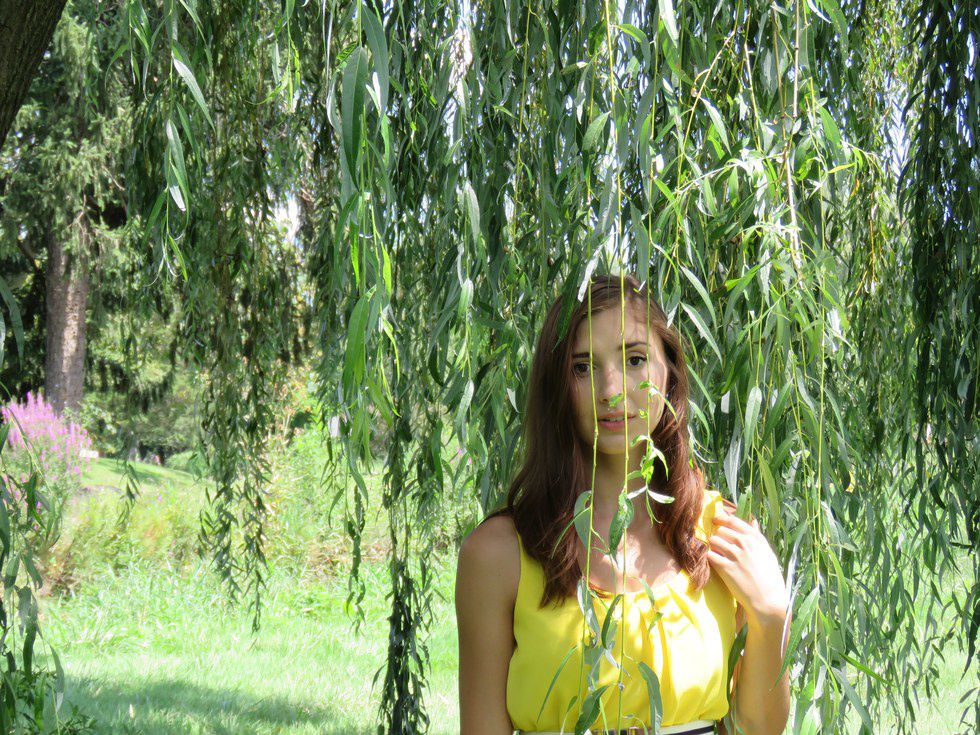
To your subjects, smiling might be everything. We’ve been conditioned to smile for photographs, all the time, and every time. It really isn’t. I don’t like to smile for a lot of the photos when I’m out taking pictures with a friend because my face will ache later. I think it’s also better to not smile occasionally because it changes the mood of the photograph. Some photos are great just when your face is relaxed and serene. It’ll give the picture an aura of calmness that could transfer to the viewer. Further, laughing is another great thing to do. It creates an air of fun and carelessness.
7. Holding the camera
For the love of everything, don’t hold the camera like a tourist with both hands pinching the sides of the camera between your thumb and index finger. If you are around me, don’t be surprised if I come up and change your hold. By holding it with your right hand firmly gripping the right side and your index finger resting on the shutter button and your left hand underneath the lens portion, you are offering the camera much more support than pinching the sides with two fingers. I know, it will feel a little awkward at first, but trust me, your camera will thank you later. Don’t forget a wrist strap or a neck strap. Your camera will thank you even more for one of those!
8. Manual Shooting
I don’t have a fancy DSLR camera with all those fancy lenses and bells and whistles. I’m working up there from my little digital Canon. I’ll get there eventually, I hope. Anyway, if you have one, and it is your first camera, experiment with those manual settings! Go crazy! Find the aperture, f-stop, and ISO that you prefer for your photos. Because I’m too indecisive about everything, I don’t usually toy around with that. My camera has two settings that allow me to toy with the manual settings, but I usually just keep it on Auto and my photos turn out wonderful.
9. Photo Editing
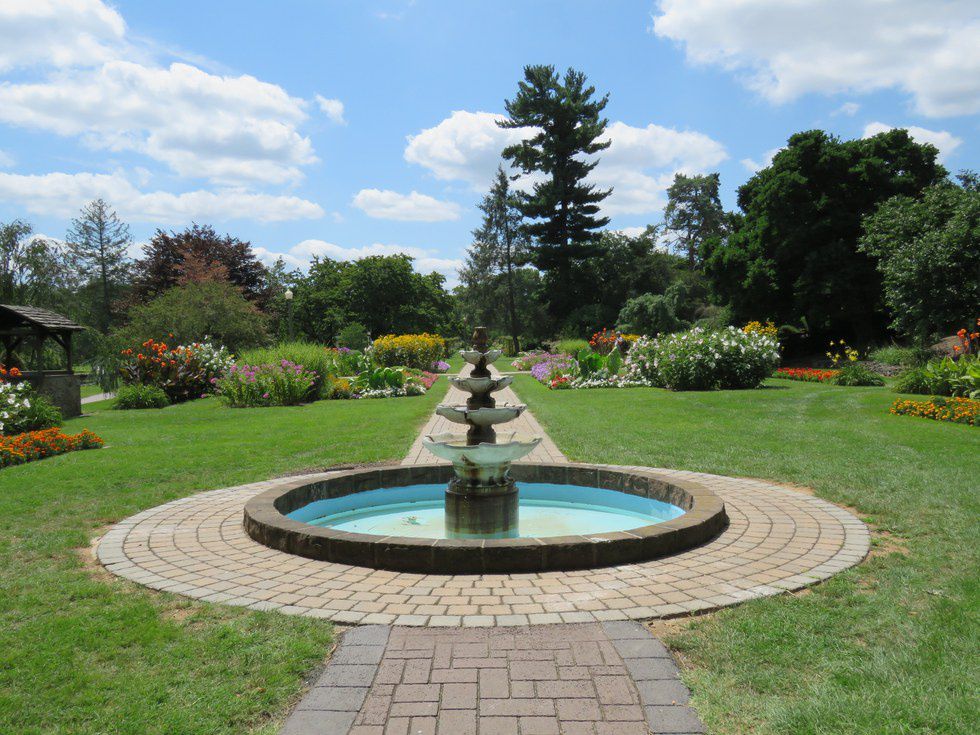
Don’t be afraid to do this. Add a filter, enhance the color saturation, change the shadows, or even change the color contrast. Do whatever you want. Play around and figure out what you like. Personally, I don’t like to edit/Photoshop my photos because they look perfectly fine the way they are. That, and I don’t have a super powerful photo editor or any experience with photo editing. But, if it is your thing, go for it!
10. Practice!!
It’s very important to practice! Practice at everything, not just photography! Go out with one of your friends and practice taking their picture in the environment that you are best at taking their picture! Or, when on a family vacation, take the chance to practice your skills with photo taking or video making if you want to be a vlogger on YouTube, which I am not. I’ve thought about doing something like that, but maybe later in life. Go to a well-maintained garden and photograph the flowers that are blooming or the ones that are done blooming. Figure out how to do the kind of photography of waterfalls that make the water look really flowy. I don’t know how to do that, so don’t ask me.
11. Find your own style
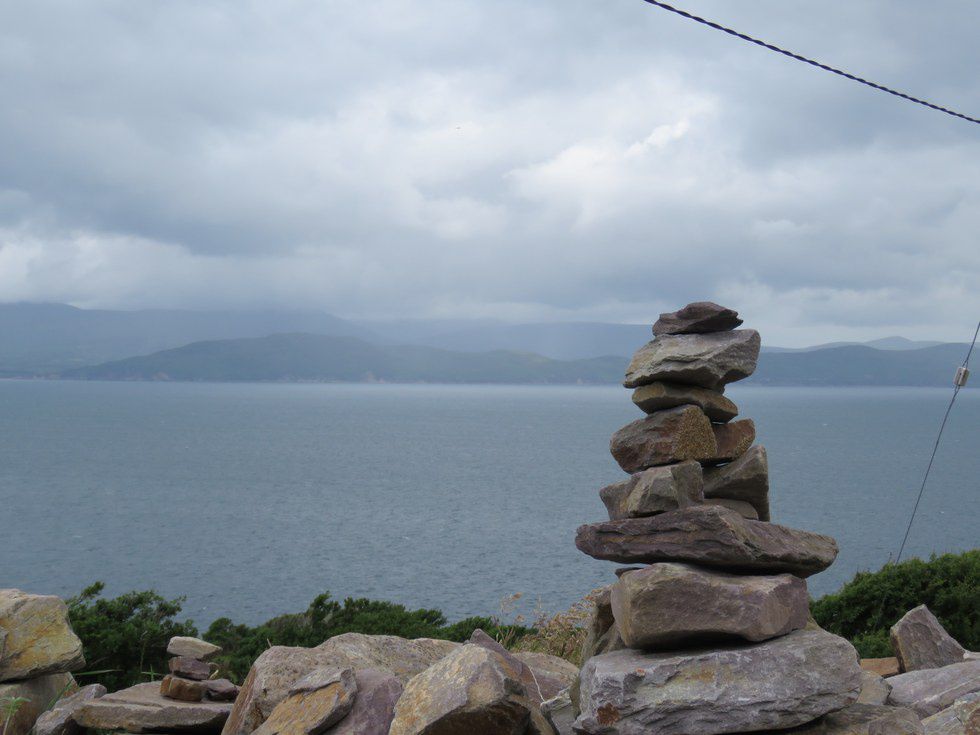
The best thing you can do is to not become someone else. Find out what you like and go with that. Don’t try to copy or mimic someone else’s style because you like it. Find what you are comfortable doing, where you are comfortable going, and go take those pictures! Not everyone likes doing close-up camera shots and not everyone likes doing wide angle shots with a lot of things to view.
12. Criticism
Whether you are a professional or an amateur photographer, be prepared for criticism. First, not everyone is going to like your work. That’s okay. There are different styles out there. But, some people might come along with some words that might help your photos in the long run. Try to take them as easily as you can. Or, ask them to demonstrate what they mean. I’m sure they won’t mind. If you are running a photography business, that criticism may come from your clients and you’ll have to work with that because you want them to be happy with your product and you’ll have to build up your reputation through them. If they’re happy with how easy you are to work with and how flexible you are in your photos, they’ll be more likely to recommend you to their friends or someone who wants photography done.
13. Wait for a clear frame
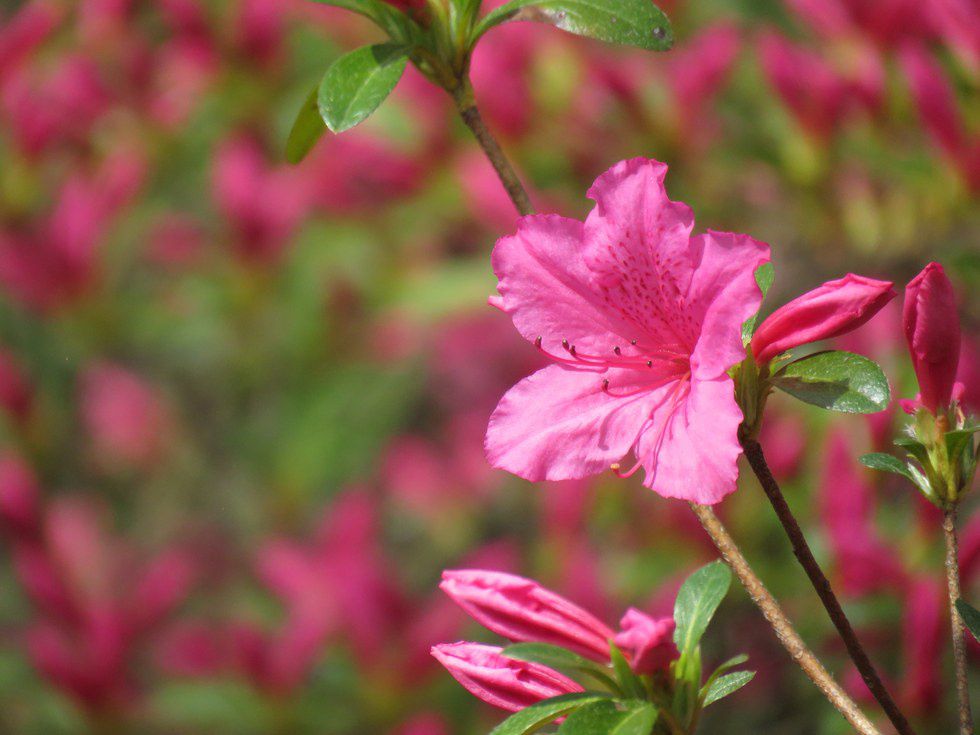
The hardest part when taking portraits in a public park is waiting for some passer-by to exit your frame. Wait patiently because it will be worth it in the end when you have a photo free of any random people in the background. Waiting for them to clear out will be hard, but you can’t rush someone. If they are there for a crazy inordinate amount of time, you could politely ask them to move out of the shot for a little amount of time or relocate yourself to a different location and come back after the people have left. The latter will probably be better for you.
14. Don’t follow the rules
Photography is an art best learned by yourself. You don’t have to take all these advice points listed above if you don’t want to. Figure things out on your own and make your own mistakes. Learn by your own skill and not necessarily the skill of someone else. However, please, definitely follow the rule of threes. That rule will definitely improve your photography skill magnificently.