
It’s a bright Christmas morning, and your Momma/Pappa/Grandmama/Gandpapa just bought you a new digital camera. Before you start taking pictures of yourself in the mirror or of your cat ignoring the new toy you got her, there are some important tips that aren’t readily apparently.
You may feel confident holding and shooting for the first time, but to improve the quality of your photos, you have to understand both the hardware and software on your camera. Knowing which ISO setting you should be on and understanding how the aperture works are key in building your skills as a competent photographer.
The Lens
The first thing you’ll want to check on your lens is the switch on the side with a capital “M” and a capital “A”: these stand for “Manual” and “Automatic,” respectively. These refer to how the camera focuses; manual being done by hand, and automatic being done by the camera. Choosing which setting to use will depend on what you’re shooting and your own ability.
It’s important to remember with automatic that it will often turn a light on the front of your camera, and focusing is slow. Automatic will often ruin your candids and stealth ability since it shines a light on your dad’s face and whirrs for two seconds while it finds the focus. Automatic is best used when setting up a shot or when you’re not sure if the subject is in focus. I would recommend using manual most of the time, as it is faster than automatic, and gives you more control over your photos.
Shooting Modes
On the top of your camera, you will find the mode dial. On it are a series of icons and letters representing different shooting modes. For the most part, we will be using the letters instead of any of the preset modes. These letters are M (manual), A (aperture priority), S (shutter priority) and P, which apparently stands for “Preset Automatic,” which seems to be an alternative to A.
Aperture
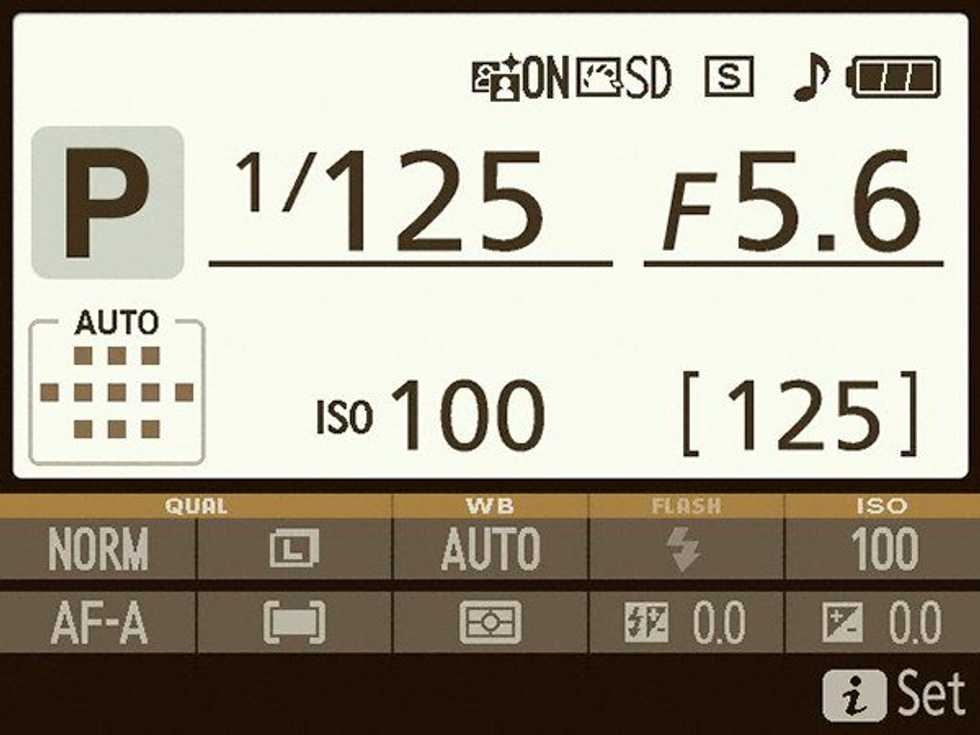
Aperture Priority will allow you to set the f-stop while allowing the shutter speed to vary. This mode is great for setting up a steady shot, but it will often be too slow for holding. Now, most newer cameras will have an image representing the size of the aperture. You will want to focus more on the f-stop number, which, depending on the lens, ranges from 1.4 to 22 and beyond. The main idea is that the smaller the number, the larger the aperture. A large aperture allows more light into the camera, making a picture brighter, a smaller aperture allows less light, therefore making a darker picture. That is the basic idea, but once you get into more advanced techniques, you’ll find aperture also affects things like photo quality and image noise.
Shutter
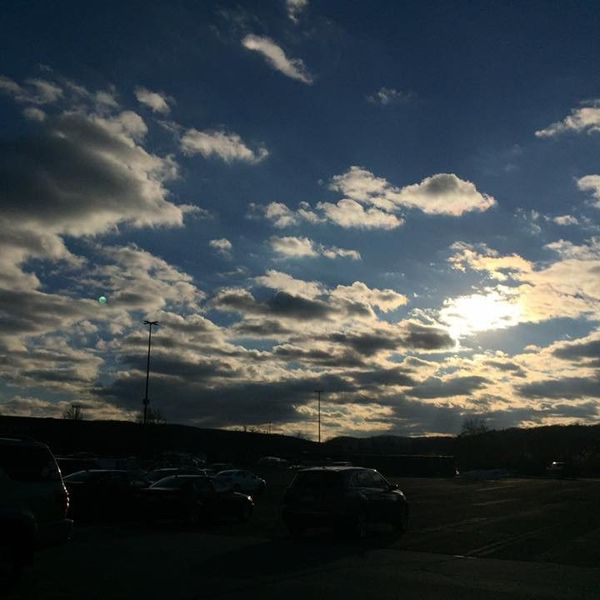
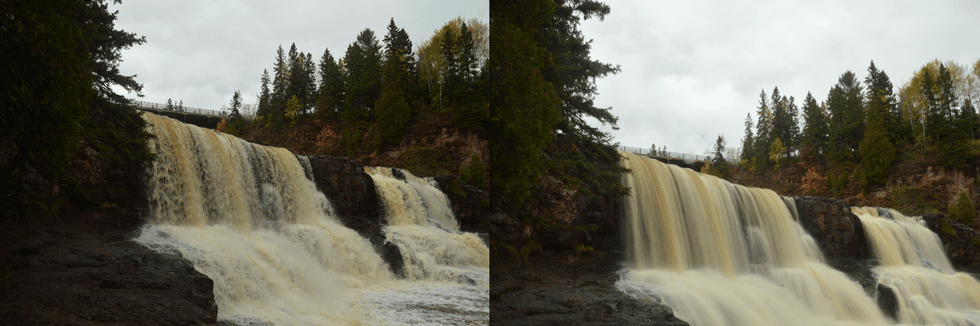
Shutter priority is similar to Aperture Priority in that S is the reverse of A. Shutter allows you to set the shutter speed while the aperture varies. What shutter speed translates to is how long the aperture is open. Faster speeds means less light and vice versa for slower. You often use a faster shutter speed to capture fast moving objects, like a running dog or falling snow. A slower shutter speed is often what makes pictures look “blurry,” and is often caused by excess movement during a picture. This mode is very good for capturing depth of objects and making moving objects look fluid.
Manual
Finally, Manual mode allows you to set both the aperture and the shutter speed. The command dial will allow you adjust the shutter speed, but it can usually be rebound to aperture instead. Manual is the choice of professionals, as it allows you full control of your shots but requires you to understand the relationship between aperture and shutter speed.
ISO
ISO is the final feature I will be talking about and perhaps the hardest to understand. The ISO sensitivity, which is adjusted by pressing the Fn button and moving the command wheel, is simply the camera’s sensitivity to light. The sensitivity can range from 100 to 64000 and beyond, depending on your camera body. A low ISO sensitivity generally makes images darker, but it also gives you the highest quality images. These pictures come out looking sharp and realistic with great depth. A higher ISO makes the picture brighter but also introduces a lot of noise and sometimes a blander range of colors. It may seem strange, then, that you would ever use a higher ISO, in fact it is incredibly useful for low light images or when taking high-speed photos.
Have Fun
You’re probably fiddling with your camera at this point, anxious to start taking pictures and living off of sweet commission monnies. Understanding the basics of aperture size, shutter speed and ISO sensitivity already puts you ahead of the majority of camera users, and it will help you create stunning photos to share on Facebook.
So there you have it, the tips I wish I knew when I first got a camera but was too lazy to Google. Most of what I know I learned from experience, but don’t be afraid to look up anything you don’t understand. You’ll most likely take a lot of bad pictures before you start to really understand the relationship between all the settings. Just remember failure is the key to learning, and always look for that new angle.