
Let me tell you something, creating an entire book is a lot of work! When I first embarked on my adventure to create my planner at the beginning of summer, I thought, “This will be fun and easy!” I was sort of right, but sort of wrong.
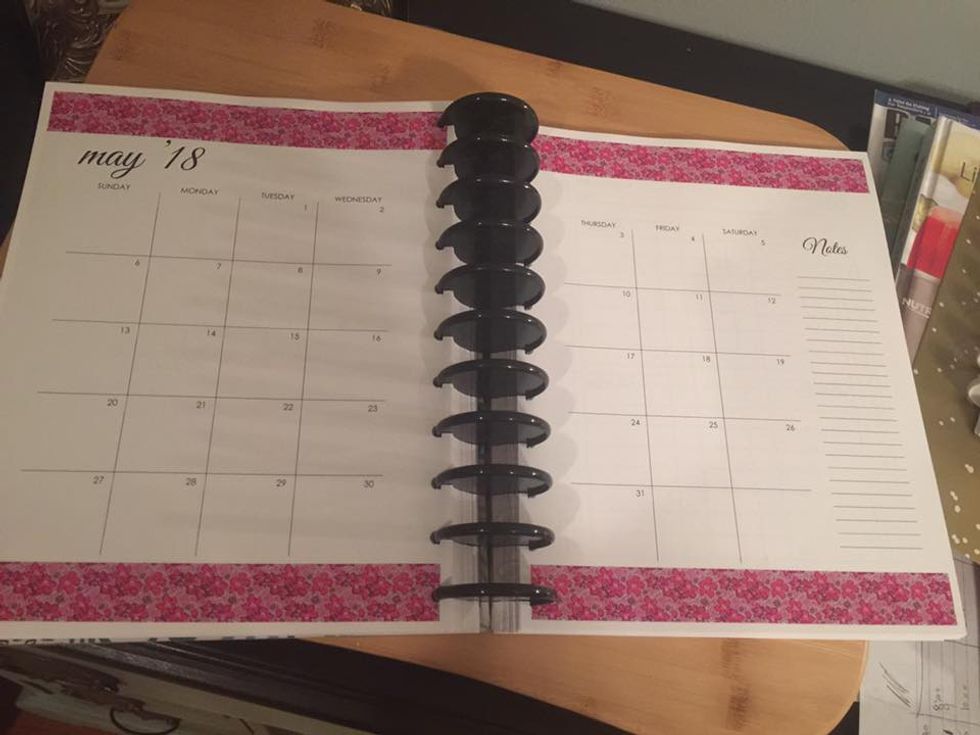
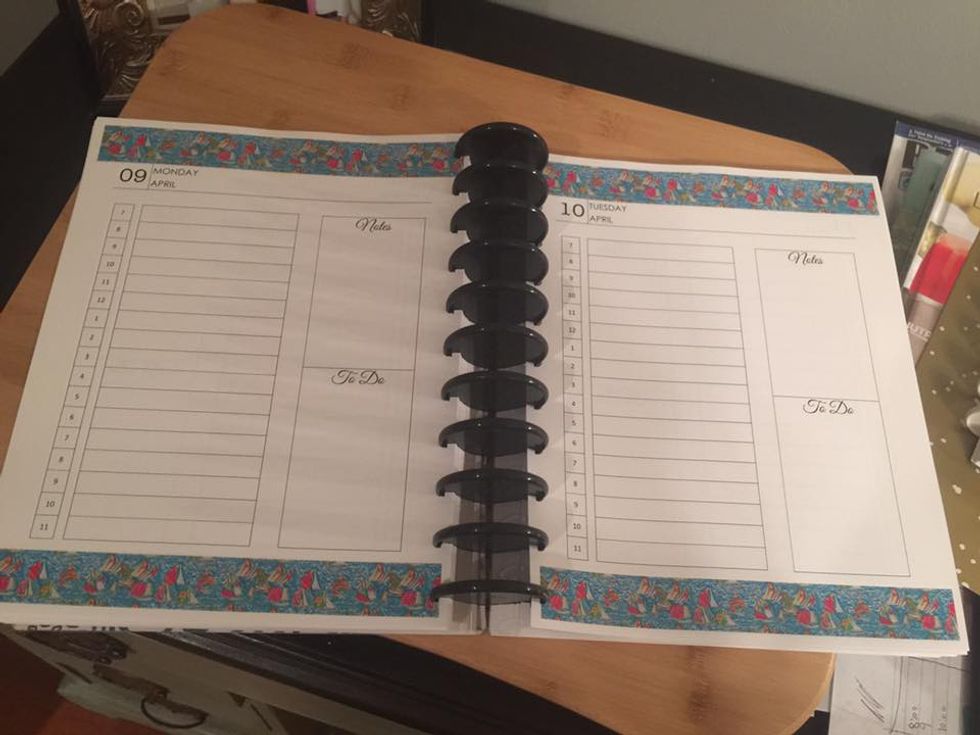
The designing process of the planner was fun, but insanely frustrating. I decided to use Microsoft Word as my platform for designing, simply because it’s what I had access to and what I was most familiar with. I started off by creating templates for each page I wanted to make: a monthly spread, a weekly spread, and a daily spread.
Once I perfected the templates, it was time to start creating specific pages for each month, week, and day. This is where it got incredibly tedious. I created one document per page, totaling around 500 different word documents. Going in and editing each one took quite some time but overall, it was the most efficient and safe way to create the document.
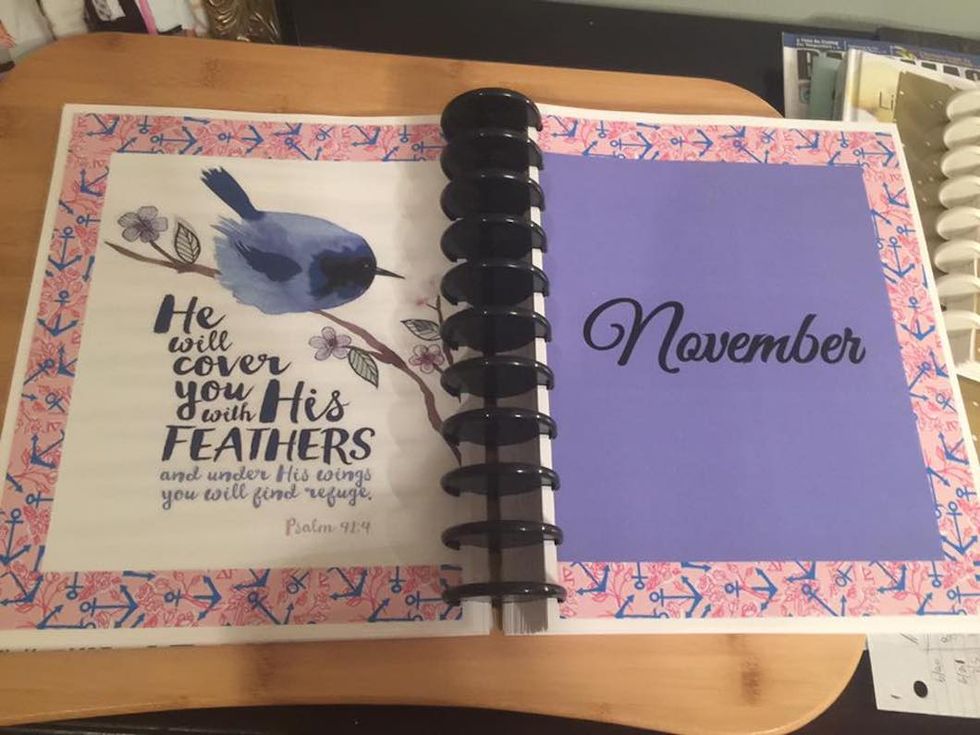
Then the designing process. After I had pages created for each day, week, and month, it was time to make them pretty. I wanted to add a border to each page that was specific to each month. I went on Google Images and found cute patterns that I saved and distorted to fit into the border. Placing the individual borders on each page took some time and was at times difficult to get it lined up properly, but in the end, it wasn’t too bad.
Once I had all the Word documents finalized, it was time to turn them into PDFs. I had to manually go in and turn every single document to a PDF. It wasn’t long before I hit a snag in the road. When I would open the PDFs, part of the border was cut off. So after a couple quick Google searches, I learned that before turning each page into a PDF, I would manually have to alter the printing margins to allow for the border. This added a bit of time, but it wasn’t more than I could handle.
After converting each document to a PDF, I had to merge the PDFs to create one large document. This was the shortest process of the planner creating process. All I had to do was select each PDF in order, and drag them together in Apple’s Preview app. This only took a few minutes, then the planner was complete!
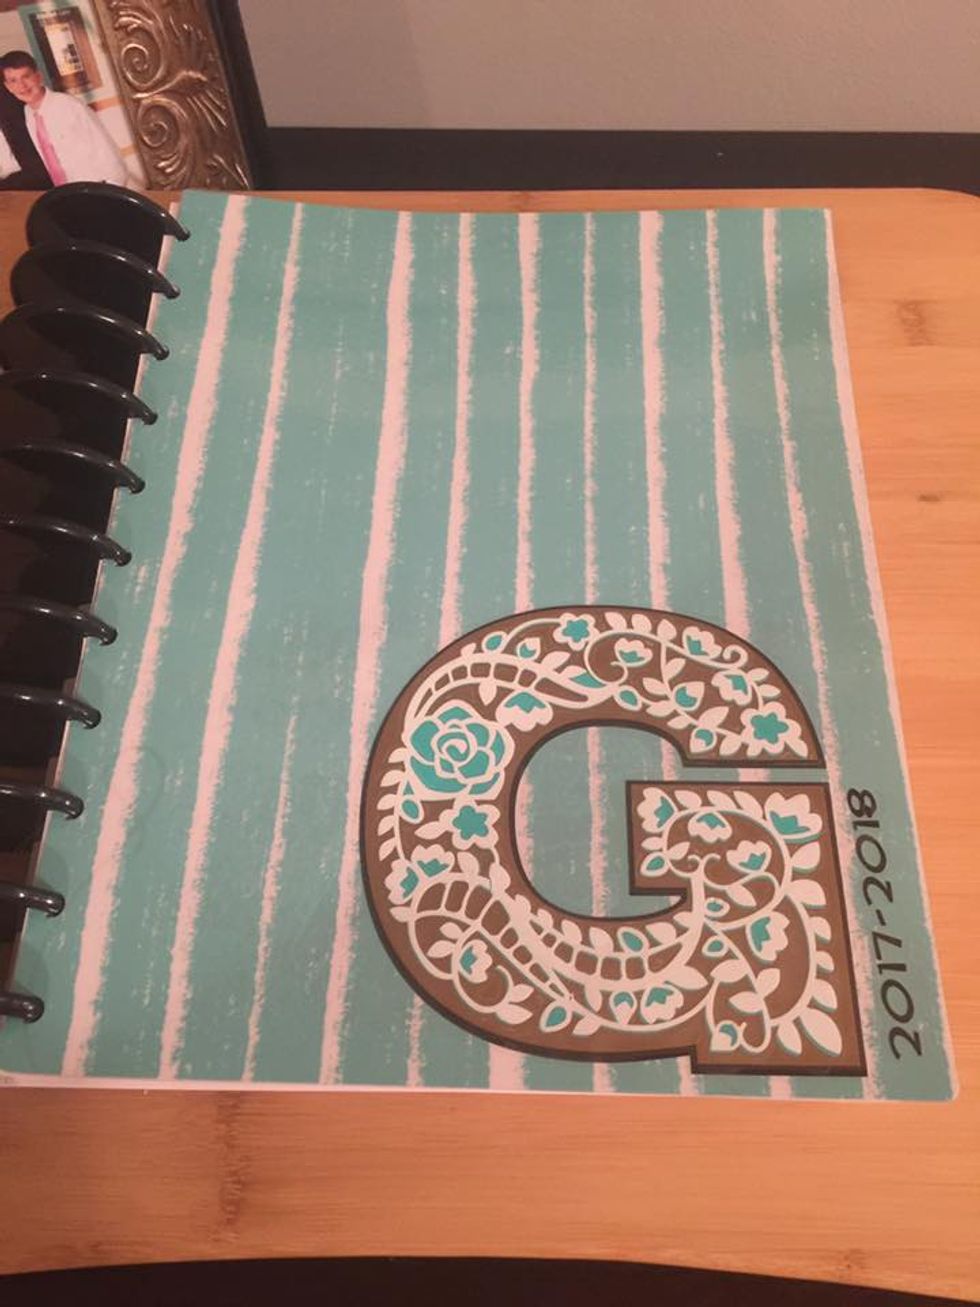
After completing the planner digitally, it was time to turn it into a physical planner! I sent it off to be printed, but in the meanwhile, I had to purchase some products for binding. I decided to use the disc binding system. I went out to Staples and Target to get discs, a hole punch, and materials for a cover. They all only cost around $20! Once the planner was printed, I punched holes in all the pages, put them on the discs, and created a cover. That’s it! It was complete.
The total time it took to create the planner was a couple weeks of leisurely work. There were a couple one-time expenses that won’t have to be paid if I decide to recreate the planner next year. All I would have to pay for is the cost of printing. Overall, this was an incredibly fun project and I recommend it to anyone who has time to put into it.

 Going to the cinema alone is good for your mental health, says science


 women in street dancing
Photo by
women in street dancing
Photo by  man and woman standing in front of louver door
Photo by
man and woman standing in front of louver door
Photo by 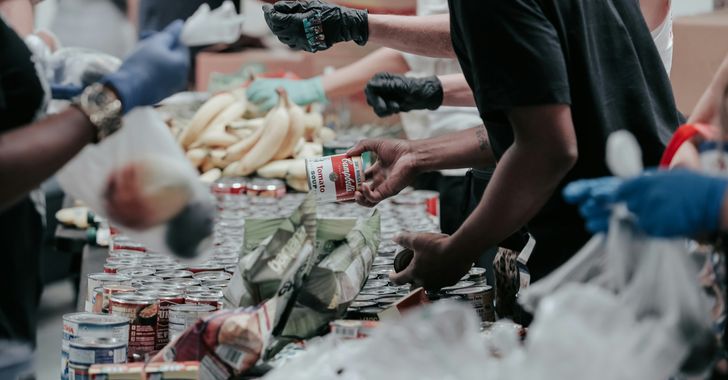 man in black t-shirt holding coca cola bottle
Photo by
man in black t-shirt holding coca cola bottle
Photo by  red and white coca cola signage
Photo by
red and white coca cola signage
Photo by 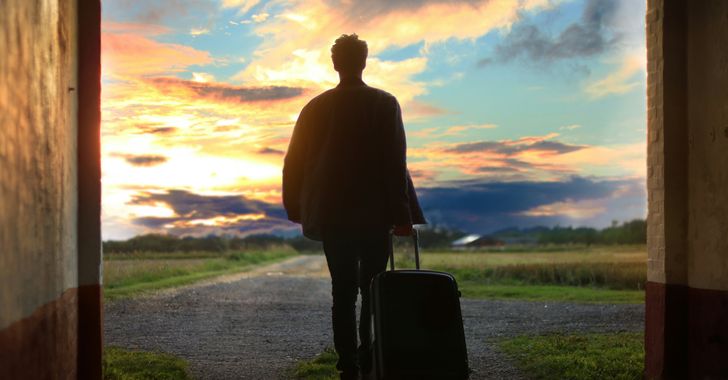 man holding luggage photo
Photo by
man holding luggage photo
Photo by  topless boy in blue denim jeans riding red bicycle during daytime
Photo by
topless boy in blue denim jeans riding red bicycle during daytime
Photo by  trust spelled with wooden letter blocks on a table
Photo by
trust spelled with wooden letter blocks on a table
Photo by 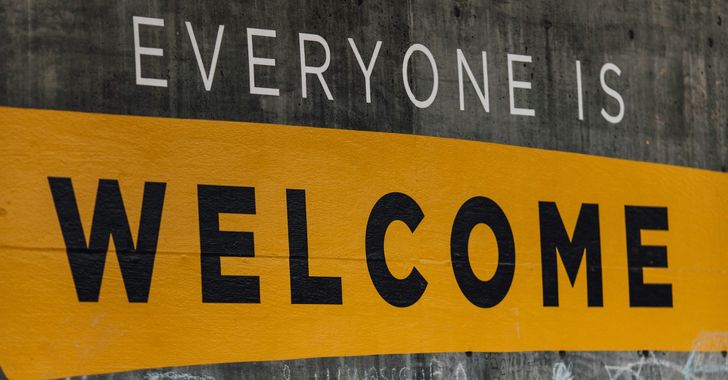 Everyone is Welcome signage
Photo by
Everyone is Welcome signage
Photo by  man with cap and background with red and pink wall l
Photo by
man with cap and background with red and pink wall l
Photo by 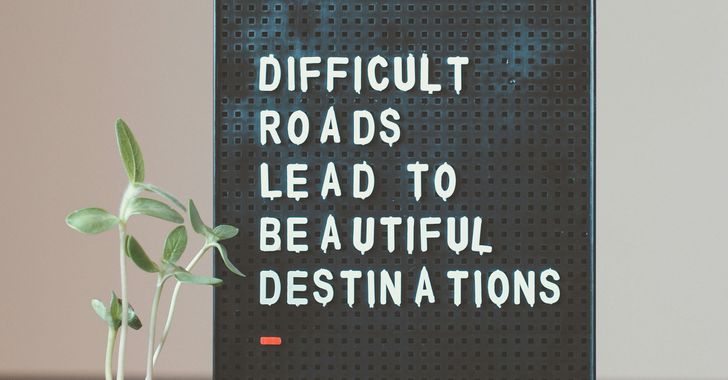 difficult roads lead to beautiful destinations desk decor
Photo by
difficult roads lead to beautiful destinations desk decor
Photo by 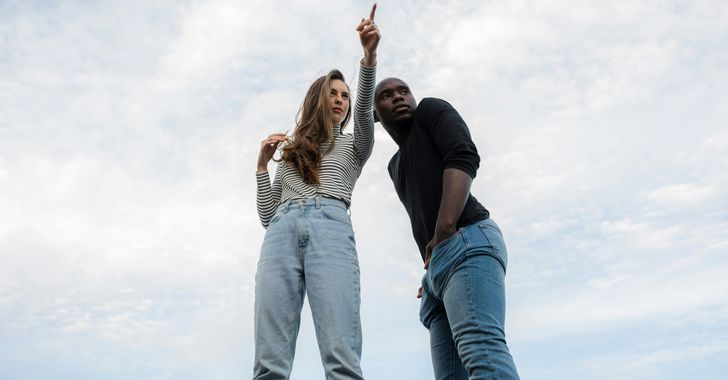 photography of woman pointing her finger near an man
Photo by
photography of woman pointing her finger near an man
Photo by  closeup photography of woman smiling
Photo by
closeup photography of woman smiling
Photo by  a man doing a trick on a skateboard
Photo by
a man doing a trick on a skateboard
Photo by  two men
  running man on bridge
Photo by
running man on bridge
Photo by  orange white and black bag
Photo by
orange white and black bag
Photo by  girl sitting on gray rocks
Photo by
girl sitting on gray rocks
Photo by  assorted-color painted wall with painting materials
Photo by
assorted-color painted wall with painting materials
Photo by  three women sitting on brown wooden bench
Photo by
three women sitting on brown wooden bench
Photo by 
 Photo by
  Photo by
  Photo by
  Photo by
 people sitting on chair in front of computer


