

During the summer season especially, anything flowery tends to be a trend and/or favorite. Be it designs, accessories, decorations, etc., flowers are an “it” thing that seemingly will never go out of style. Though they are in fact beautiful to display, they’re not exactly cheap – the real ones that is. These beautiful plants that people use for weddings, parties and more can put a slight dent in one’s wallet. Thankfully there are other creative alternatives for getting the “flower feel” but without spending as much. Years ago my mother taught me how to make beautiful tissue paper flowers. Not only are they fun and easy to make, but they legitimately look like an authentic flower. You can make and use them for almost any occasion. The step by step instructions below are rather easy to follow. I hope you all try to make these!
Step 1: Gather your materials
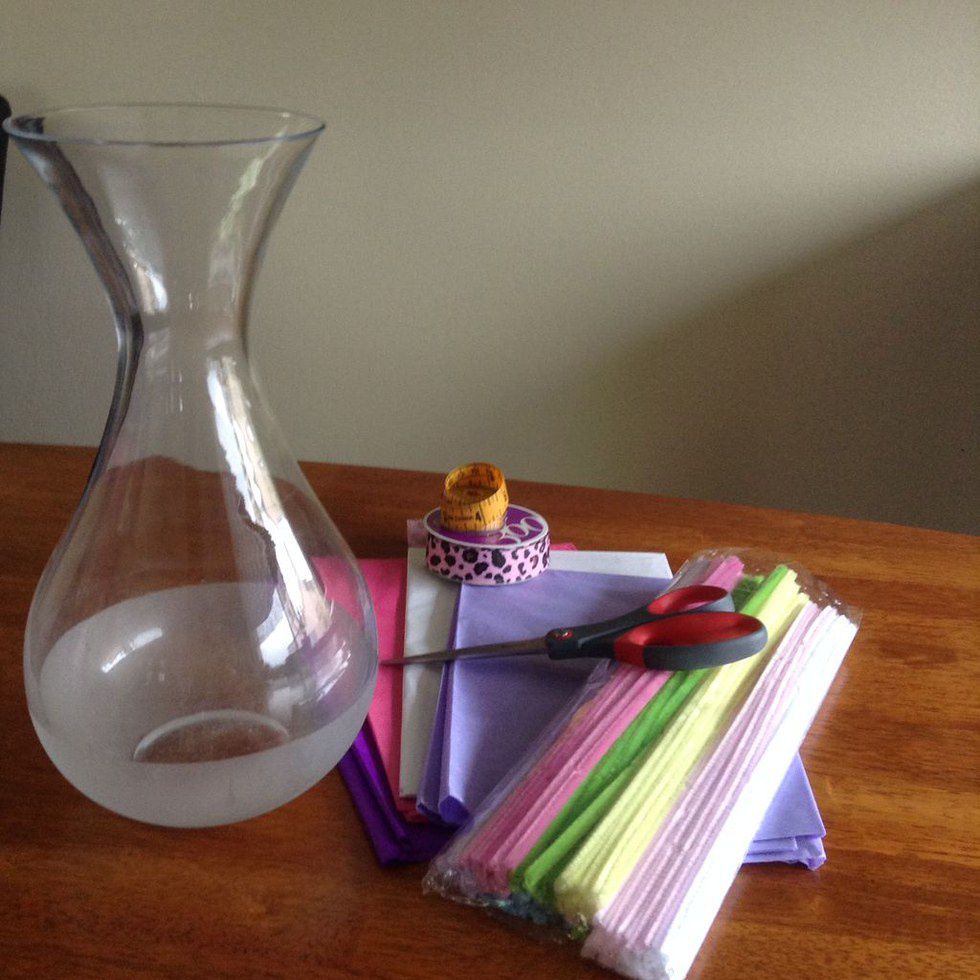
For the way my mother taught me how to make the flower, you’ll need tissue paper, scissors, a rubber band, a paper clip and ribbon. You could alternate these materials with crepe, pipe cleaners or flexible wires, and thread. Either way in the end, your flowers should come out beautifully.
Step 2: Prepare your tissue paper or crepe
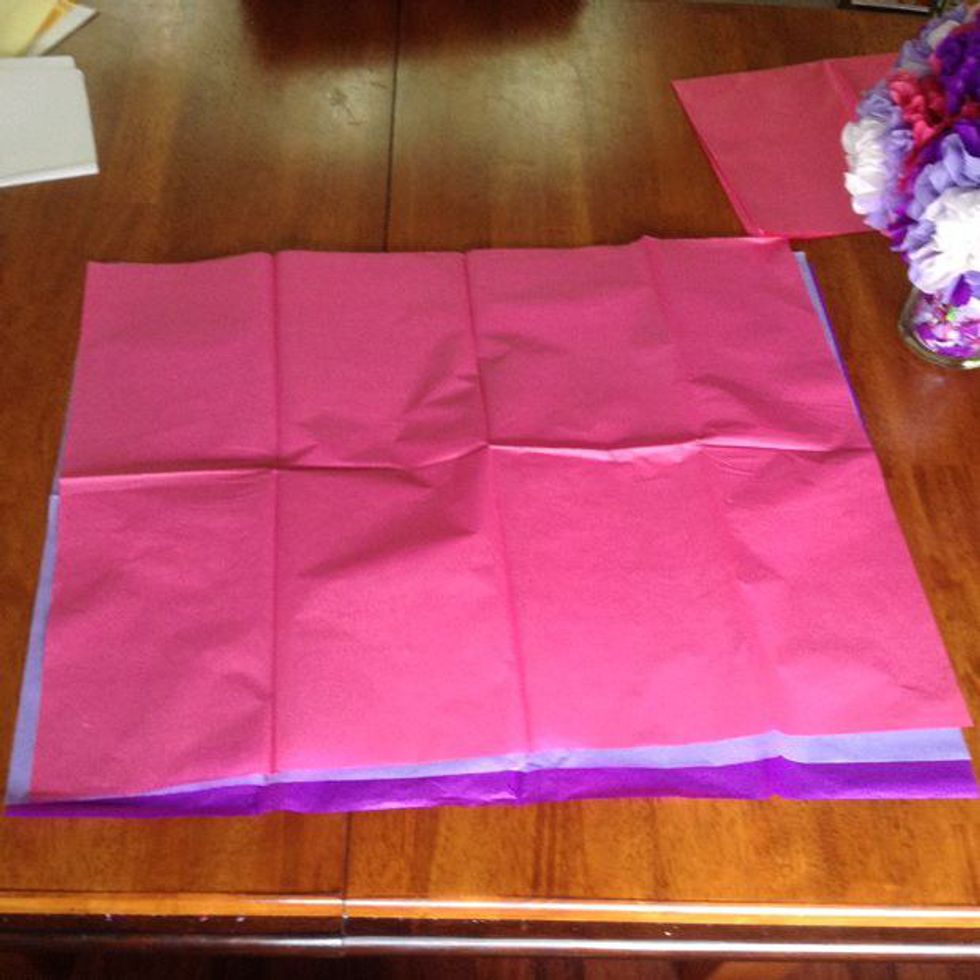
Lay the (unfolded) pieces of tissue paper or crepe (if you want a full looking flower, I suggest stacking a good amount of tissue paper or crepe) on the table and make sure there are no creases, folds, or rips.
Step 3: Decide on size of flower
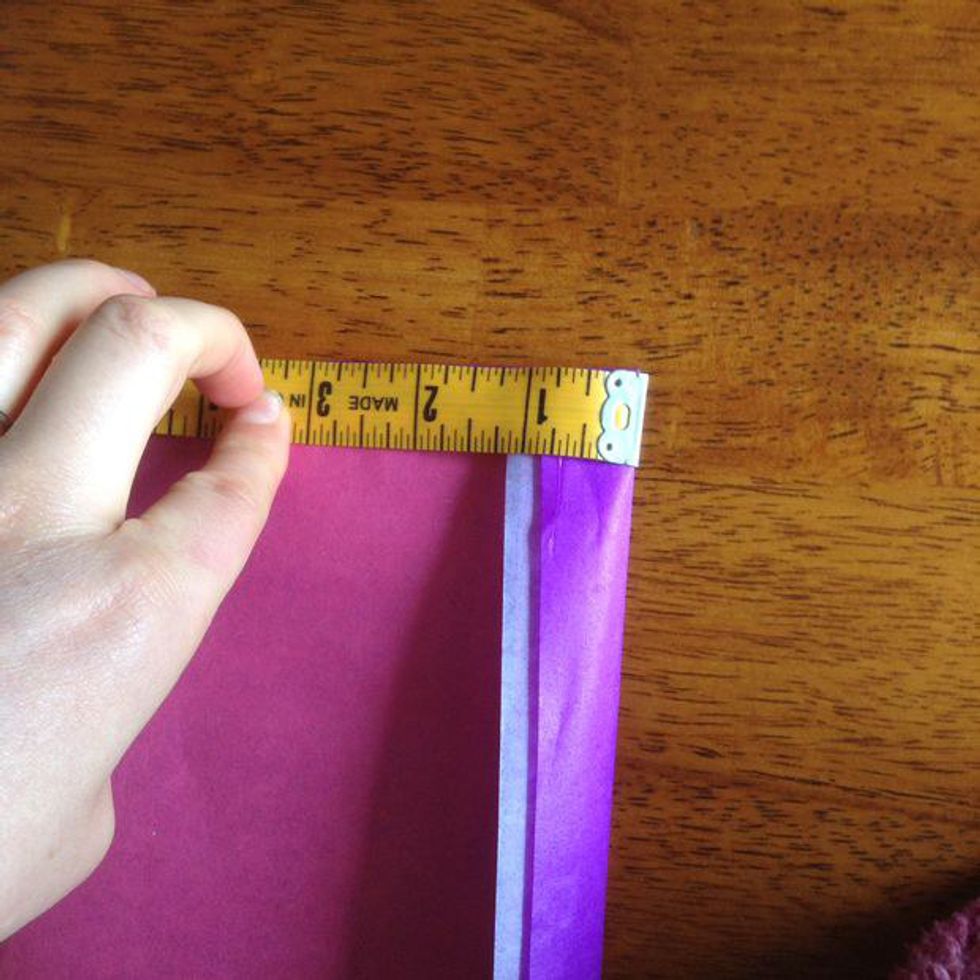
Depending on how big or small you want your flower to be, you may need to measure the size you want to cut out. If you want a big flower, however, you may not need to do any cutting.
Step 4: Fold
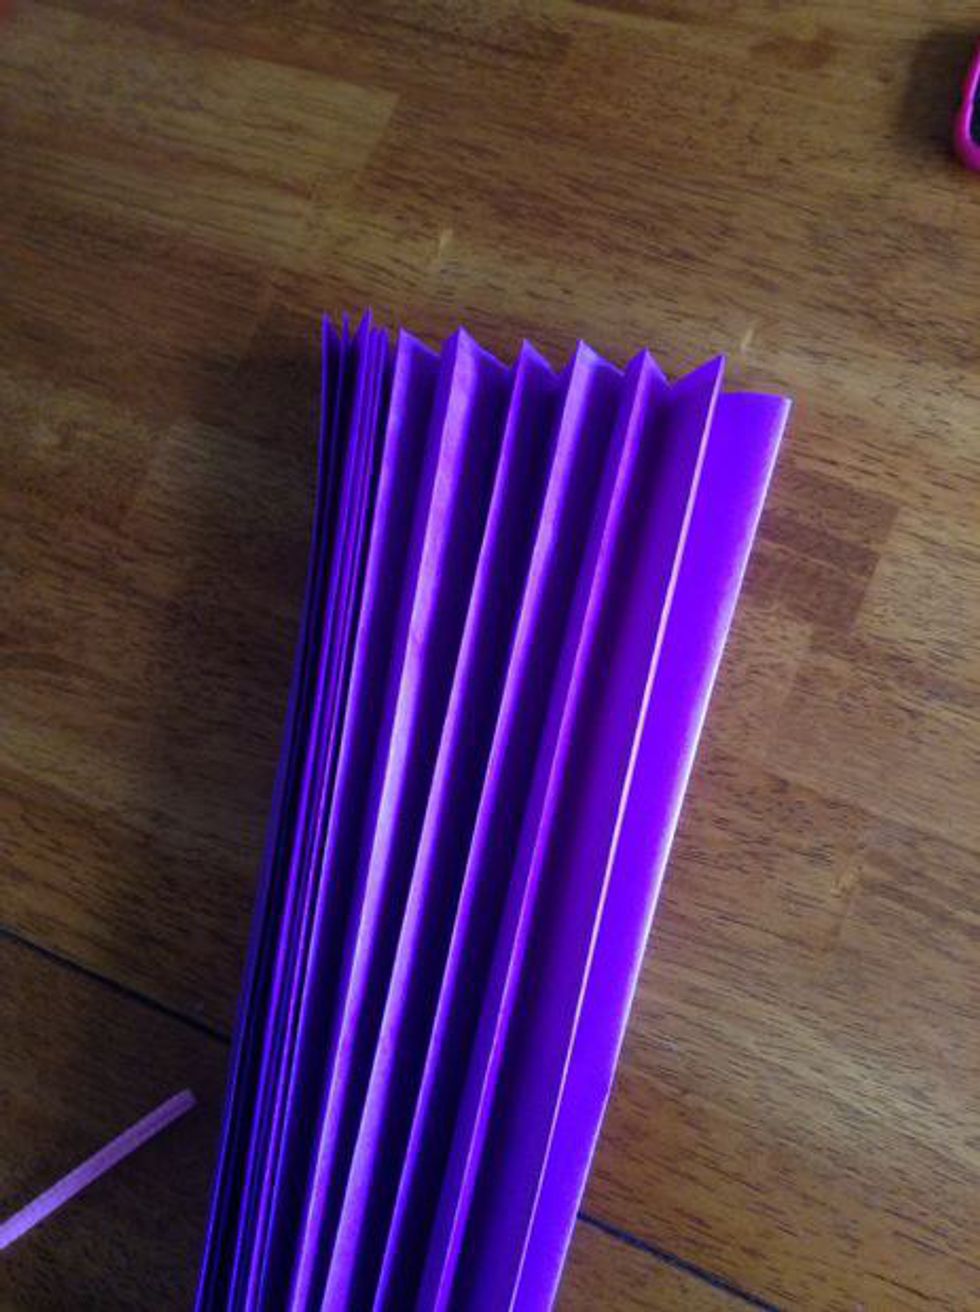
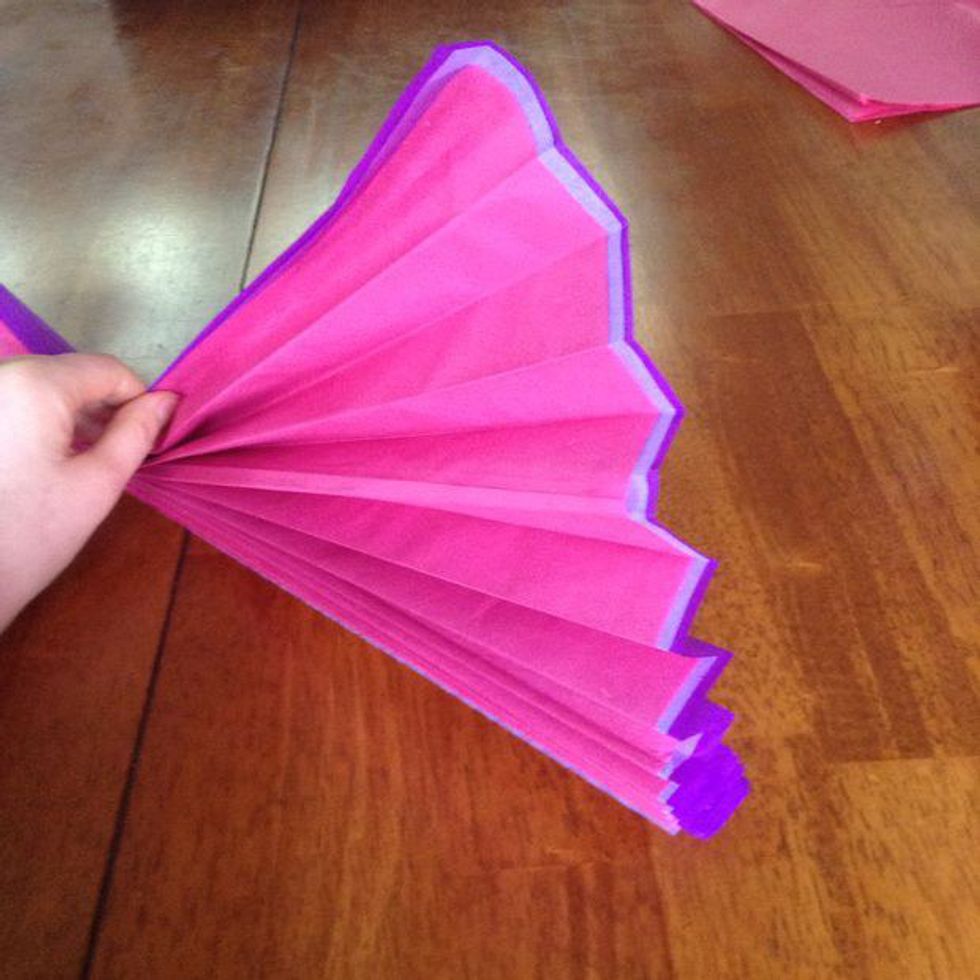
Take the stack of paper or crepe and fold it about one inch, turn it over, and fold the other side an inch also. When you’re finished, your tissue paper or crepe should have an accordion-like resemblance. You should then fold the accordion-like paper of crepe in half and tie the piece of ribbon (or pipe cleaner/flexible wire) around the center. Cut off the excess string (or pipe cleaner/flexible wire). Make sure that the string (or pipe cleaner/flexible wire) is exactly in the middle of the folded accordion-like paper or the end result of the flower will be a bit off.
Step 5: Making the flower “bloom”
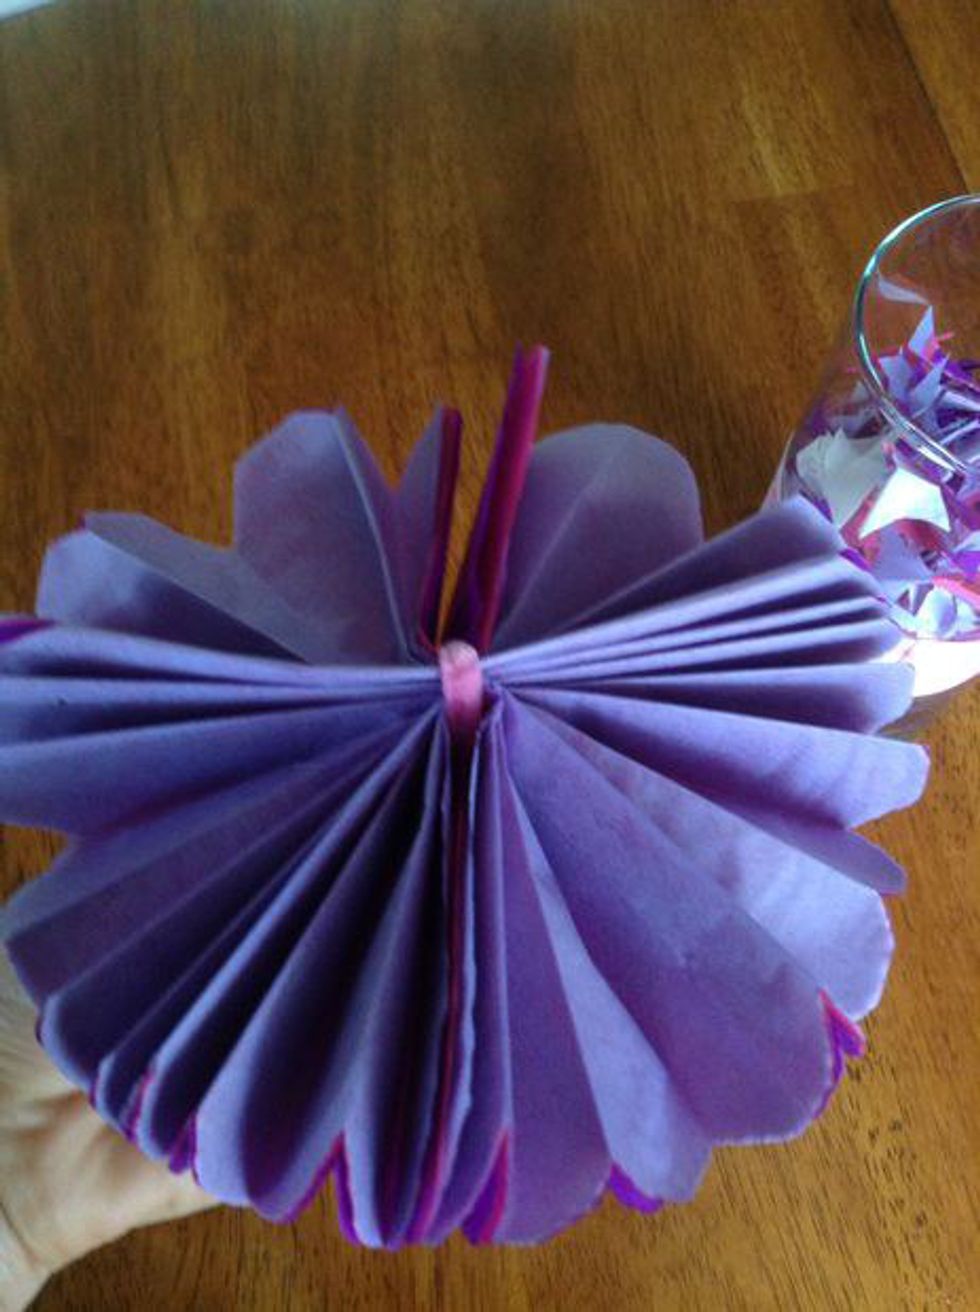
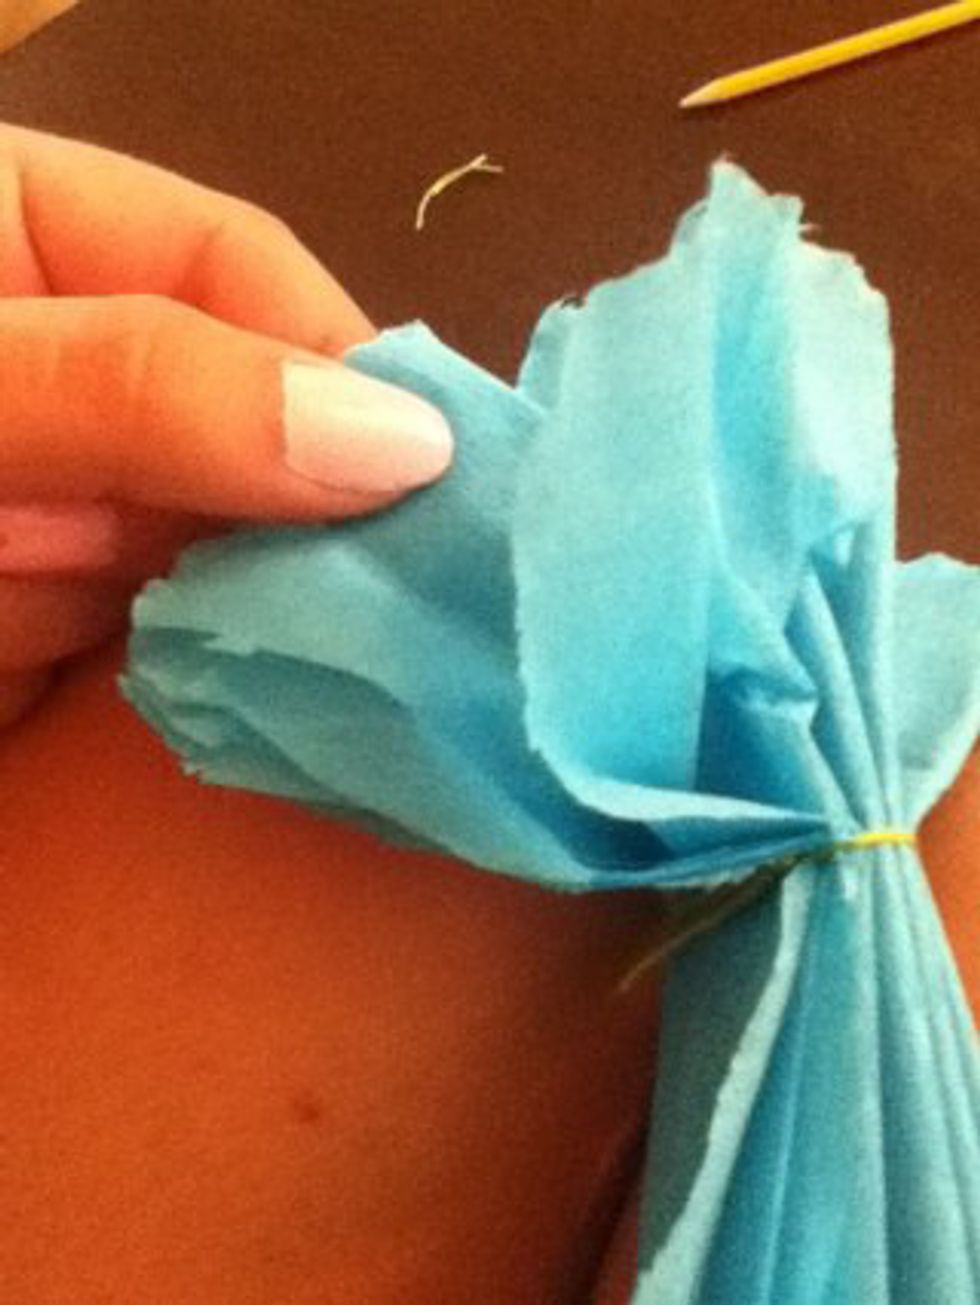
Gently open up the flower by lifting each piece of tissue paper one by one on both sides until you’re done. If this is not done gently, your end product won’t come out as nicely as it should.
Step 6: Decorate!
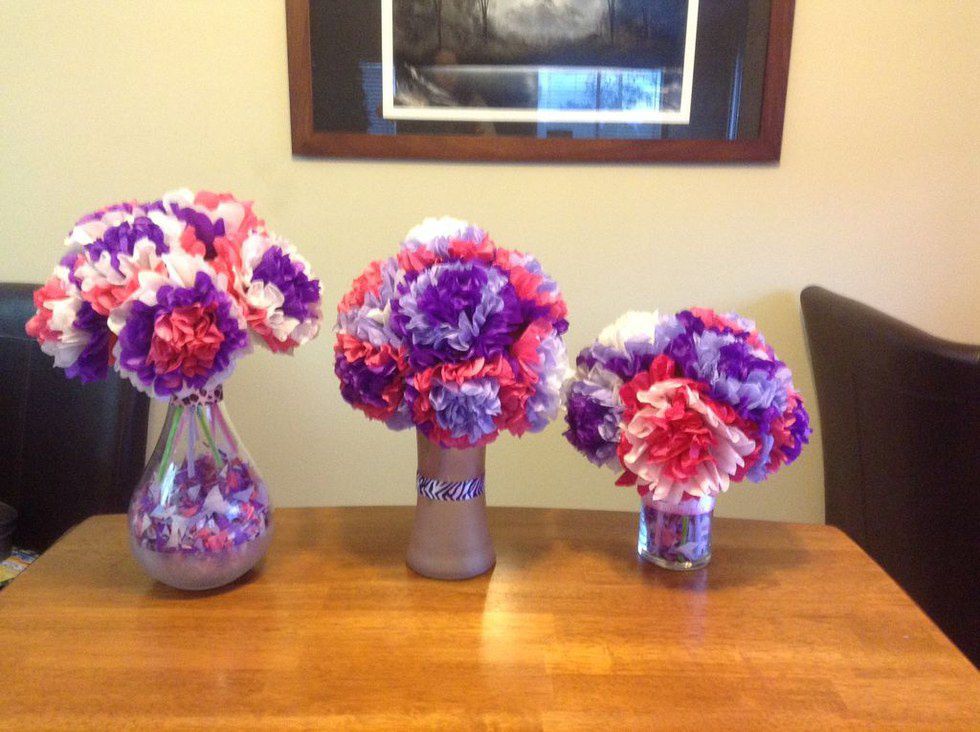
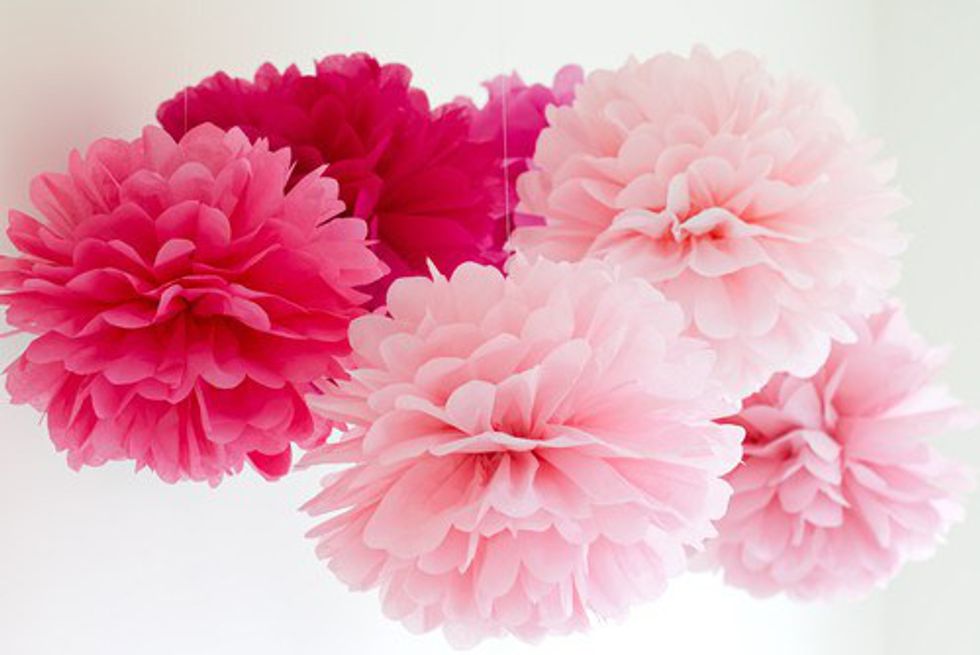
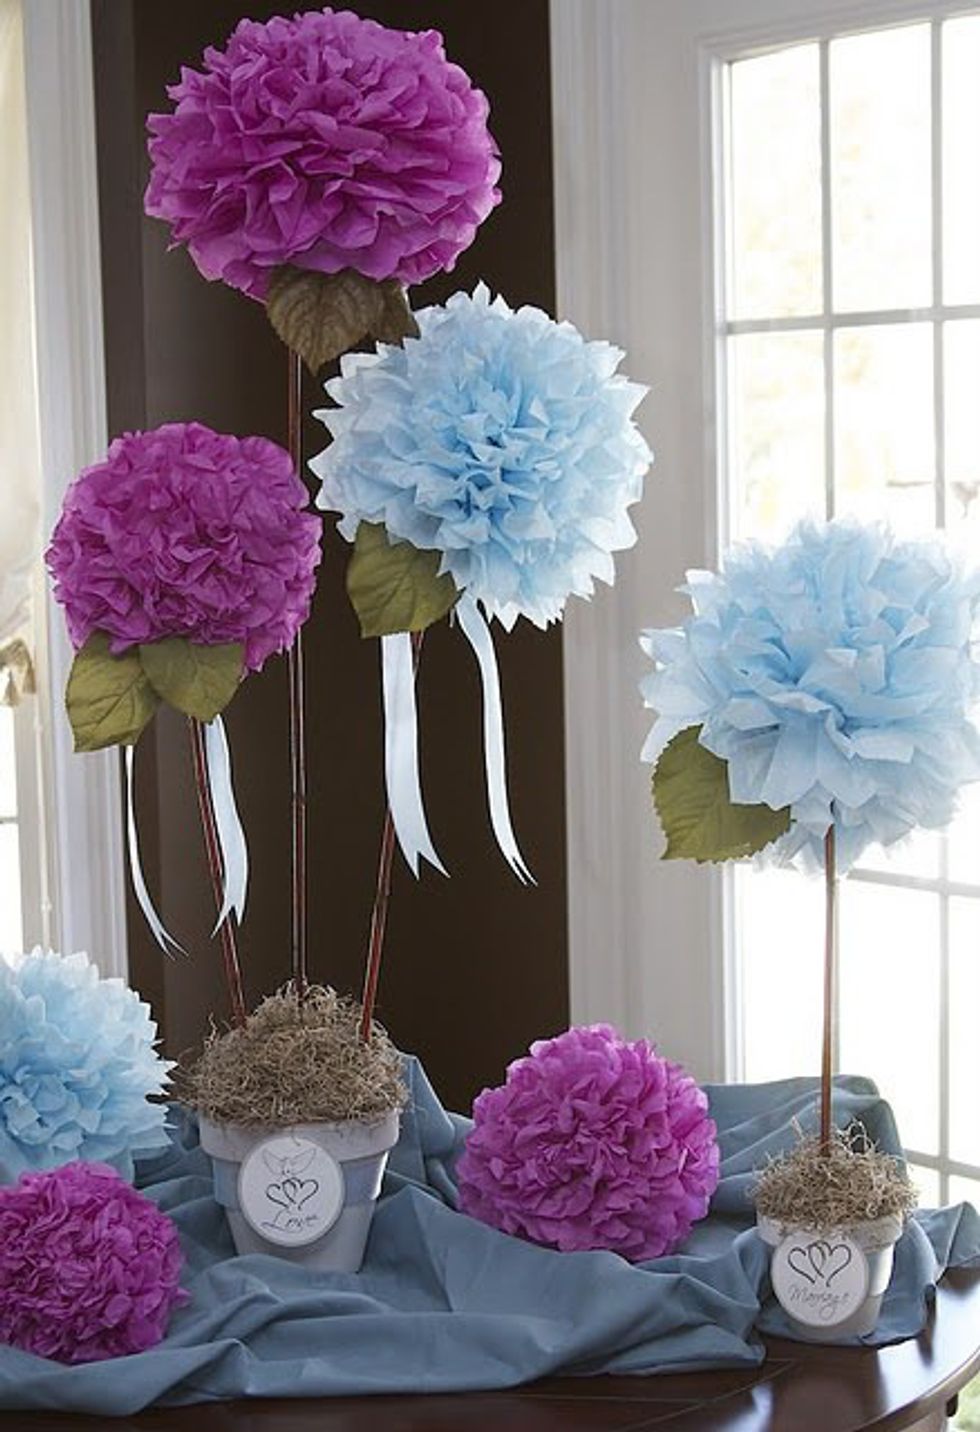
You can put these “flowers” in your dorm, as decoration for a birthday party, communion or any other special event(s) you may have. You could also simply put them in a vase and liven up the place with flowers that won’t die on you.
Two websites that can also help you make these flowers:
https://snapguide.com/guides/make-flowers-out-of-c...
http://www.instructables.com/id/Tissue-Paper-Flowe...
The materials needed to make these are actually easy to find. You can go to Dollar Tree, Michael’s Arts & Crafts and A.C. Moore; basically anywhere that sells art supplies. Since Labor Day is coming up, this will be a perfect time to try to make these. You won’t regret the result!
Have a spectacular week everyone, XO.