
I believe that the best types of gifts are homemade. There’s something special about someone putting in the time and dedication of making a gift. As often as I can, I try to make my friends and family gifts personal to them. The process of creating something new goes through many phases of trial and error. Along the way, I have discovered a great step-by-step process of making a paper, silhouette canvas with just a few inexpensive materials. I used a Disney character silhouette to create a fun, simple canvas that can be given as a children’s gift, hung in a dorm room, or even keep for yourself! This article articulates the steps, guidelines, and creative process of my simple silhouette design.
Step 1: Buy Your Materials
All the materials listed below can be found at your local craft store. Many of the materials may also be used again if you end up enjoying this creative process!
Materials You’ll Need:
- Canvas (a small 8” by 8” or 8” by 11” is the perfect size for this project)
- Acrylic black paint
- Black cardstock paper
- Scissors
- Scrapbook paper of your choosing
- Modge Podge (matte or gloss depending on your preference)
- Large paint brush
- Brayer (similar to a rolling pin)
Step 2: Paint Your Canvas
The first step of this project is to paint your canvas completely. Acrylic paint is the best paint to use for this project because it dries fairly quickly and it is easy to use. I suggested using black to paint your canvas, but any color will suffice as long as the entire canvas is covered! You might have to paint a second coat if you see paint streaks.
Step 3: Pick Your Silhouette
For my canvas, I chose the Disney Princess Ariel as my silhouette. I just googled “Ariel Silhouette” and hundreds of options came up. I searched until I found the picture I wanted and printed it out to a suitable size for my canvas. You may have to print your picture a couple times before you are satisfied with the size of your silhouette.
Step 4: Cut Your Paper/Templates
First, cut the piece of scrapbook paper that you chose to the size of your canvas. For example, if you have an 8” by 8” canvas, cut your paper 7½” to 7½”. By cutting your paper a little smaller than your canvas, it will create a border to frame your work. Then, cut the Disney silhouette you chose from the Internet. This will serve as your template for your design.

This is the piece of scrapbook paper I chose to go with the Under the Sea theme!
Step 5: Trace Your Template/Cut Them Out
Now, trace your template with a pencil on a piece of your black cardstock paper. Cardstock is just thick paper. Keep in mind that you will have to turn the template upside down so that when you trace it, the design will not be backwards. Once the template is traced, cut out your silhouette. This process always takes me awhile, especially if the design is intricate. Take your time and have patience with this step!

These are my cut out silhouettes! The cardstock paper is strong and durable!
Step 6: Lay Out Your Design
Before you start gluing and making your design permanent, lay out and visualize your design! The large piece of scrap will serve as your background while the silhouettes will lay on top of it.
Step 7: Gluing (Yikes!)
This is definitely the most difficult part of the process. I highly recommend completing this process with scrap materials before gluing your actual project. To glue everything down you’re going to use Modge Podge, a paint brush, and a brayer. Modge Podge is a liquid glue that will be become your best friend. As I stated earlier in the listed materials section, you can choose from a gloss finish or a matte finish. Modge Podge comes in both and it is totally up to you as the creator which finish you prefer. To start this process, lay out the pre-cut scrapbook background paper and silhouette(s) UPSIDE DOWN. Laying the pieces of paper upside down will make your life ten times easier. You will be painting the glue completely over the canvas, background paper, and silhouette pieces. The gluing process MUST be done quickly in order to keep the glue from drying before the design is placed.
First, completely coat the canvas with Modge Podge using a large paint brush. Then, completely coat the BACK of the background paper with glue. Place the background paper on the canvas exactly in the middle. Because both the canvas and the paper are wet with glue, you are able to adjust the piece of paper if necessary. Now, completely coat the top of the paper with a layer of Modge Podge with the paint brush again. Then, grab the brayer and smooth out all the bubbles that have formed underneath the paper. Next, place your cardstock silhouettes where you want them and paint over them with glue as well. Use the brayer one last time quickly, and then LEAVE IT ALONE. If you mess with the canvas while the glue is drying, the paper may tear and ruin your design. Right now your canvas will look like a heap of glue and that’s OK! Modge Podge dries completely clear within an hour or two.

This is what your canvas will look like covered in glue!
Step 8: Add Your Own Creative Flare
After you have let your canvas dry completely, feel free to add any details you want! Sometimes I like to add silver gems after my canvas has dried to add a sparkly affect. Make your canvas your own with sequins, stickers, or paint!
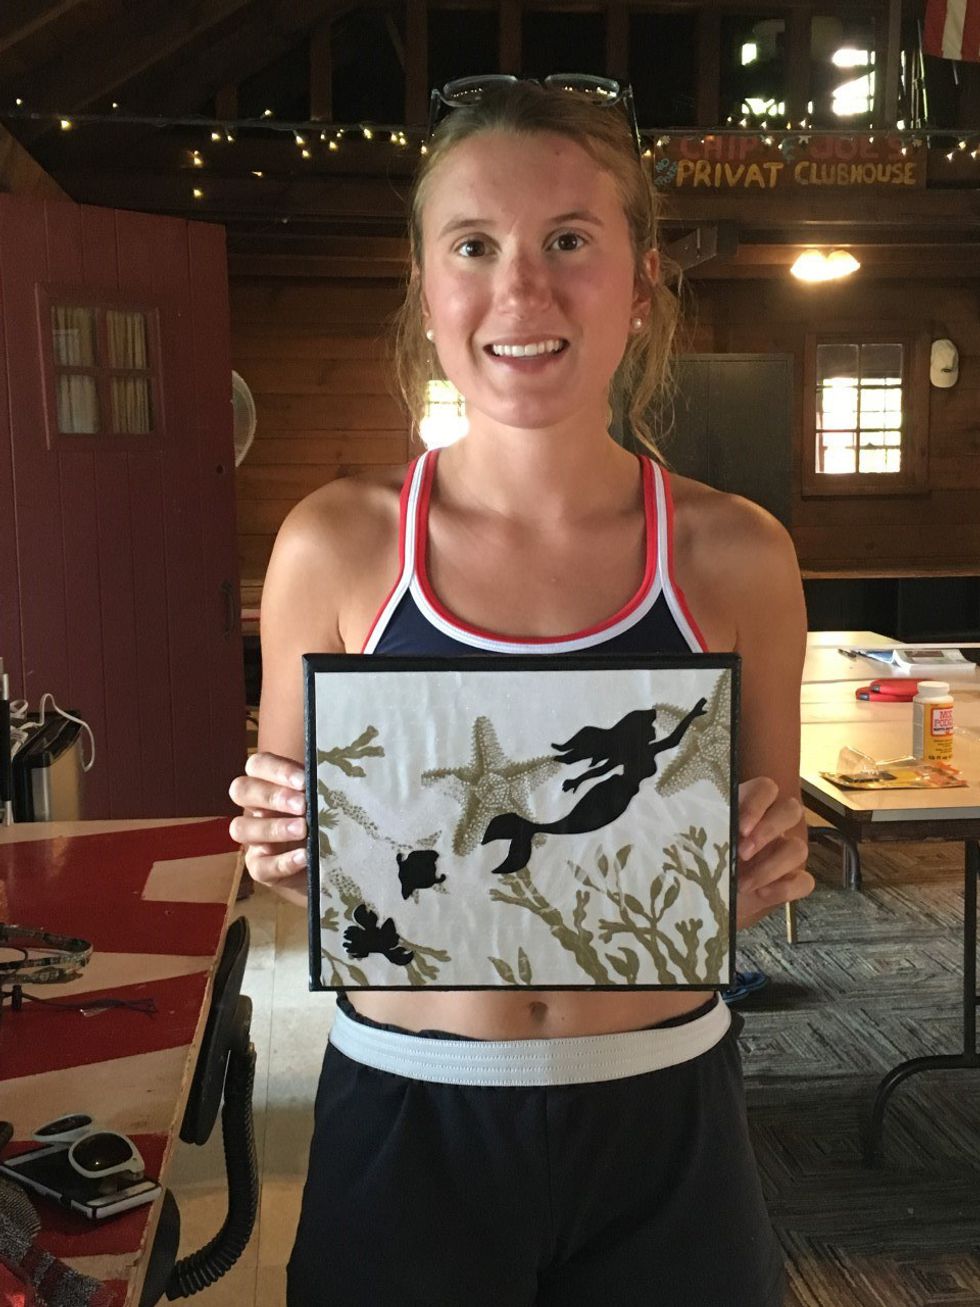
This is me with the final piece!
I hope if you have attempted this project you have enjoyed it! Feel free to comment below if you have any questions! Thank you!