Back to school time is always a roller coaster of feelings. Incoming 9th graders are on cloud nine, getting pumped up over new lockers and a bigger lunch room. While the seniors are dreading the same exact things, ready to push through their last year of high school. Even college students can't decide how they feel about starting another year of school. But back to school time doesn't always have to be dreadful and boring.
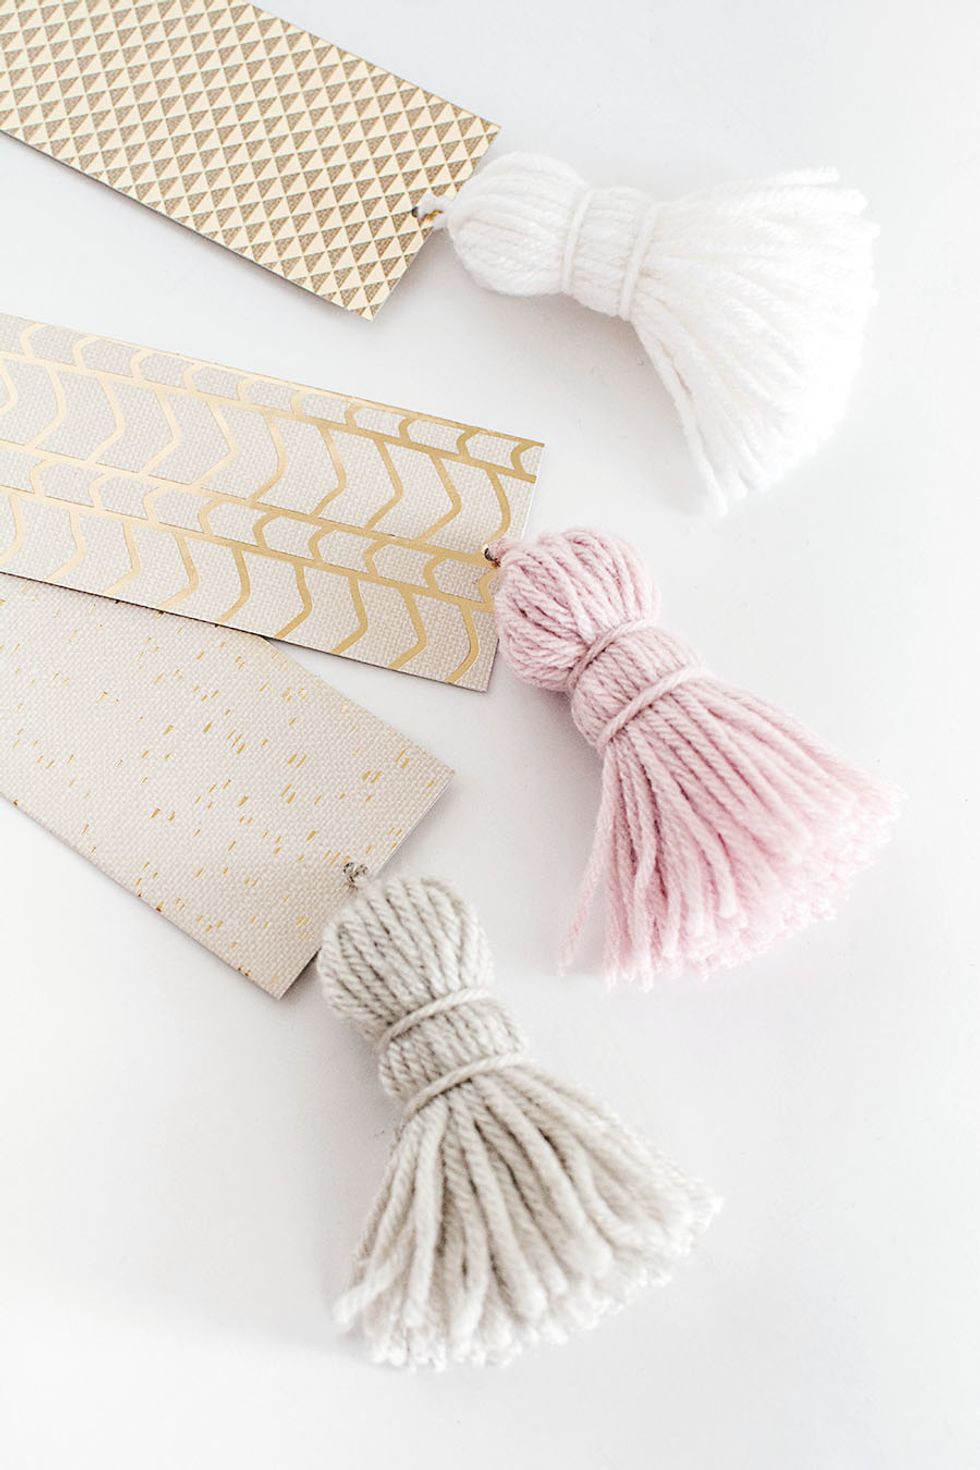
Tassel Bookmarks
https://www.homeyohmy.com/diy-chunky-tassel-bookmarks/
Original Link: DIY Chunky Tassel Bookmarks
-------------------------------------------------------------------------------
What You'll Need:
- Yarn
- Scissors
- Cardboard
- Ruler
- Pencil
- Cardstock
- Mod Podge
- Foam Brush
- Hole Puncher
-------------------------------------------------------------------------------
Steps:
(See original link for pictures of the steps)
1. Wrap yarn about 50 times around a piece of cardboard that's 3.5 inches wide, then cut off the excess yarn.
2. Slide a piece of yarn under all the yarn wrapped around the cardboard, then double knot it at the top. Cut all the yarn on the opposite side, then tightly double knot a piece of yarn near the top to make the head of the tassel. Tightly double knot a piece of yarn underneath the previous piece of yarn and cut off all excess yarn and scraggly ends.
3. Measure and cut out a 4.5×6.5″ piece of cardstock.
4. Fold the cardstock in half length-wise. Apply a thin layer of Mod Podge with a foam brush on the inside of the cardstock, then fold it back and let it dry.
5. Punch a hole at the top of the bookmark. Double knot the tassel through the hole and cut off the excess yarn.
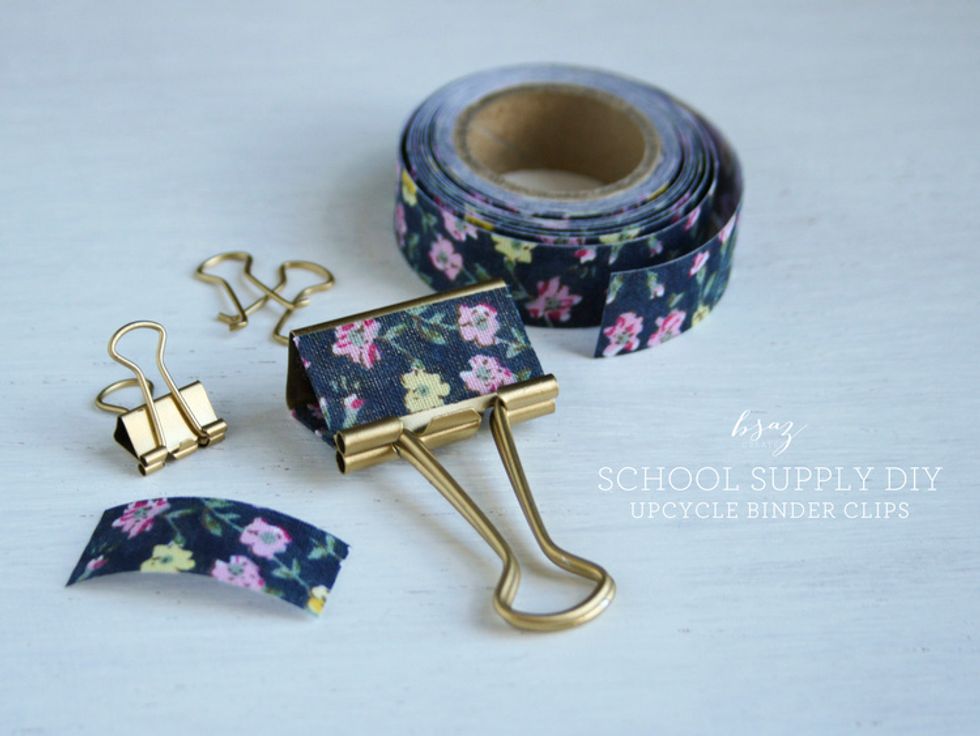
Washi Tape Binder Clips
http://www.bsazcreates.com/blog/2014/9/4/school-supply-diy-upcycle-binder-clips
Original Link: Upcycle Binder Clips
-------------------------------------------------------------------------------
What You'll Need:
- Old Binder Clips
- Fabric Tape/Washi Tape
- Spray Paint
-------------------------------------------------------------------------------
Steps:
(See original link for pictures of steps)
1. Start by taking apart the binder clips. Each clip will have 3 parts (1 clips + 2 "arms").
2. Layout all pieces (outdoors) on cardboard or other paintable surfaces.
3. With your spray paint color of choice, cover all pieces equally.
4. Once dried, flip pieces over to coat the other sides until the pieces of fully covered.
5. Carefully reinsert the "arms" into the clips.
6. For the solid gold binder clips, this is where your project creating ends.
7. If you want to add a more handmade touch, you can add a strip of fabric tape (or washi tape) to either side of the "clip".
Stamped Pencil Pouch

http://almostmakesperfect.com/2015/09/09/diy-stamped-pencil-pouches/
Original Link: DIY Stamped Pencil Pouches
-------------------------------------------------------------------------------
What You'll Need:
- Blank canvas pencil pouches
- Craft foam with adhesive backing
- Corkboard (or anything to use as a base (foam core could also work))
- Fabric paint
- Foam brush
-------------------------------------------------------------------------------
Steps:
(See original link for pictures of steps)
1. Double up your craft foam to make it thicker. Stick one piece onto another piece. You could even triple it up if you want.
2. Cut out your desired shapes from your craft foam. Stick them onto a piece of corkboard and then cut the cork to suit the size of your stamp.
3. Flatten out your pencil pouches, and test out your stamp(s) on some scrap paper before using on the cloth. Saturate your stamp with some paint, and stamp away!
4. Let it fully dry before stamping the other side.
Washi Tape Dry Erase Frame

https://www.iheartnaptime.net/washi-tape-crafts/
Original Link: Washi Tape Dry Erase Frame
-------------------------------------------------------------------------------
What You'll Need:
- Picture Frame
- Washi Tape
- White Paper
- Dry Erase Markers/Eraser
-------------------------------------------------------------------------------
Steps:
1. Take a frame and cover the top clear piece with washi tape.
2. Tuck the ends of the tape on the backside.
3. Place a 4×6 white piece of paper behind it to cover the ends.
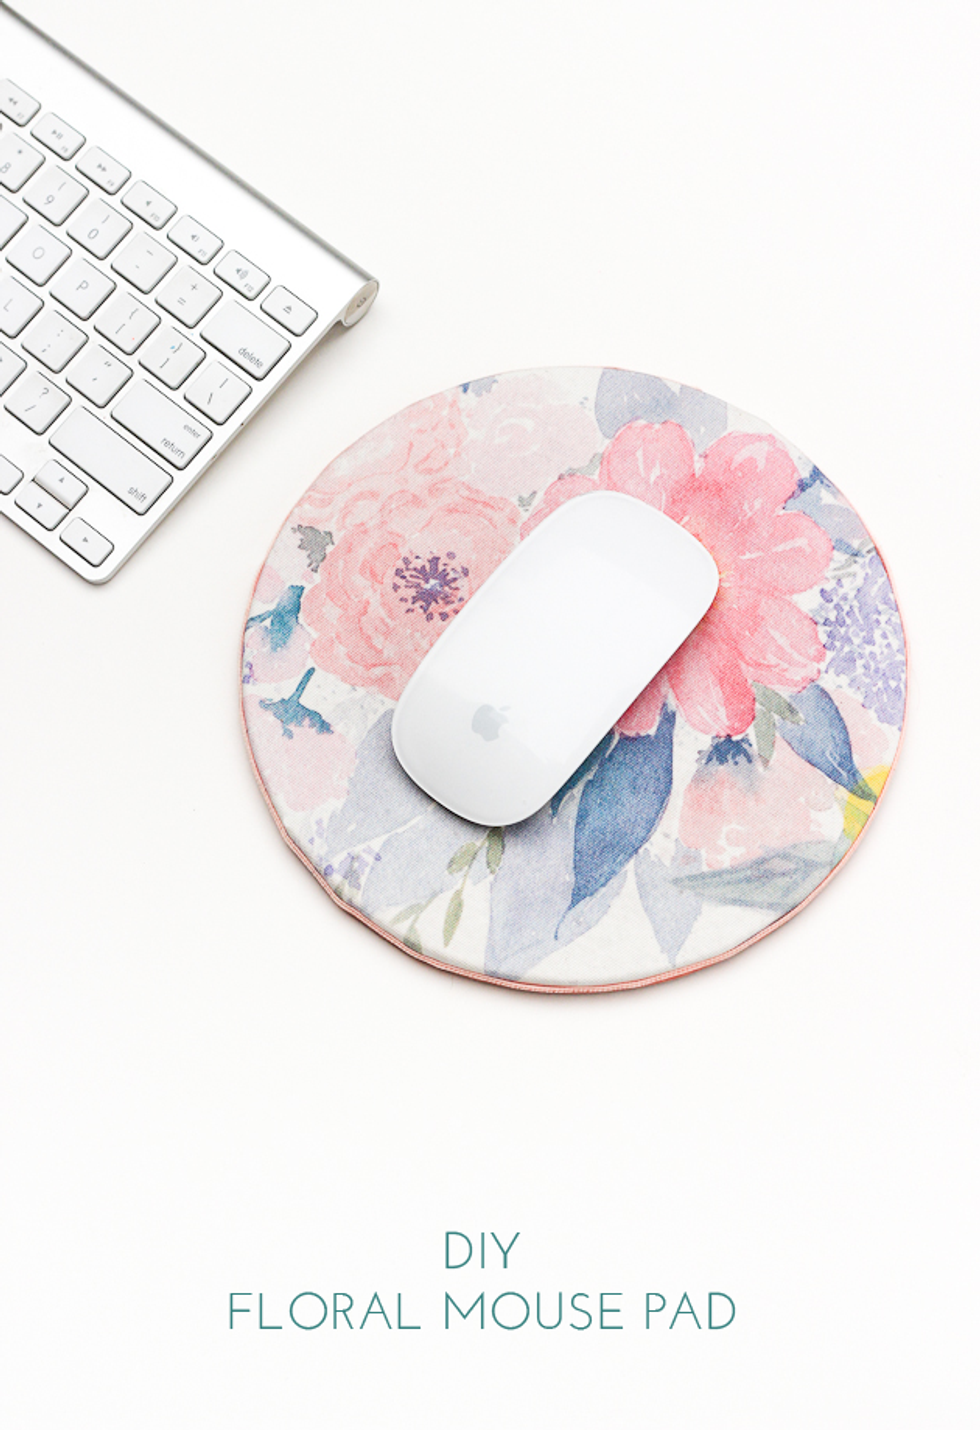
Floral Mouse Pad
https://thecraftedlife.com/diy-floral-mouse-pad-for-spring/
Original Link: DIY Floral Mouse Pad
-------------------------------------------------------------------------------
What You'll Need:
- Fabric Mod Podge
- Cork Round
- Fabric
- Scissors
- Sponge Brush
-------------------------------------------------------------------------------
Steps:
(See original link for pictures of steps)
1. Cut your fabric to fit your cork round, leaving about 2″ of overhang.
2. Apply glue to cork and smooth fabric on top. Fold the excess fabric over the edge, smoothing underneath.
2a. You could also glue a second cork round to the bottom, placing the extra fabric in-between if you didn't want it to show on the bottom.
3. Let dry overnight before use.
- 8 DIY Dorm Room Decors You Don't Need To Be Majoring In DIY ... ›
- 7 Things to do before going back to school ›
- 111 Best DIY school supplies images | School Supplies, School, Crafts ›
- 25 DIY School Supplies to Make for Back-to-School ›
- Back-To-School DIY Ideas - How to Get Ready to Go Back to School ›
- DIY BACK TO SCHOOL HACKS 2016 | LaurDIY - YouTube ›
- 37 Awesome DIYs To Make Before School Starts ›
- 19 Easy Back-to-School DIY Projects ›
- 50 Best Back to School DIY Ideas ›
- How To DIY School Supplies ›
- DIY BACK TO SCHOOL SUPPLIES 2018! - YouTube ›