


Do you love watching YouTube videos? Do you want to start a YouTube channel yourself or do you need one for a class project? Don’t be scared. Making videos may not be as hard as you think. Whether you want to document your fun weekend trips or make short films based on a script that you have written, start making the videos or vlogs that you have been dreaming of, instantly. Just pack these necessities, and you'll be all set:
1. Camera
Inevitably, the first thing you need is a camera. There are many options that you can choose from. Try not to limit your choices, and think about the kind of projects that you plan on working. Is it a short film that requires more manual control, or is it a vlog that documents an adventure? Always keep in mind that an expensive camera does not necessarily mean better results; the content is far more important than the gear that you are using. Nonetheless, you still need a camera in order to shoot videos, so evaluate your budget and put in the effort to research.
DSLR
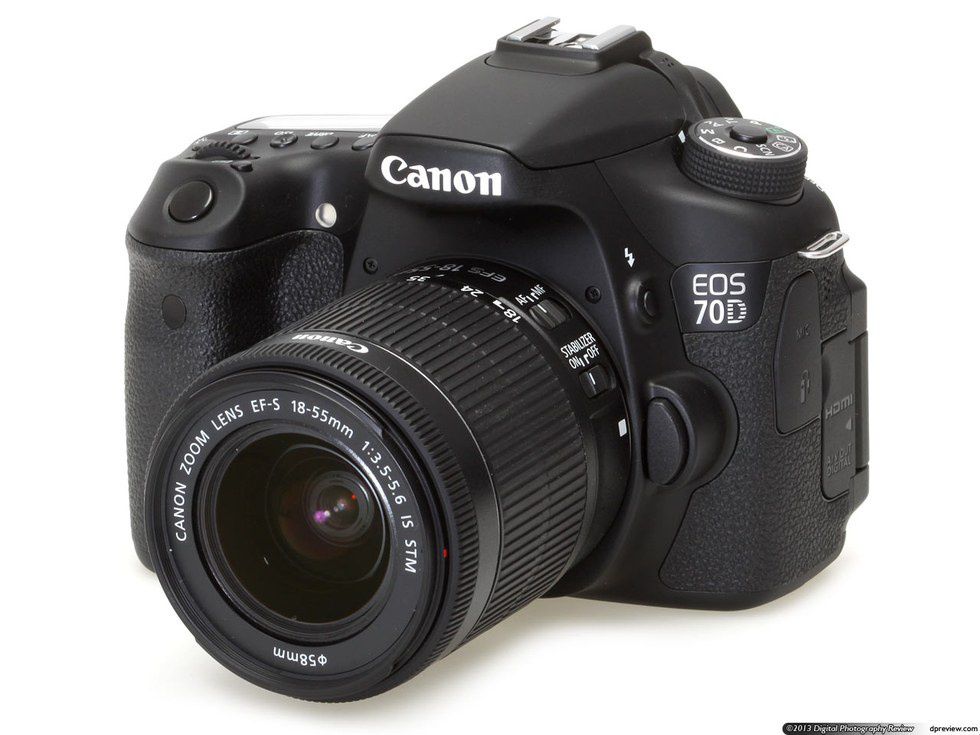
Price range: $500 to $1000
If you already own a DSLR camera, congratulations, you can skip this section. If you want to be able to change lenses and manually control settings such as aperture, focus etc., save up your money and get a Canon T3i or even a 70D if you plan on going into more advanced work. Having a DSLR will definitely give you that shallow depth of field look that you see on YouTube. However, if you are on a tighter budget or simply do not care enough, the truth is that you might not even need a DSLR. Keep reading for other, more feasible options that will also provide stunning footage.
Point & Shoot
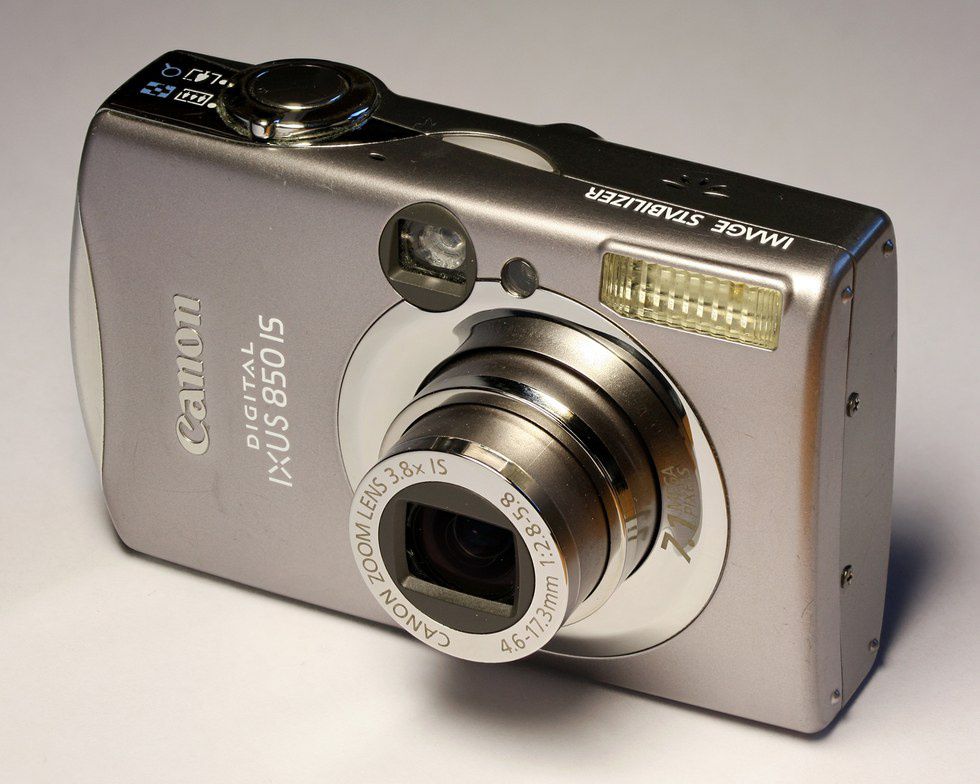
Price Range: $100 to $500
The reason why these are called "point and shoot" cameras is because you can literally point your camera anywhere you want and start shooting -- you don't need any prior photography knowledge and you don't need to know anything about how to adjust your focus or change the ISO. Everything is automatic. If you want to start vlogging or documenting trips and you don't need to manually control anything, point and shoot cameras are perfect for you. They provide excellent quality footage, such as Full 1080p HD video with stereo sound. As small as your wallet, they are ideal to bring on camping trips or to pack in your backpack, and they do not require additional equipment.
Smart Phone
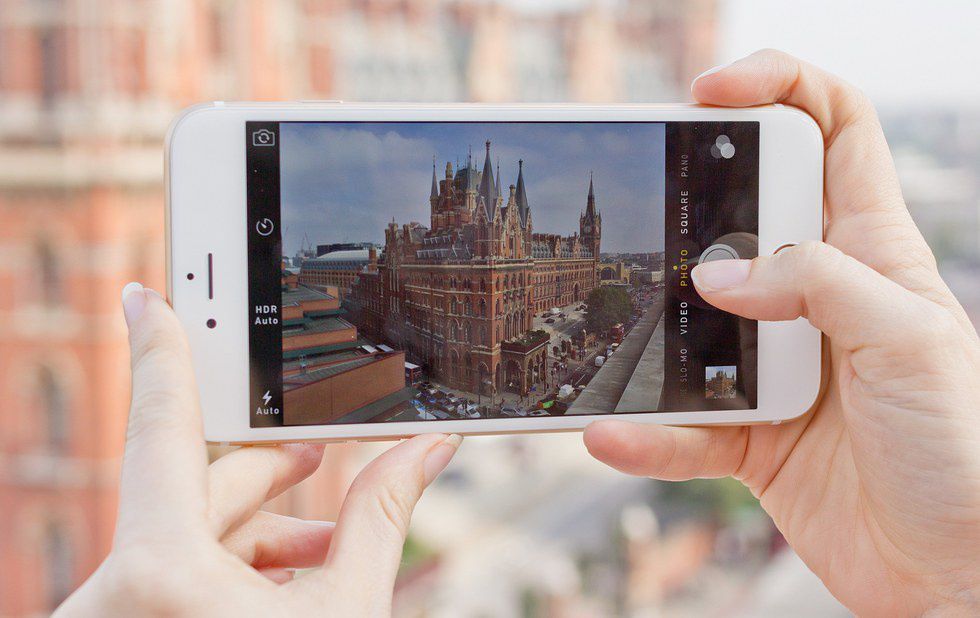
Price Range: $0 (assuming you already have one)
To be honest, you don’t need to spend any money at all if you only need to make one video for your class project or just do not like spending money yet you want to give videography a shot, take out your iPhone or Android smartphone. Most of them have HD video function and are equipped with decent microphone. Even your iPod touch has 8-megapixel iSight camera, allowing you to shoot slow motion videos at 120 fps in 720p. There is an entire film festival that requires 70 percent of the footage shot on a mobile device. Not to mention, there are many video editing applications that are available directly on your smartphone, so you don’t even have to add the extra step of uploading you footage to a computer to edit.
2. Microphone
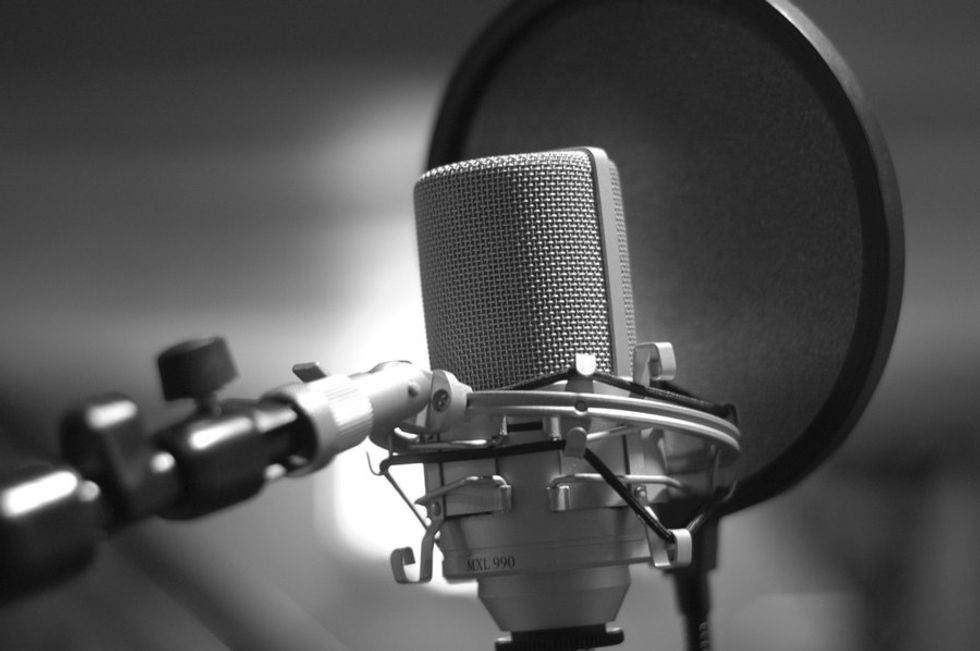
So now that you have your camera -- whether it is your phone or a DSLR -- you need some good audio. Trust me, without good audio, the quality of your video will be compromised even if you have clear HD footage. Believe it or not, getting decent audio isn’t that hard. Before purchasing or renting equipment, think ahead and figure out the type of situation for which you're trying to record. Tip: avoid sticking with the built-in microphone on your camera.
Interview

For interviewing, a Lavalier microphone is your best friend. Not only are they cheap to get, but they can easily upgrade your audio game. Put it near your subject, clip it on their shirt collar, and I guarantee that you will not regret spending the money.
On The Go
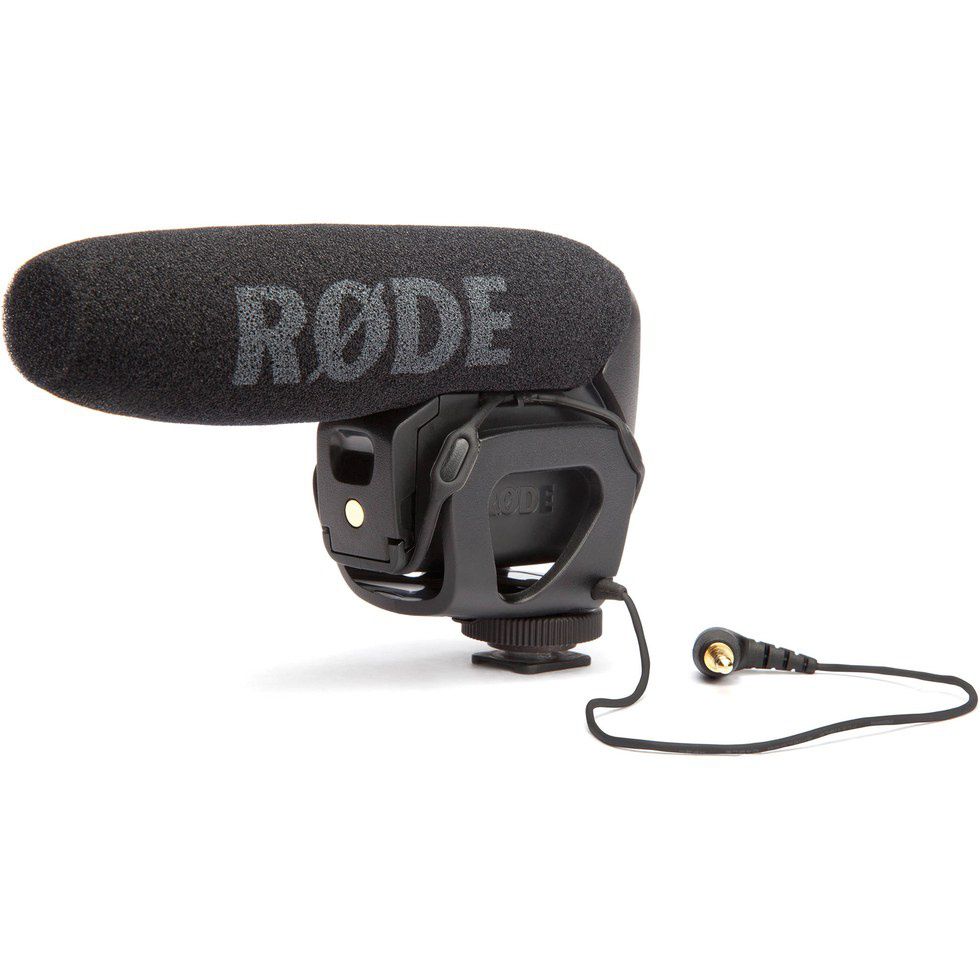
If you are trying to record many things at the same time, or if you're on the go and don't have time to clip a microphone onto your subject, get a directional microphone such as the Rode VideoMic Pro, and simply point it toward the source of your sound.
Easy Alternative
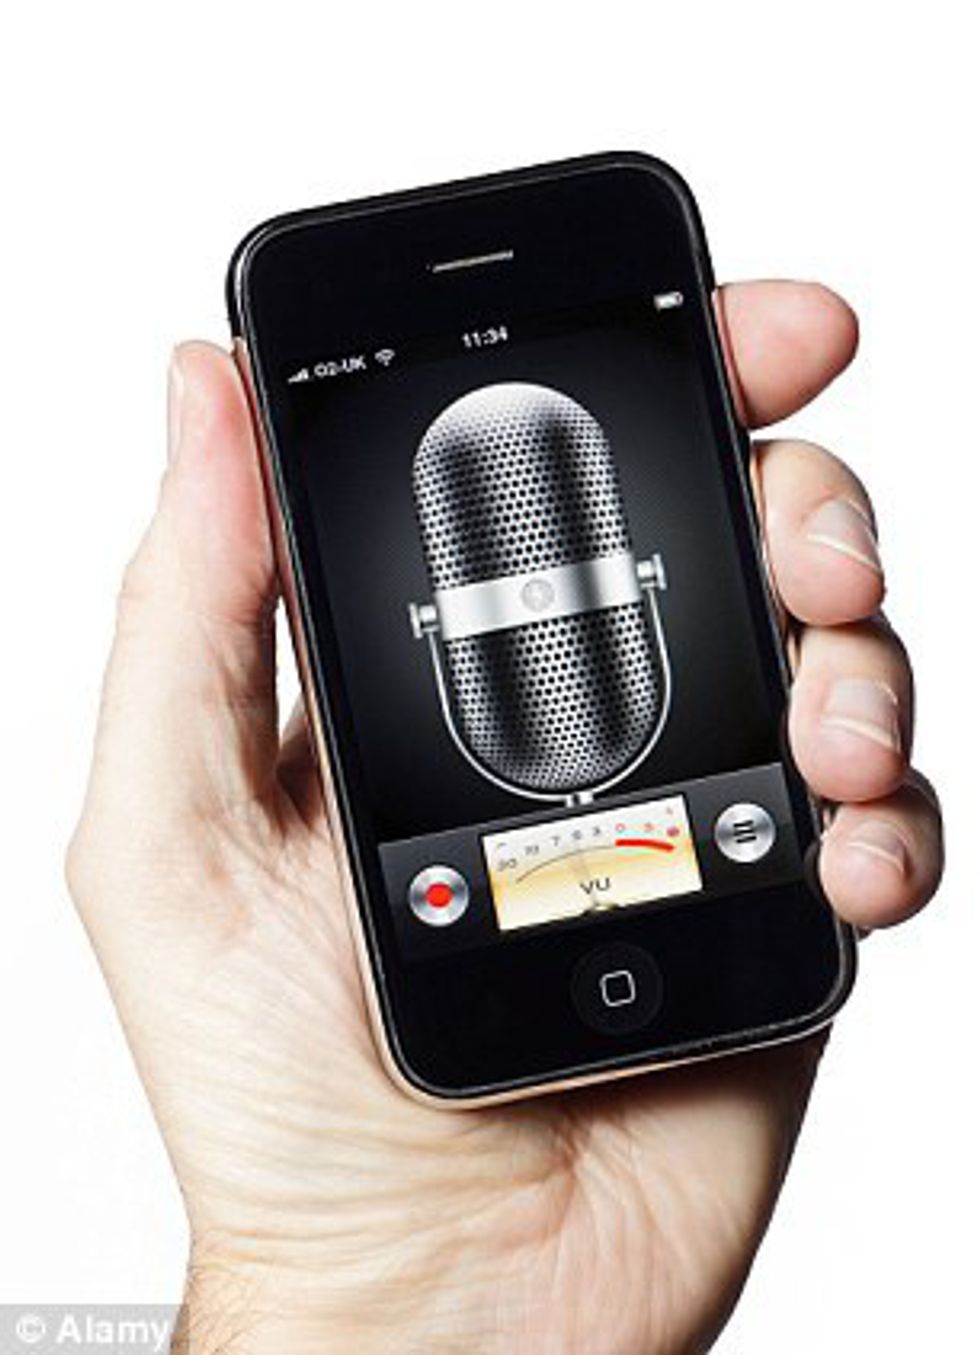
Here is where your smartphone saves you again. Any iPhone has a pretty good microphone and can be used for audio recording. The only problem is if you are trying to record video on your smart phone as well -- make sure you have a second smart phone that you can use to separately record audio, which can be placed much closer to the subject than your camera.
3. Lighting
Now you're fully equipped and ready to go. But wait a second. Don't you want your video to have a more professional look? Learn how to light your video with this basic instructional video.
4. Stabilization
OK, now you know how to record video, audio, and even correctly place lights to achieve the best quality video. However, half of your video footage is shaky or unusable. Don’t worry; I know a few tools that will help you acquire that smoothness you want.
Tripod
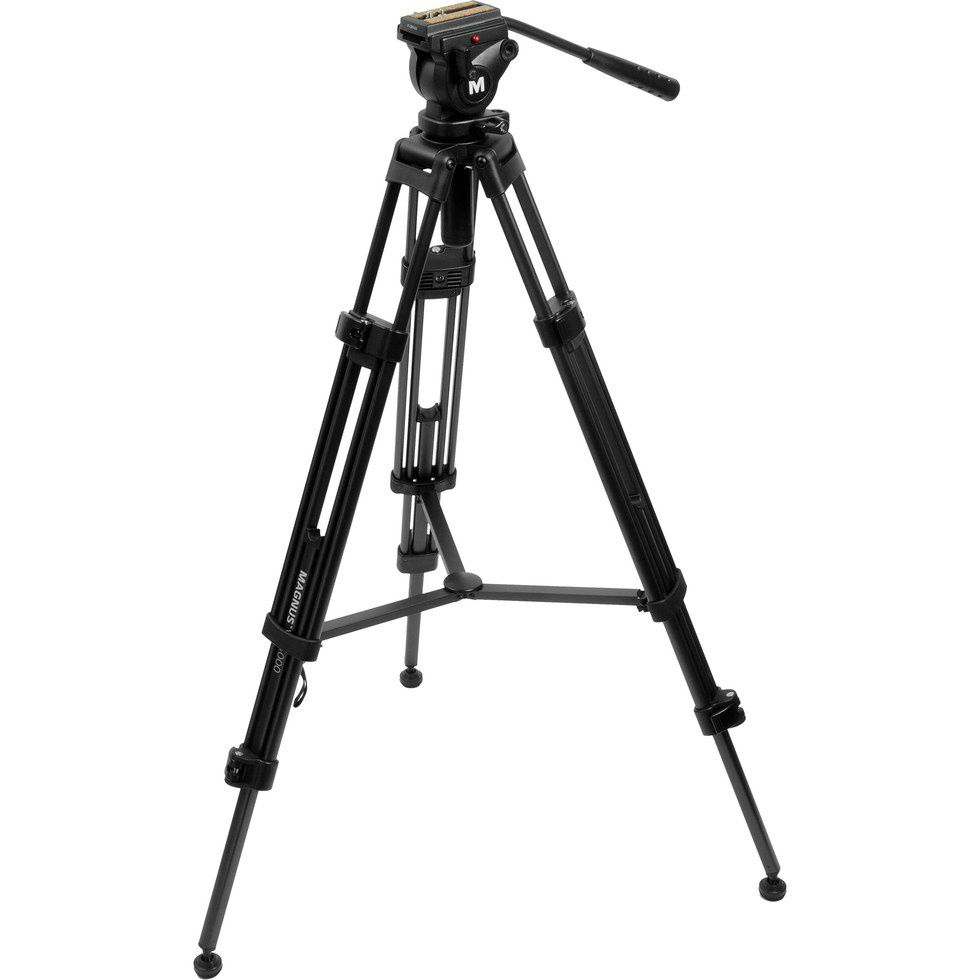
Go get one of these immediately. Tripods will heighten your project's quality instantly. Unless you purposely want to have the shakiness of a handheld camera, I guarantee that a smooth and steady shot will be much better. Especially those of you that have DSLR cameras -- please don’t trust your hands. They aren't really as steady as you think.
Monopod
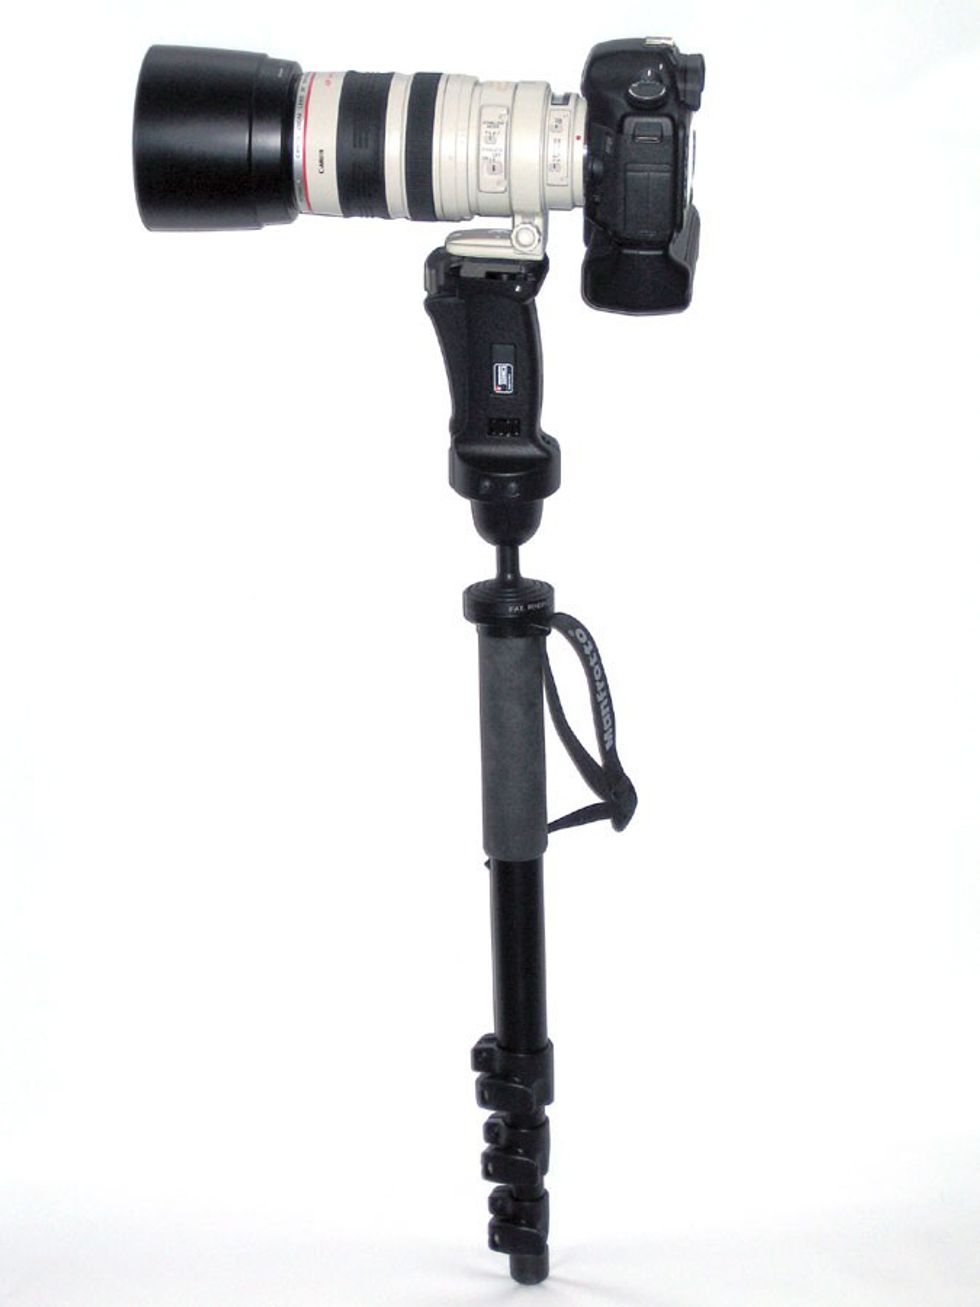
If you want a more versatile stabilization, a monopod may be a better choice for you. They aren't as steady as tripods, but are much steadier than your hands. Many of the more expensive ones have an attachment on top that allows you to pan and tilt your camera. These are the two most helpful basic camera movement techniques that you can explore.
5. Editing Software
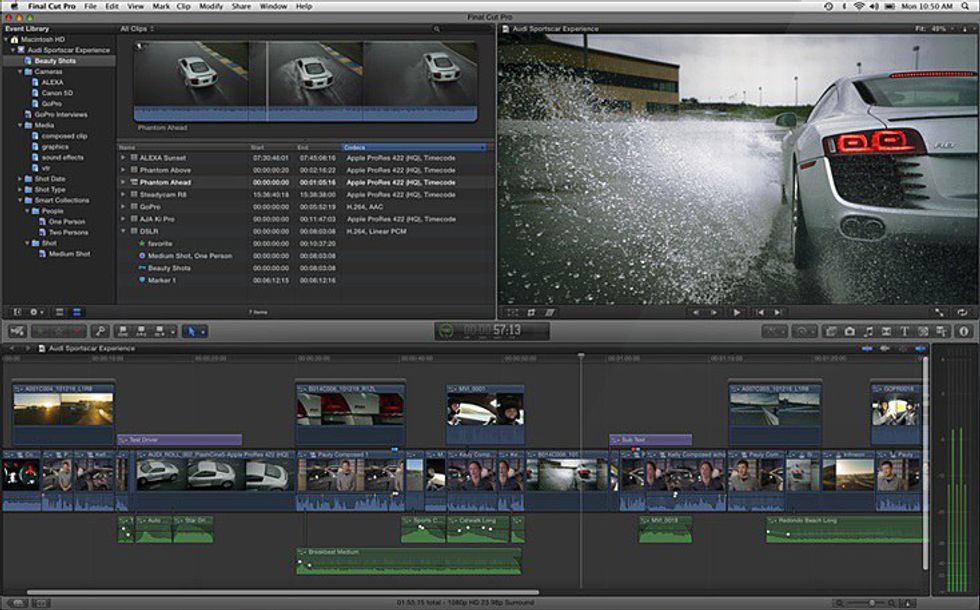
There are so many different kinds of editing software that you can use. If you have a smartphone, it probably already has an application that will allow you to cut your video and apply effects. For iPhone or Mac users, there is iMovie. If you just need simple and basic edits, iMovie is definitely the one I'd recommend. If you plan on doing more complicated edits and have the access to or the money for an editing software such as Final Cut Pro or Premiere Pro, upload your footage to your computer and edit on there instead of on your phone. Simply having a larger screen to see your footage is much more helpful than squinting at a small phone screen.
6. Lynda.com

As a college student, you probably already have access to this amazing website through your school. Trust me, this website will save your life. It has educational content on many topics including photography and videography. From teaching you how to use DSLR cameras, to showing you editing techniques directly on the software interface, this site has everything you will need to learn about everything -- even beyond the scope of videography skills.
7. YouTube Tutorials

Even if you don't have access to Lynda, you're not missing out too much. YouTube has your back with plenty of tutorials on selecting cameras, iPhone videography, setting up an audio recording system, and more tips and tricks. Start by searching some keywords like "DSLR videography" or "filmmaking," and enjoy learning!
8. Accessories
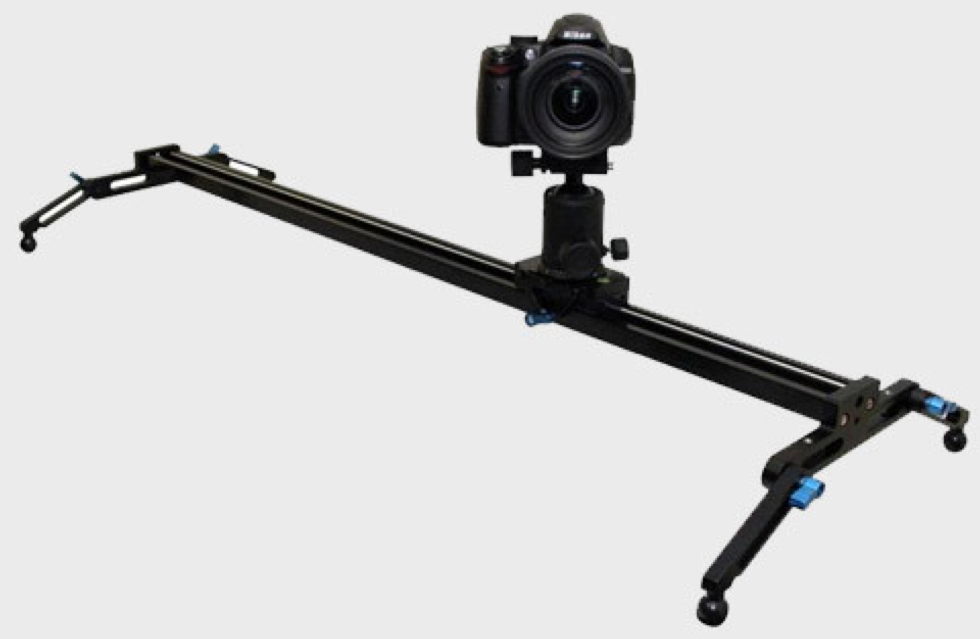
Besides the basic equipment, there are many different kinds of accessories out there on the market. If you can think of something, I’m sure someone is manufacturing it already. For iPhone users, there are lenses that you can purchase to record higher quality footage. For DSLR users, there are sliders that will give you the smoothest camera movement and LED screens if you're not satisfied with the screen on your camera. There are many, many more out there too. Some are helpful; some are not. They are accessories for a reason--you don’t necessarily need them.
9. Storage
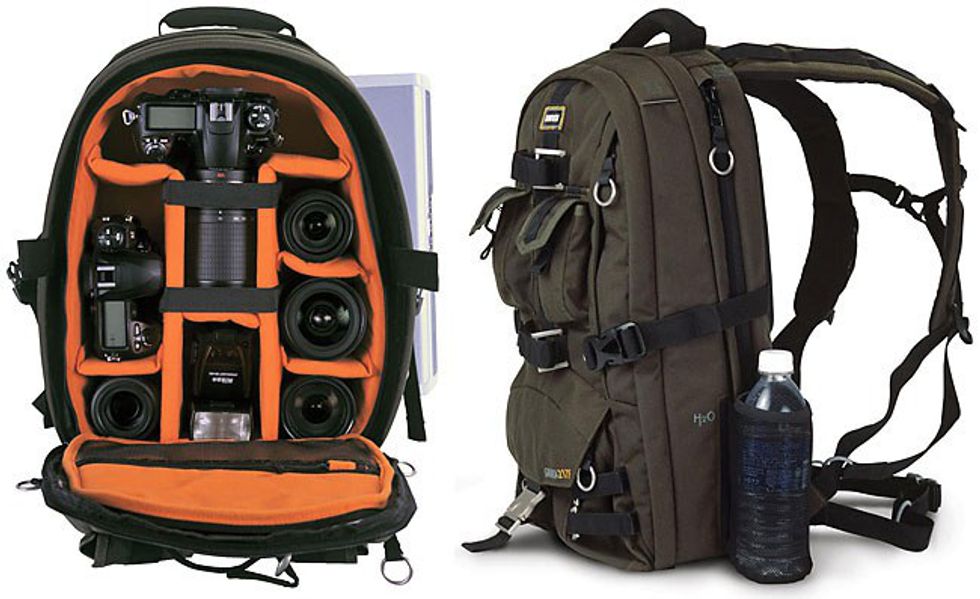
Storage is not an accessory, but a necessity. You absolutely need a bag to store all of your equipment. Your camera, microphones, lights, and extras add up to quite a lot. Plus, these devices are not only expensive, but also very fragile. Purchase a good quality storage bag to protect everything so you won’t have to spend more money in the long run fixing your equipment.
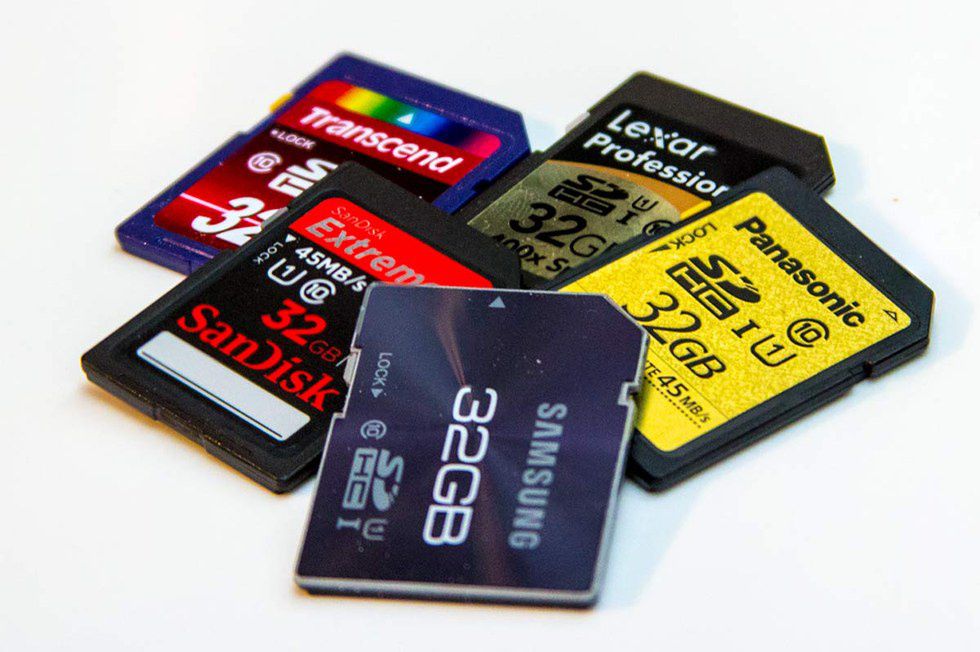
Besides just a storage solution for your equipment, you need a storage solution for your footage as well. Get a couple (appropriate) memory cards for your camera. You want to be prepared when one card gets full while you're in a hurry, so you can simply insert another one and keep shooting. If you are working with a good amount of footage, which will easily take up a ton of storage space if you are shooting in HD, consider getting a hard drive to hold all of your footage in one place.
10. Practice
As always, practice makes perfect. Practice your lighting skills by using lamps or other light sources that are in your room. Practice recording some ambient sounds or other different kinds of sounds. Experiment with your equipment and get familiar with it -- especially your camera. There are so many features on your camera that may be helpful in certain situations even if not regularly used. You want to be able to find the settings that you need during your shoot, instead of freaking out and regretting your decision to avoid reading the product manual.
11. Ideas

Like I mentioned earlier, equipment is not everything. The most important thing that you need to start making videos is an idea. You can have the best equipment in the world and still produce videos that are not worth watching because they have boring content or have no structure or value. Everything else you can purchase with money, but this one -- this one you have to come up with yourself. Try brainstorming, writing down potential topics, discussing with other video makers. Most importantly, enjoy the process! In the end, you want to be able to have fun.


