
To give a brief rundown before explaining the project that will be displayed below. In the course Visual Communications, we are assigned projects that usually take place over the course of two weeks during the semester. The assignment that this article will be covering is called "Line". This specific assignment focuses on how individuals can recreate real objects through unique graphic styles, but as the title of the assignment suggests, we are to only use a straight line to detail our work and recreate the images taken.
1. Selecting the objects and their orientation

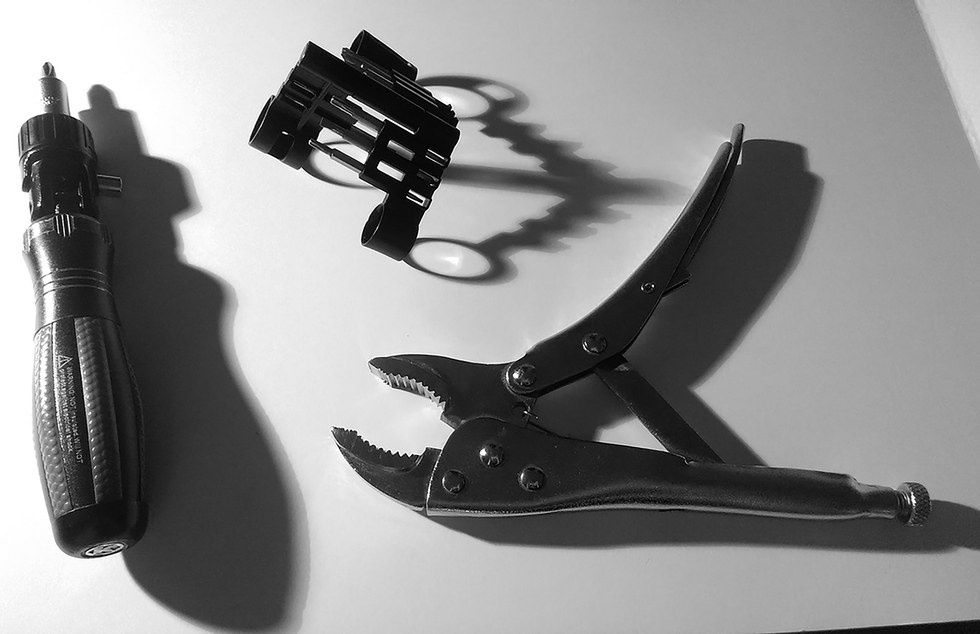
The first part of this assignment is to gather three commonly used tools and take a photograph of them in black and white with a bright singular light source to create the best shadow definition. For myself, I wanted to place them in certain orientations to help show better contrast and shadows. The three tools above are Screw driver bit set that slides over the actual mini screw driver (left), a regular screw driver (center), and a pair of ice grips (right). The reason why these tools were selected is because they each have enough complexity to make drawing them a challenge whether it comes to the curvature, shading, or fine detail.
2. Drawing the most favored images
To get to this point we had to find methods of initially drawing the images and then retracing them with a pen. In this case, I decided to the tape the printed images on to a window and trace on the back of the paper of the image with a soft graphite pencil and trace any detail that I thought was necessary to include. Once this was done, I taped the image (traced side down) carefully onto Bristol paper and then used the end of the pencil to heavily run over the image. If done correctly, the graphite should appear lightly on the Bristol paper and can easily be traced by a fine pen.
3. Different Graphical Styles
We had the freedom to represent our tools in any graphic style we chose as long as all detail was made of line work.
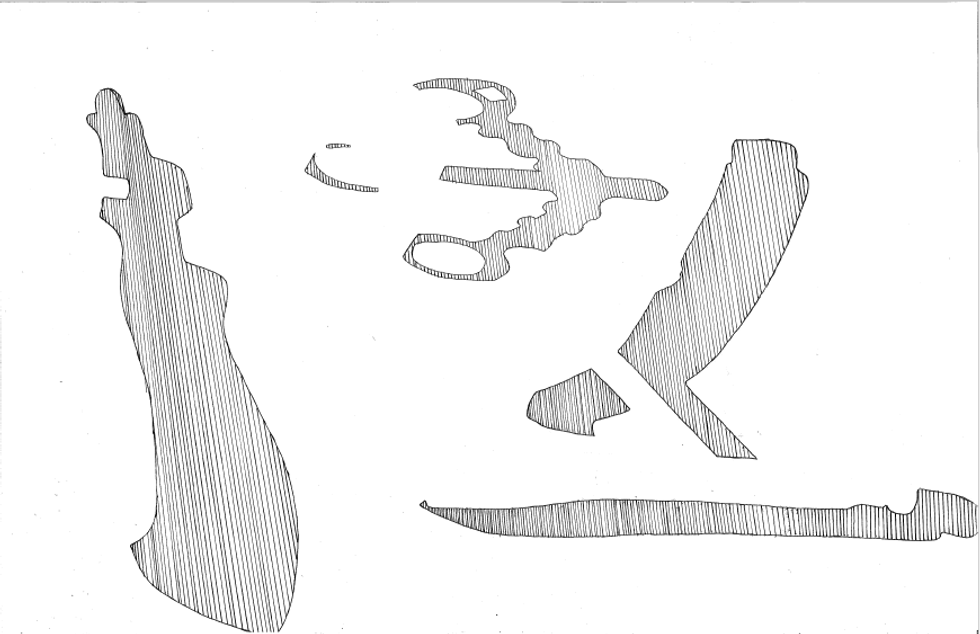
For the first set of images under this section, I focused strictly on
just the shadows of each tool and wished to see how their shapes would
imply what type of tool they were cast by.


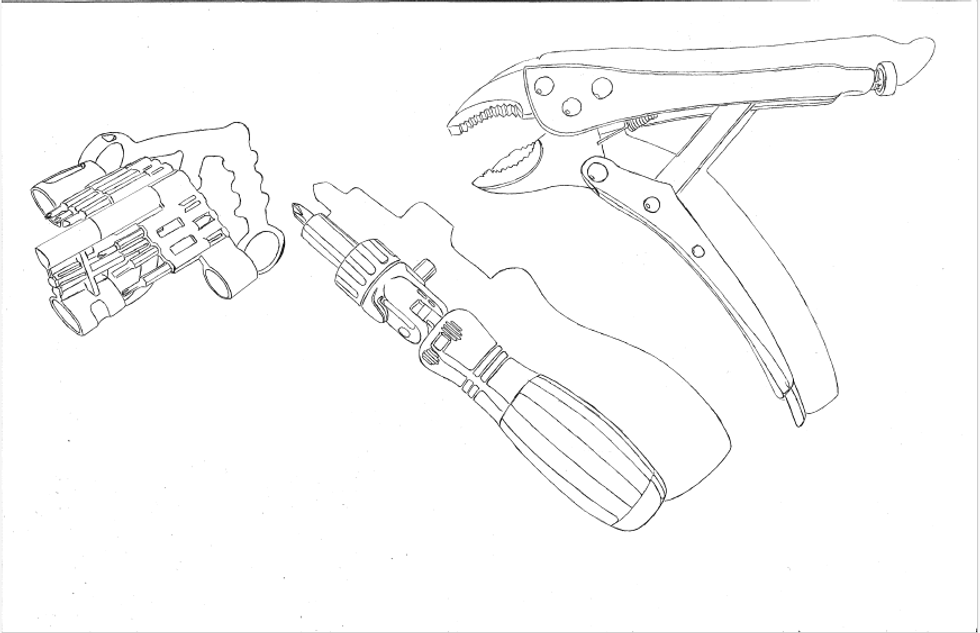
The next pair of images above, I wanted to focus on curvature and how using slight curved lines could show shape and depth.
4. Critique
Unfortunately, there is no image because this is the part of the course where all the students pin up their works and the instructor discusses with the class their opinions of each drawing. We focused on the strengths and weaknesses of each drawing and how we could learn from others mistakes and successes to help improve ourselves and hone our skills for the next project.
Overall, I enjoyed this project. Some of the strengths of the project would be the fine lines and accuracy to the original images. One of the weaknesses of these pieces would be the lack of lines or details. I did not have much to represent shading but it is a good lesson to take from this assignment. Next time, I will pay more attention to shading and fine details!