

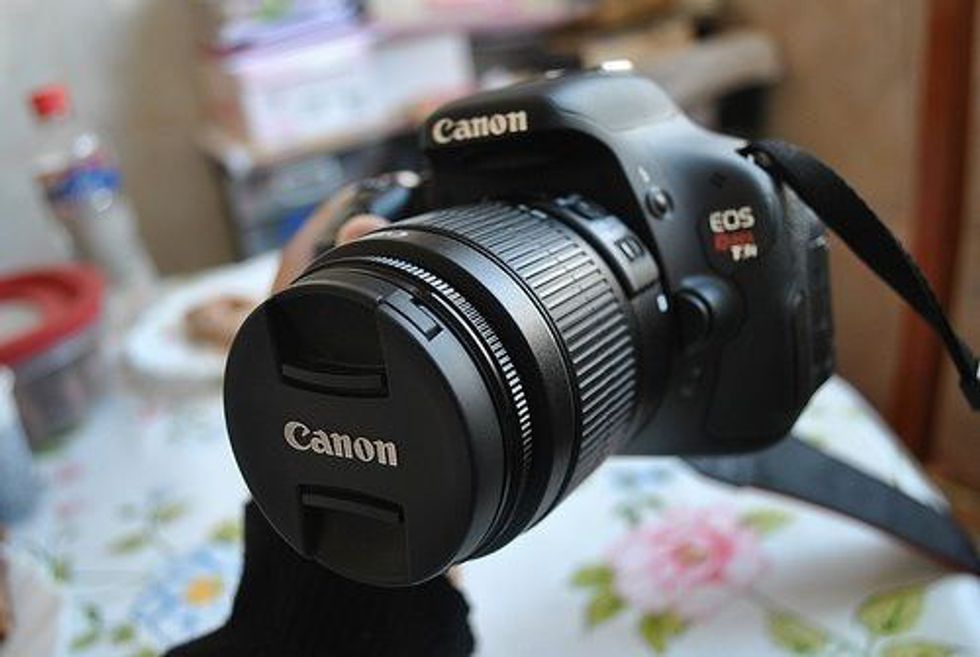
1. Use a DSLR camera.
This is important because you need to be able to customize your exposure time, shutter speed, and aperture in order to capture the trails of light.
2. Get to know your camera.
The more you shoot with your camera, the more you will get used to adjusting settings and familiarizing yourself with which settings to use in different situations. This is key for all photographers who are destined to get that perfect shot.
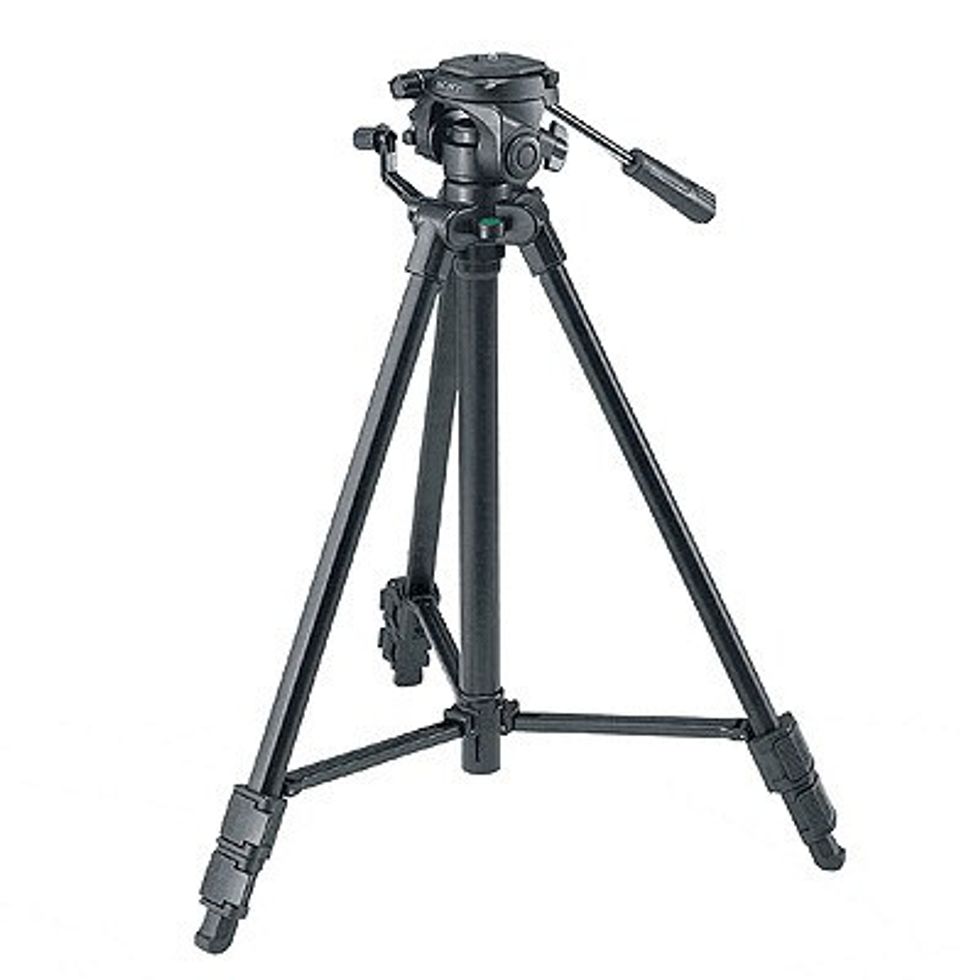
3. Have a tripod ready.
Shooting light trails cannot be done by holding the camera and simply pointing and shooting. You want to set your camera on a tripod to ensure that the light trails come out clean and vibrant.
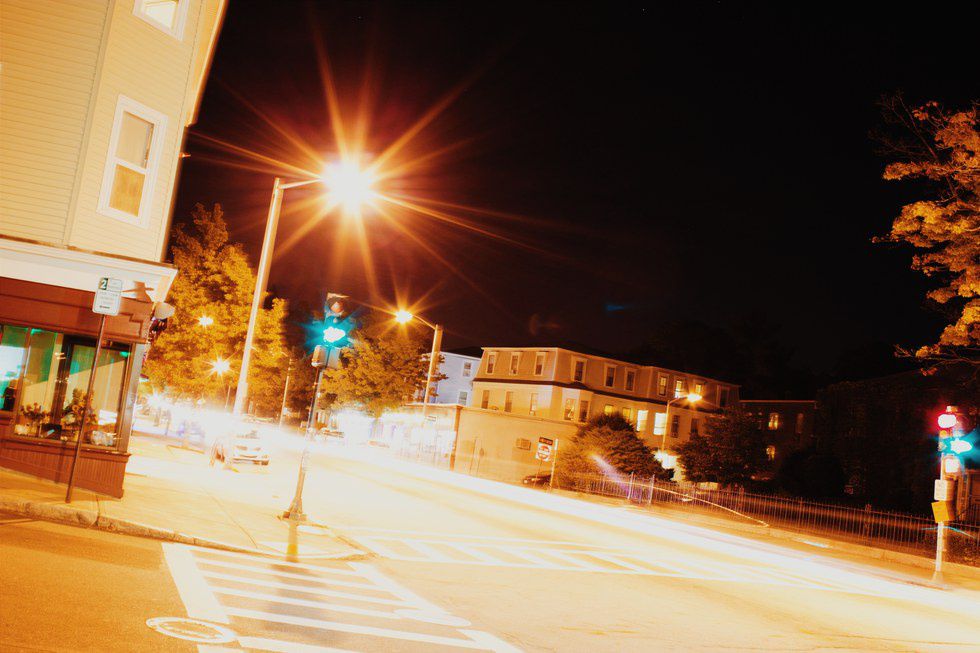
4. Find a spot with lots of car traffic.
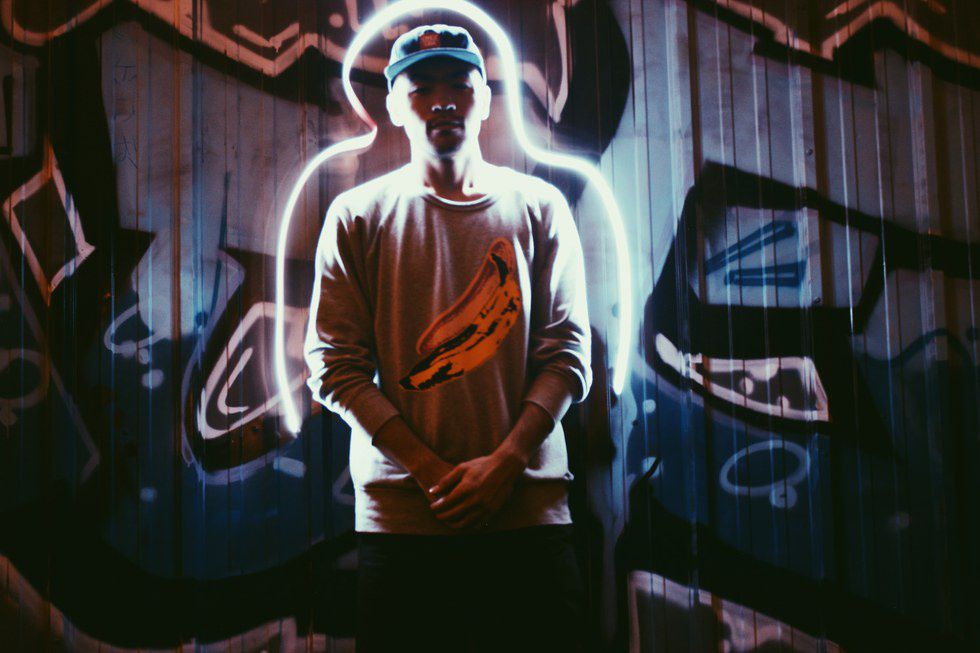
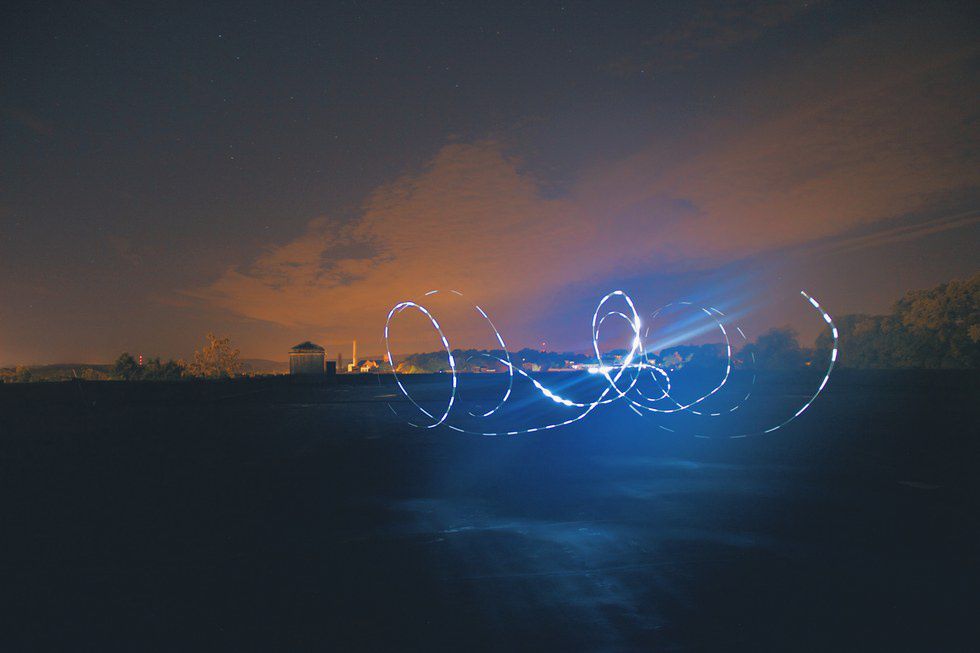
Make sure it is dark outside. The darker, the better. The headlights of cars are what make the trails, so figure out the best spot so you get a nice continuous volume of cars passing by. An overpass above a busy street or highway is ideal. Alternatively, if you can’t find a spot with car traffic, you can use flashlights to create equally impressive light trail photos.
Now that you are all set up with your camera and location to shoot, you are ready to experiment with your shots.
5. Point your camera in the direction where the cars are heading.
Frame your shot so it includes as many of the trails as possible. If you are in a location where you are above the cars, try to frame a vanishing point. An example of a vanishing point is where a highway gradually disappears into the horizon.
Framing is extremely important in photography. For light trails, it will put a very dynamic effect on your photo, giving it more depth, which is what you are aiming for.
6. Adjust your camera’s settings.
There really is no default setting for shooting light trails. It all depends on how much light the cars below are giving off. Basically, a “busy” highway or road can be interpreted in different ways based on the volume of cars or the speed that they are going at. These factors can play a part in your shot. Therefore, you need to be familiar with your camera in order to quickly adjust settings such as exposure or aperture if your first photo comes out too dark or too bright. For first timers, I would suggest setting the exposure time to around 10 to 20 seconds, and the aperture to around f/8. This should give the cars enough time to pass by, and for the camera to collect enough light to produce light trails. Next, make sure your camera is in manual focus mode. This is something that all photographers use, so you might as well get used to it now. Once you have your camera settings set, all you have to do is press the shutter button and wait for the length of the exposure time. You will hear a click when you press the shutter, then another click when the camera is done. After you take your first shot and look at the result, you may need to adjust the settings some more.
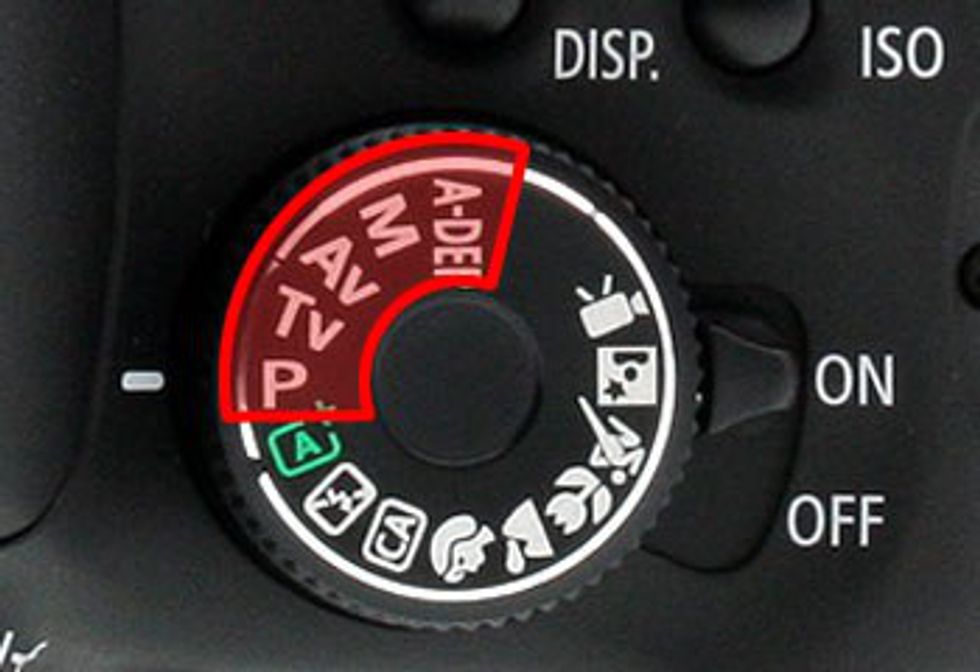
7. Improve your shot.
If your first shot ends up being too bright or too exposed to the point where you are unable to see the trails, try decreasing the exposure time. This will give the camera less time to collect light, which will help balance the amount of light in the photograph. If your shot becomes too dark, try increasing the exposure time. On most DSLR cameras, you can find presets that will help you take light trails. There is a knob, usually on top of the camera, that has several presets labeled “P," “Av," “Tv," and “M." The ones labeled “P” and “Tv” are the best ones to use for light trails. Mess around with these settings, and you will be a master at light trails in no time.