Adobe Lightroom is one of the most popular softwares for professional photographers and popular influencers to use to enhance their pictures. The app is a bit more complicated than simply throwing on something like a pre-made VSCO filter, so if you're interested in getting familiar with the software, here are a short few pointers to get started!
Why Lightroom?
Adobe Lightroom easily stands out in the market of photo editing software. When you change a photo in Lightroom, that photo only stays in Lightroom until you decide to export it to your camera roll. This type of editing is non-destructive to the original photo file. Lightroom is set up to make sure nothing is ruined by any simple editing mistakes. All edited photos are stored as completely new and separate files in your own "Lightroom Catalog".
 Kirsten Haddox
How To Import A Photo
After opening Lightroom, there is a box in the bottom left of the screen that says "Import". Click on it to open up the Import Dialogue. The Import Dialogue is where you select photos to add into your Lightroom Catalog to organize and edit them.
The top of the Import Dialogue page gives you a few more options to select from. There are four different ways go about importing photos into Lightroom's catalog: "Copy as DNG," "Copy," "Move," and "Add." Depending on your intention of how you want to edit your pictures, each one serves a different purpose.
Add is effective if you simply want the photo to show up when you open Lightroom instead of moving it to a new location.
Move is great if you're trying to move photos into your Catalog, but it's not in the right place on your computer.
Copy is best if you want to duplicate you photos from their current location into your Catalog.
Copy as DNG is 100% exactly the same as "Copy," except that the new, duplicate photo will be saved as a DNG file rather than a JPEG, TIFF, CRW, NEF, etc.
There are so many options along the right-hand side of the Import Dialogue. It can seem overwhelming especially if you are new to Lightroom, but no need to stress! The main purpose of the right-hand bar is just to tell Lightroom where to put the photos that you're moving and/or copying. (The right-hand side will not appear if you're adding photos, since Lightroom assumes that they're already in the right place.)
After Importing
There is two main sections Lightroom is arranged into: the organization half and the post-processing half.
Due to all of the features available in Lightroom, these two halves are separated when viewing a photo in the editing process. To organize your photos, you need to enter the Library module, and to post process your photos, you need to enter the Develop module.
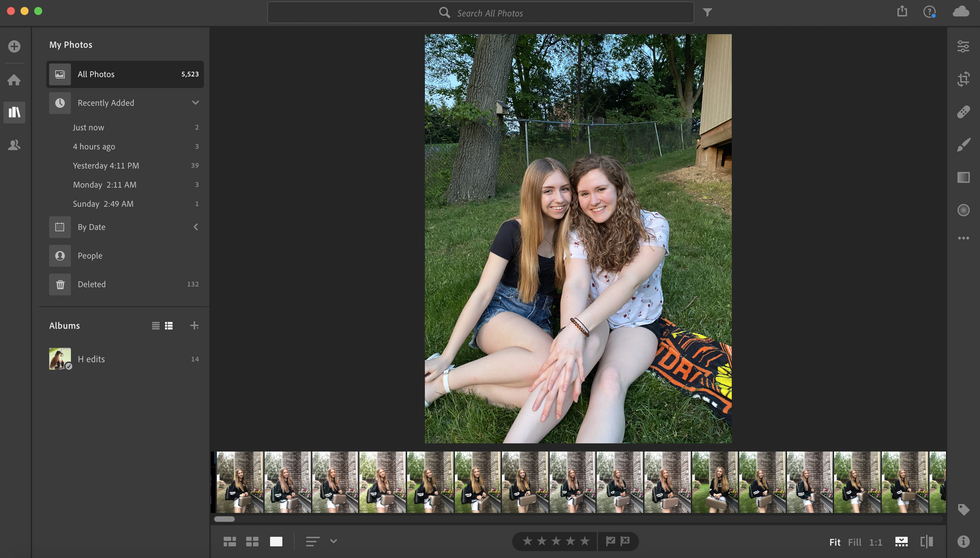
The "filmstrip" at the bottom of the screen lets you preview a miniature version of each photo from your Lightroom Catalogue.

Editing Photos
The post-processing sliders are there for you to customize the the brightness, contrast, saturation, and more. Sliders have more complicated levels to them, which can become more familiar to any Lightroom user over time.
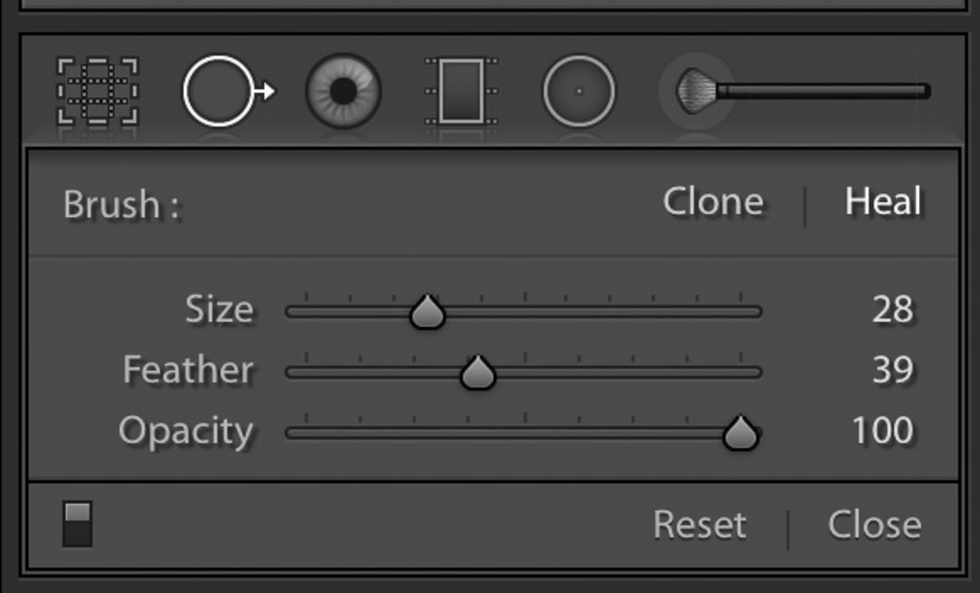
Spot Remover is a highly useful tool to erase dust specks from photos as well as healing other elements necessary.
Graduated Filter and Radial Filter are excellent to adjust just a portion of the photo and not the rest, and making it look as natural as possible.
The Adjustment Brush enables you to paint over areas you're selecting. It can be a great tool but is also easy to miss-use if applied without care, causing odd looking effects on certain spots of photos.
Photo Merge, a new feature, allows you to blend together photos as a panorama.
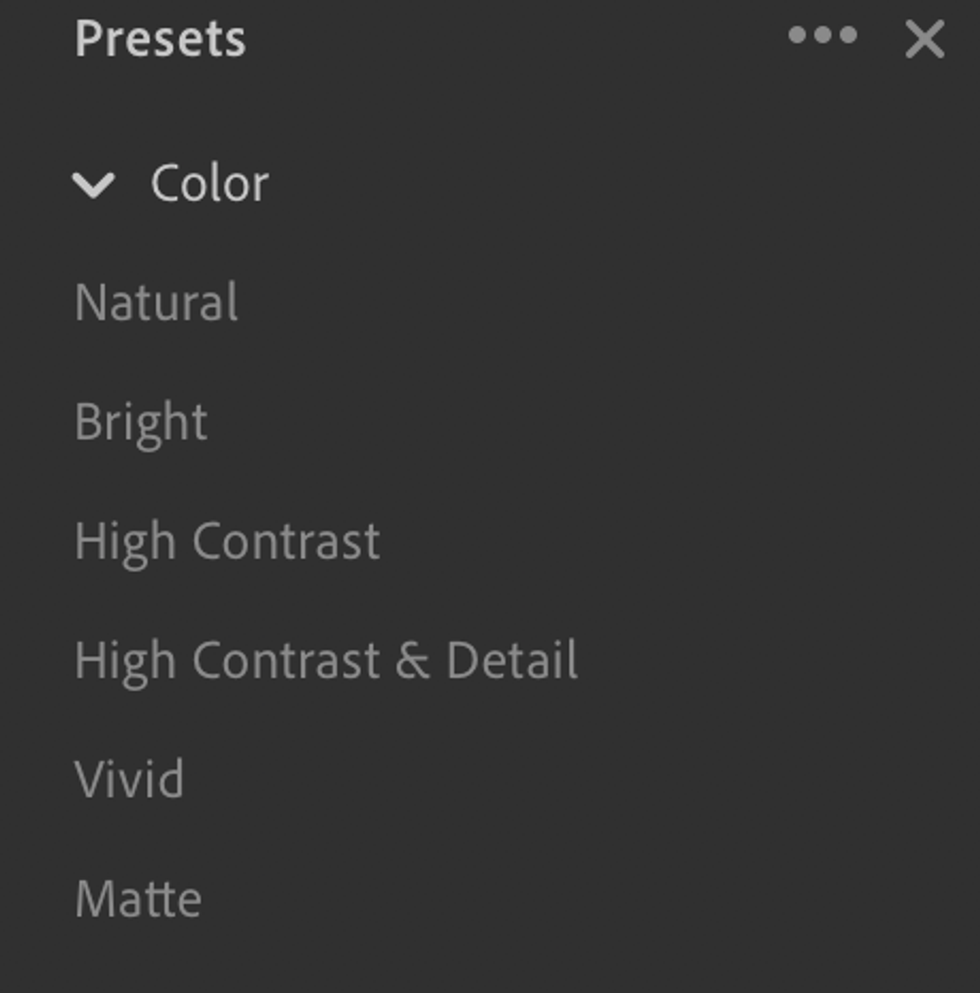
Finally, presets! Presets are excellent to instantly paste edits from past photos onto new ones. If you have an Instagram aesthetic set in place or are looking to create one, this is the feature for you. Many creators and artists have presets available on sites like Amazon and Etsy that you can purchase, or you can create your own!
Keep in mind not every preset looks 100% perfect on each photo due to lighting and setting changes. Practicing slight adjustments on photos with presets in the app to fit the photo correctly will also enrich your knowledge on how Lightroom works.
As someone who is very active on social media, I love using Lightroom for my photos. It took me some time to get the hang of it, and trust me, I am still learning! The app has so many features and layers to it, and although this article is a brief introduction of some of the most useful tools, I hope this helps you get a great start on using the software! Some Lightroom users even prefer using the app, which is a bit more simplified but excellent for Instagram pictures! It is my go-to app when it comes to photo editing.
With time and some effort, you can become a Lightroom pro and be able to show off your photography in its best form.
- Photo Collage Wall For The Brainless ›
- 6 Editing Apps To Take Your Photos To The Next Level ›
- Use These Apps To Help Spice Up Your Instagram Feed ›