

It’s that busy time of year again: finals and then a multitude of holidays after that. With everything seeming to happen all at once, I find that I put my passions to the side. My main passion is painting my nails. I try to paint my nails at least once a week to avoid chipping and to mix things up. With a busy season coming up, I want my nails to always look their best. I always love doing designs on my nails, despite how time-consuming it is. However, contrary to popular belief, it isn’t always difficult.
You don’t need to be the best person at doing nails to do a lot of the designs. Throughout the years, I have learned many tricks to doing patterns on nails. Many people feel intimidated to get creative on their nails because they feel like they don’t have the right tools to do them with. However, this isn’t true; I do most of my designs with toothpicks, bobby pins, tape, and sometimes even straws.
I have found five fun patterns for busy people who still want to do their nail art. I also included step-by-step instructions on how to do each of the looks.

This is a simple design for beginners at nail art or, if you don’t have much time, to do a larger design. Start with a base coat to protect your nails, then do two layers of the color that you chose. Since it is nearing wintertime, I would choose a dark red, purple, or blue. After letting the layers dry, you can start doing the polka dots. To achieve the design there are a couple of things that you are able to do. You can use a toothpick or the end of a bobby pin. If you are going to use a bobby pin, break the bobby pin in half and then use the softer end to create the polka dots. If you do this, dip the tip into the nail polish container and then wipe off any large amounts of excess paint onto the sides of the bottle. You don’t want too much product when doing this, otherwise it could end up larger than what you want. Start getting the hang of making the dots, and feel free to vary the sizes. Do more at the tip and then less when you get a third of the way down your nail. After you are done doing the polka dots, make sure that it dries completely. After that, use a topcoat so the nail polish will keep its shine and will last longer.
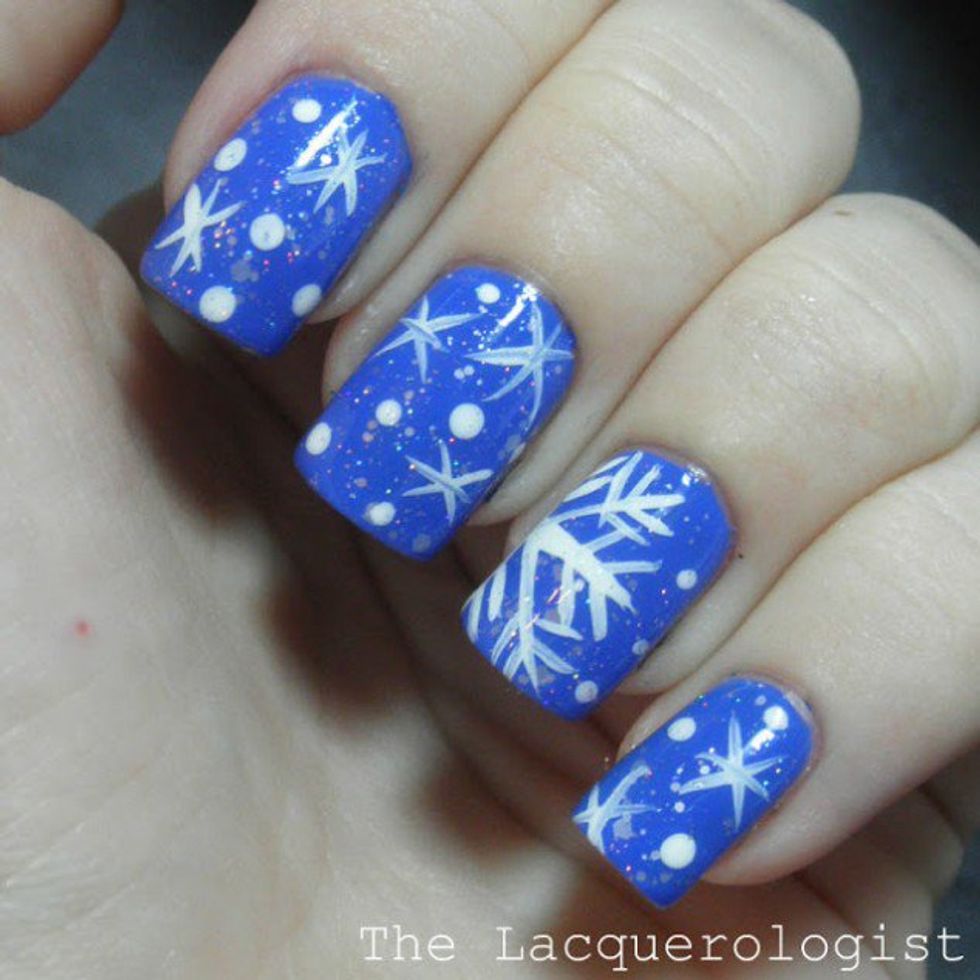
This snowflake pattern is a great and super cute idea that you can do quickly. Snowflakes can be difficult but if you have a reference picture that you can copy, it gets easier. First, use a base coat and then do two coats of the nail color you would like to use. To make the design, you could use a toothpick or a nail art pen if you have one. For this, I would choose to use a toothpick because it has a smaller tip and you are able to get a more precise design. When creating the design, use a light hand so you don’t get thick lines. Go a little lighter when you get to the ends of the snowflakes. Start in the middle of the snowflake and then drag out the polish into a "cross" shape. Then, put another line in between the other two that you have already made. Add a few polka dots to give an effect of more snow. When you finish with that, wait until it is dry. Once it is dry, you can use glitter nail polish on top of it if you would like. Wait for that to dry as well and then use a topcoat.
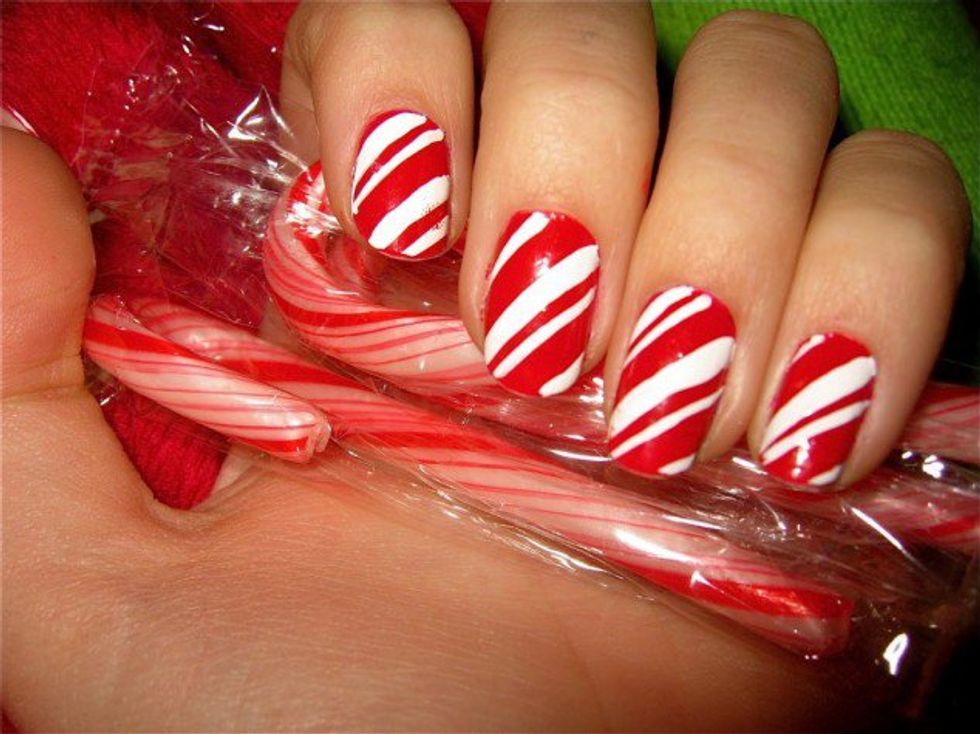
I am obsessed with mint things during this time of year. A fun way to show this off is to make candy cane styled nails. All you need to do is use a base coat to protect your nails and then put on two layers of red nail polish. After the red has dried, draw on the stripes using a toothpick or a nail art pen if you have one. Make sure that the white is pigmented. You can do this by adding more than one coat or a thick first coat. The lines do not need to be perfect, but if you would like them to be you can use tape. Put the tape on your nails after the red is completely dry, and then use a white nail polish on a toothpick to fill in the in-between areas. It would also look good with little bit of glitter nail polish over it, but that is, of course, optional because it will look great either way. After the white stripes are dry, put on a topcoat so it will keep its shine and last longer.
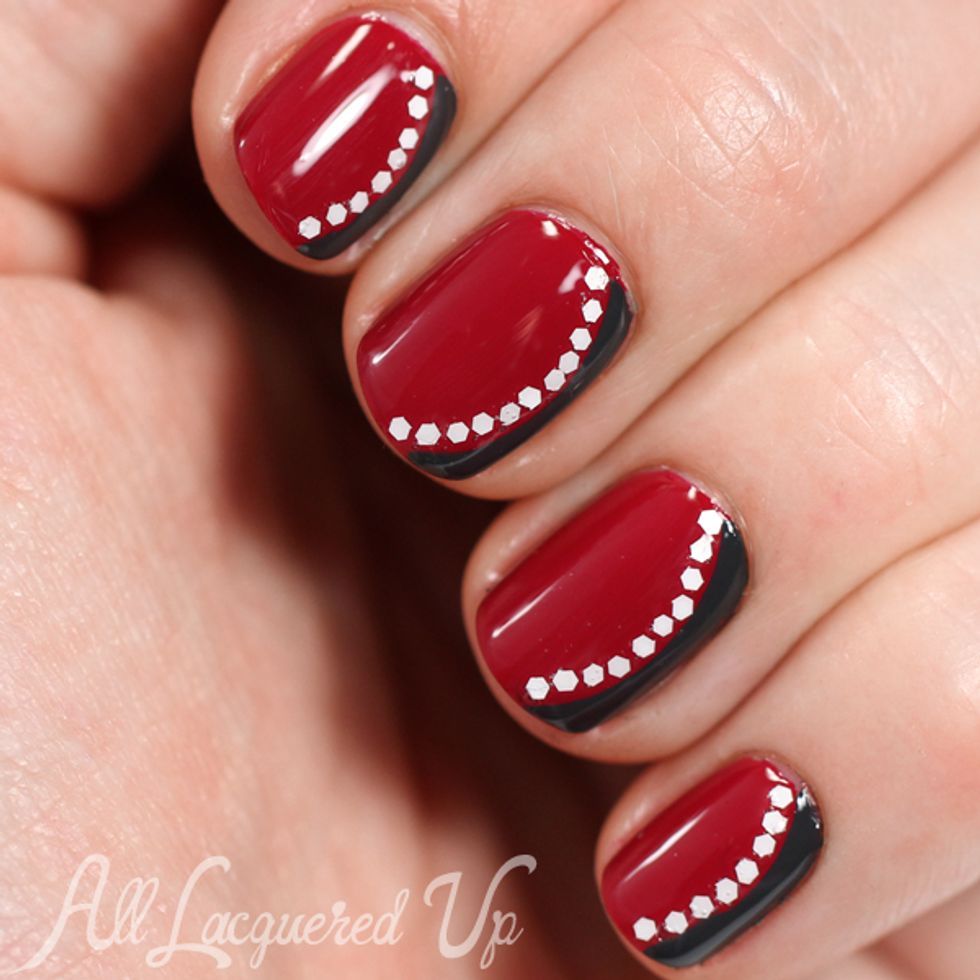
To get this sophisticated yet fun look, you are going to start with a base coat to protect your nails. Wait for it to completely dry and then add two layers of red or any other color nail polish. Let that completely dry. Then, cut some tape to make it into a crescent shape and stick it to your nail; this will be your guide for the black line on the side. Once the tape is on, take black nail polish and carefully make sure that there isn’t too much product on the brush, otherwise it might go over the tape and get on the part of the nail you don't want black. Put it on your nail slowly so it doesn’t go over the tape line. Wait for the black to completely dry before you remove the tape, otherwise the nail polish will smudge. After you take off the tape, use a toothpick, bobby pin, or a nail art pen to create the polka dots on the side. After that, wait until everything is dry before you put on a topcoat. This will help the polish last longer and have a better shine.
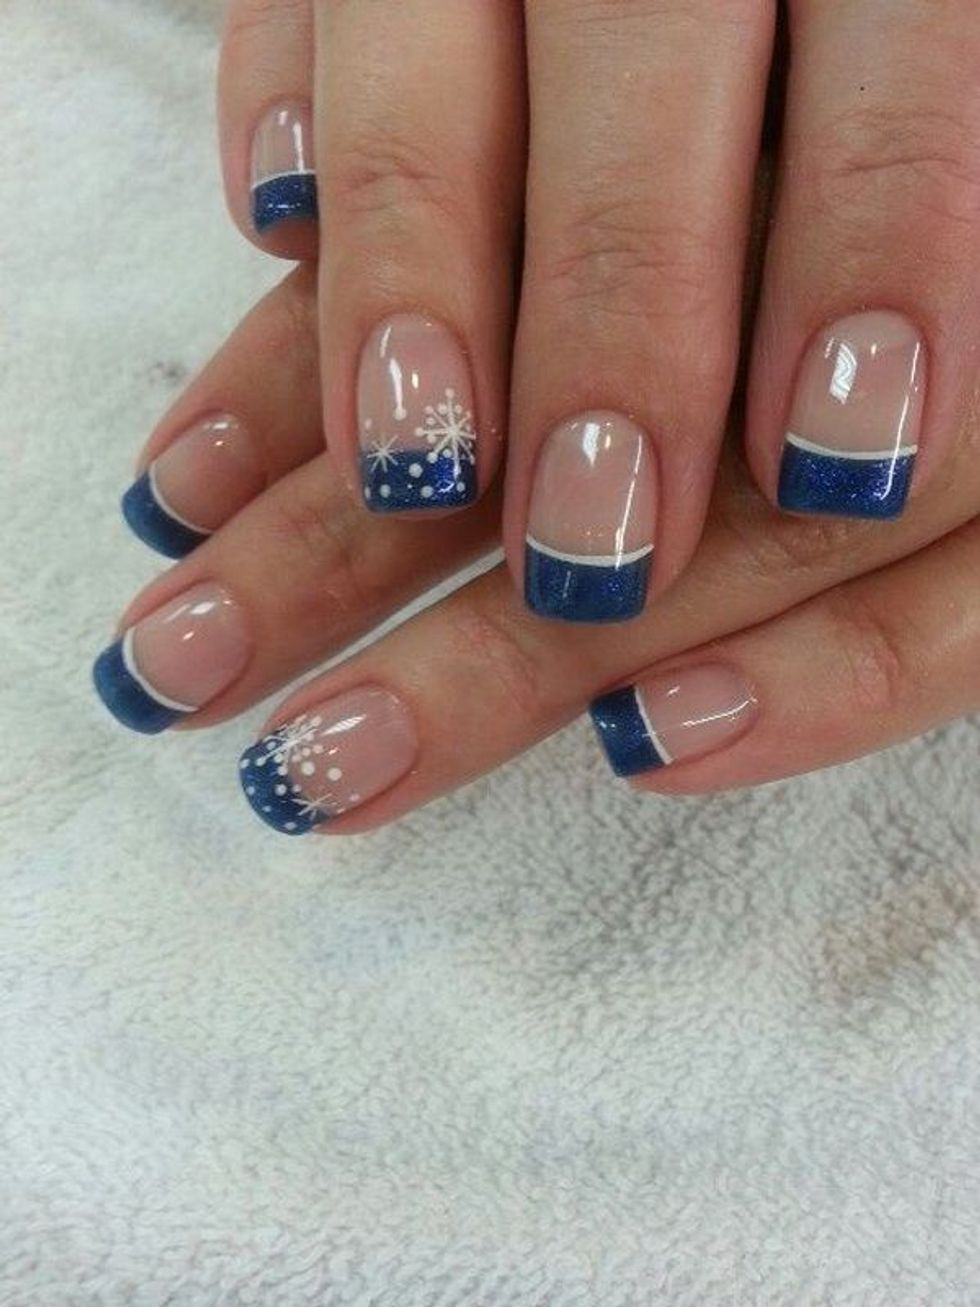
This one looks difficult, but it isn't once you get the hang of doing it. This is a fun French tip nail design that can be done easily. First, put on a base coat to protect your nails and have the nail polish stick better to your nails. Once that is completely dry, cut some tape so it is in a crescent shape and stick it to each of your nails, I normally put it right underneath the white part of my nail. Take a blue nail polish, or any other color you want, and make sure that there isn’t too much product on the brush. After that, paint two layers onto the tips of your nails carefully so it doesn't go over the tape. Wait until this is completely dry before you take off the tape. If you don’t wait then your nail polish can smudge and become displaced. Once you remove the tape, take a toothpick or a nail art pen and follow your beautifuly colored nail-tips to create the line underneath it. Once that is dry, you can paint on the snowflakes and dots with a toothpick or a nail art pen. To do this snowflake, start by creating a cross on your nail and then put two lines to go diagonally. If you would like to create the dots at the end of that, you can. Then do a small polka dot design around the snowflakes. After this has all dried completely, put on a clear topcoat to make your nails shine and stay for a longer while.
It will, of course, still take a while to do any of these designs. My best advice is patience and to put on a TV show to have on in the background. I normally like to have something that I have already seen so then I don't need to be watching it and it is more there for my entertainment to listen to. Another thing that is helpful is if you are able to get a fast-drying nail polish to help speed up the process. Try putting down some newspaper or a paper towel to work on so then it doesn't get messy. To clean up the sides of your nails use a Q-Tip and dip it in a little bit of nail polish remover. Otherwise, wait until everything is dry and then wash your hands with warm water and slowly and carefully pick at the nail polish on your skin. Good luck and have fun!


