
Have you ever thought about buying a dehydrator just for beef jerky? If so, try out this homemade recipe guide that you can make from home with just your oven! The best part about homemade jerky is that it is fresh, healthy (it only includes what you add to it) and a great summer snack. Please note that this is how I make it and it is what works for me. Adjust the recipe as necessary to find out what works best for you and your family, and go wild! There are so many fun ways to make this great snack.
Marinade Recipes
You'll have to start with your marinade. The marinade can be anything you want! You get to choose what flavor your beef jerky will be, so go bananas (not literally, people). There are a million options out there! Combine any sorts of liquids and spices until you find the right flavor for you! The one I've been using which my husband loves is basic one, but I have included a few more if you'd like to try those out. Honestly, I don't use a super-strict measuring system for my marinades; I just sort of eyeball it. The parts are each equivalent to about one fluid ounce (1 fl. oz.), so perhaps a shot glass' worth unless otherwise noted.
Basic Beef Jerky Marinade
- BBQ Sauce (3 parts)
- Soy Sauce (3 parts)
- Steak Sauce (1 part)
- Worcestershire Sauce (1 part)
- Chili Powder (approximately 2 tbsp.)
Basic Teriyaki Beef Jerky Marinade
- Teriyaki Sauce of your choosing (5 parts)
- Soy Sauce (2 parts)
- Honey (approximately 2 tbsp.)
Beer-Flavored Beef Jerky
- Stout of your choosing (1 can/bottle)
- Steak Sauce (1 part)
- Worcestershire Sauce (3 parts)
- Honey (approximately 2 tbsp.)
Once you choose your marinade recipe, mix all of the ingredients together in a bowl until it is well-mixed. This sauce is what you're going to use for your jerky.
Homemade Beef Jerky
Ingredients and Materials
- Your Marinade Sauce (see above for recipes)
- Package of Shredded/Thinly-Sliced Beef*
- Drying Rack
- Cookie Sheet
- Tupperware Container
Where you are, it might be called shredded beef or thinly-sliced beef or something to that effect. In essence, it is beef that has been cut very thin, perhaps to the thickness of card-stock paper. Here in North Carolina, you can find it at Harris Teeter and it is called shredded beef.
Instructions
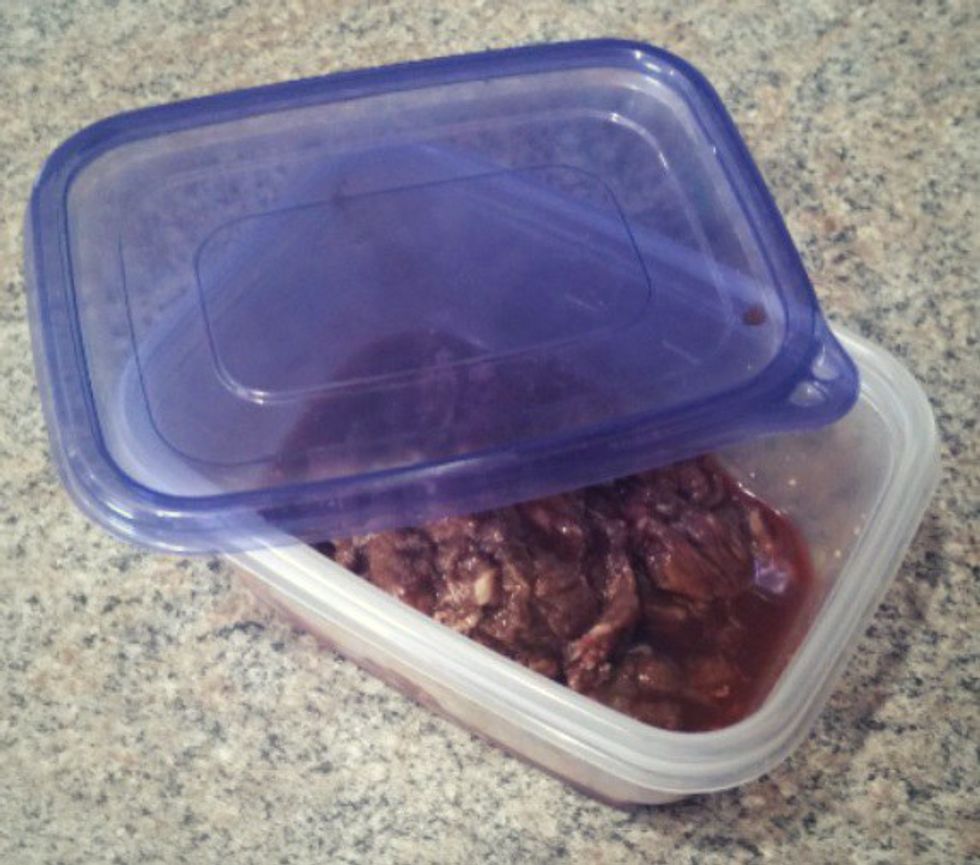
1. Remove the shredded beef from its container and dip each piece individually into the marinade, then put the marinated beef into the tupperware container. Make sure all of the beef gets coated as best you can. If you leave the shredded beef clumped up like it comes, not all of the beef will be marinated.
2. Put the top on the marinating container and then put it in the fridge for anywhere from 8 to 48 hours. Personally, I like leaving it in the fridge for about 24 hours. Longer than 48 hours seems to deteriorate the integrity of the meat and makes it hard to lay out.
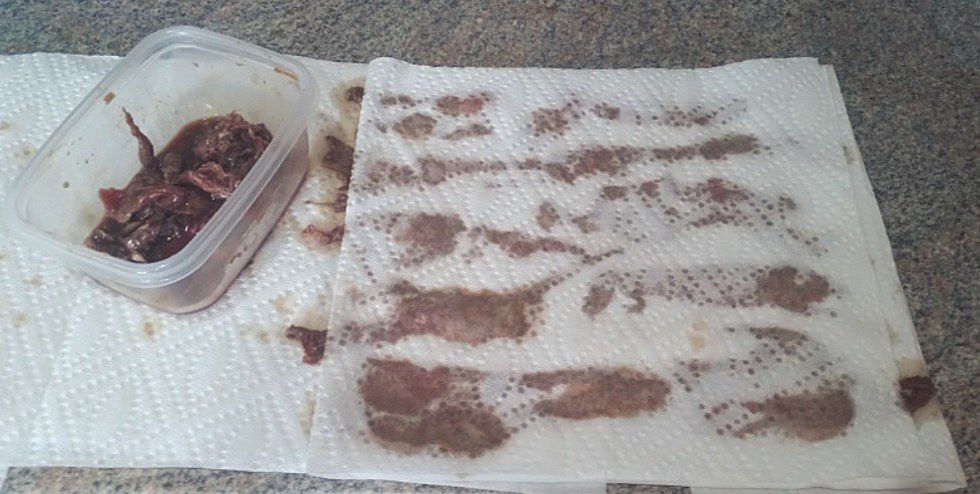
3. Once it's done marinating, take it out of the fridge. At this point, you might want to start to preheat your oven to 200 degrees Fahrenheit. Lay out some paper towels on the counter and then spread the beef out.

4. Put another paper towel over the beef and press down, trying to get as much moisture out of the meat as you can. This will speed up the cooking time significantly. I like to peel the towel backward slowly so the beef doesn't stick to the upper paper towel.
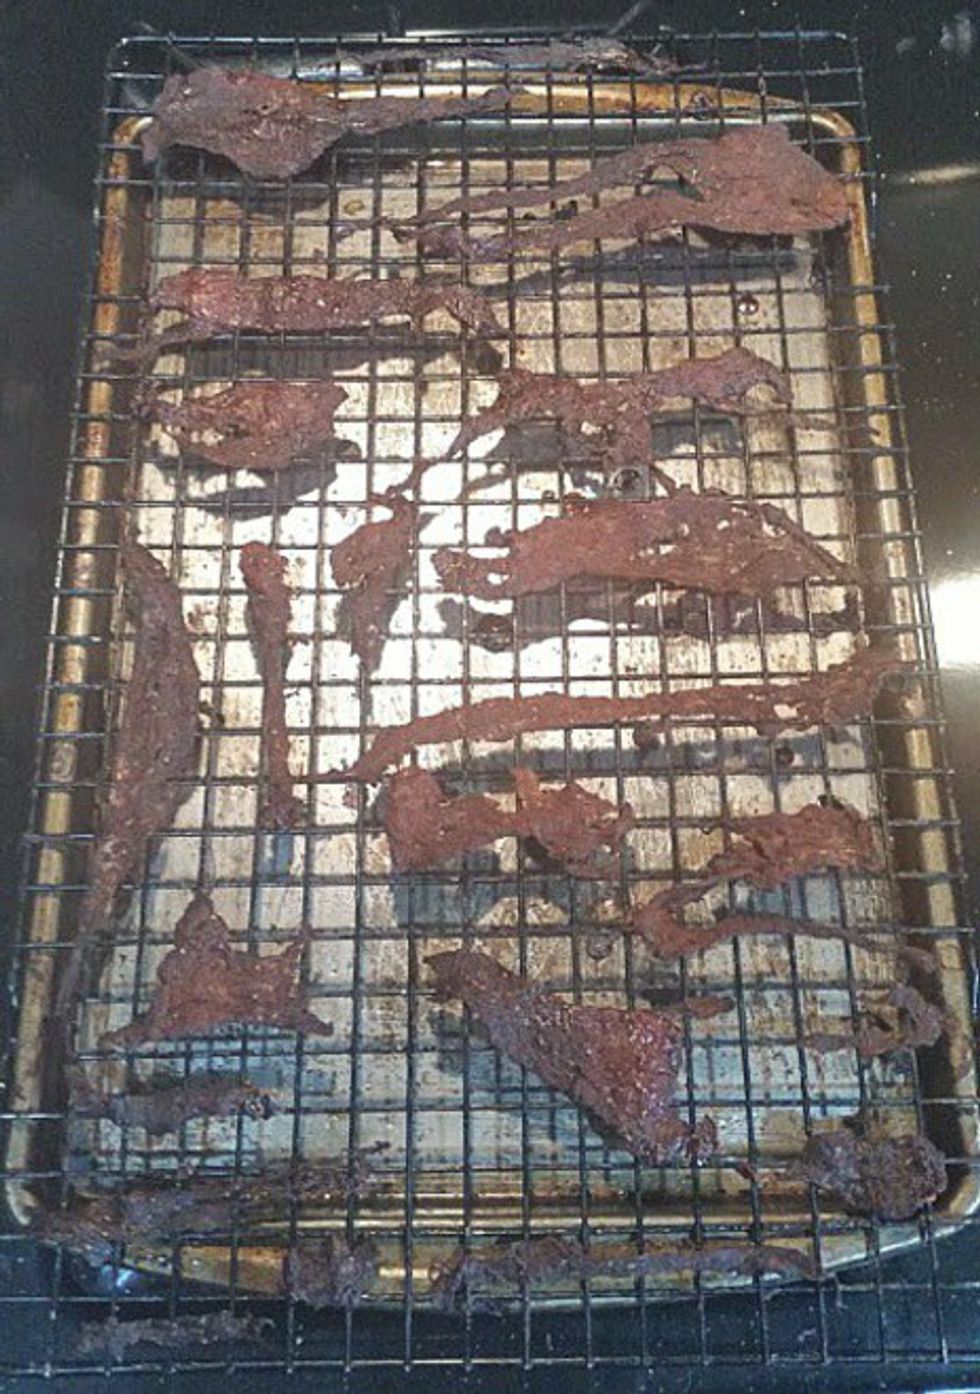
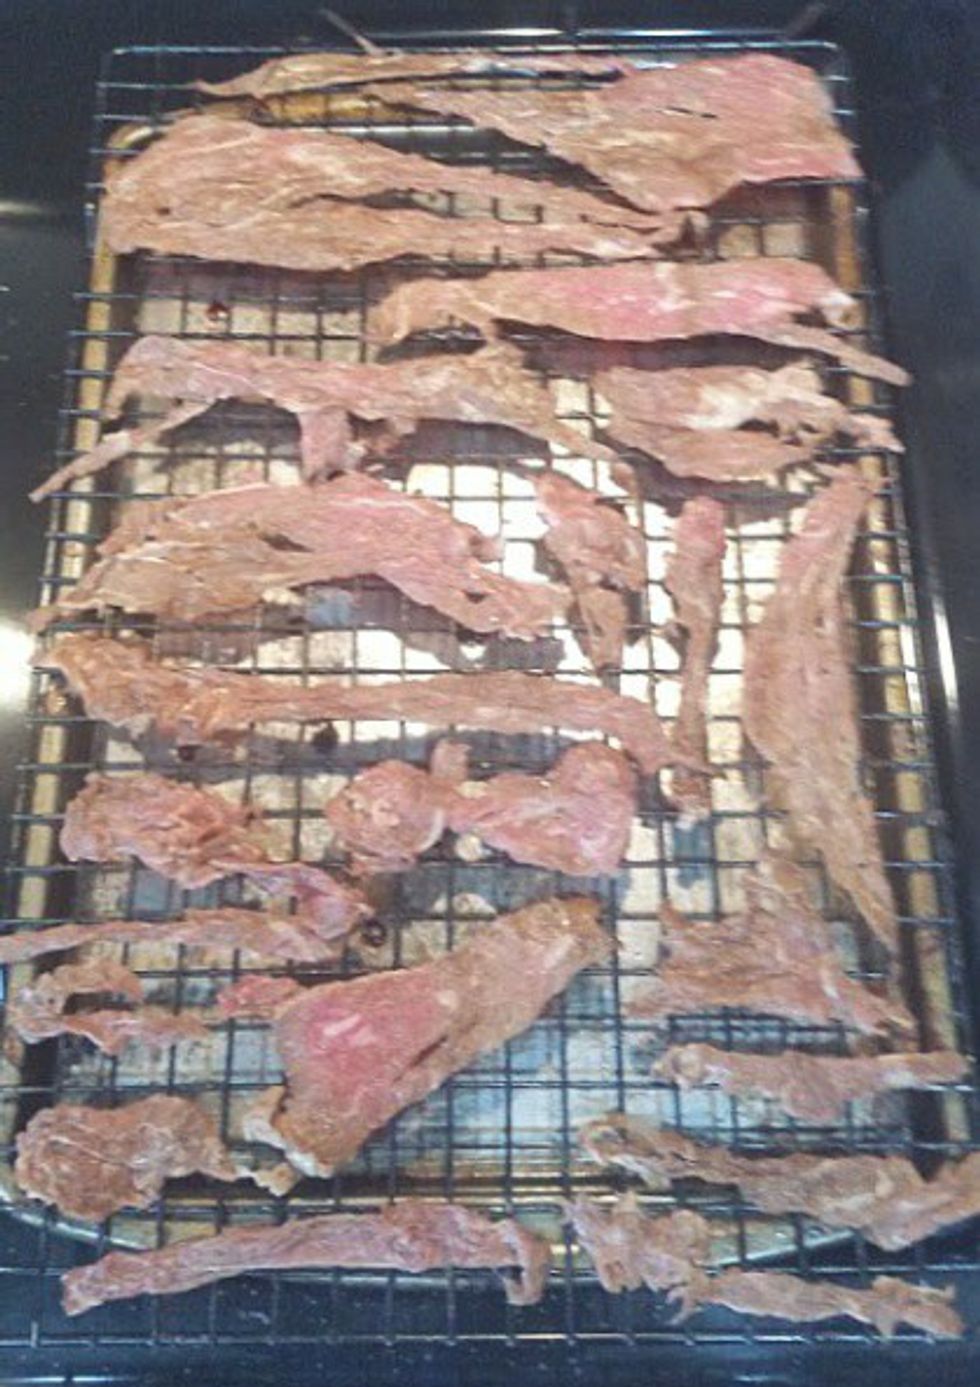
5. Put the beef on the drying rack that it attached to the cookie sheet. I have some drying racks that snap onto the cookie sheet that makes it super easy. The beef can be very close together, even touching, but I would not recommend overlapping pieces. Now is the time also to add a bit of salt, pepper, or what other spices you might want to add. Don't add too much here... the beef will shrink when it cooks and you don't want it to be over-salted.
Cooking Times
I like to put my beef in the oven around 200 degrees Fahrenheit. Some sites will tell you slightly hotter or slightly cooler, but this is the temperature that has worked for me. Every so often (perhaps once every 20 minutes while cooking), go to the oven and open the door for about five seconds to let any moisture out and then close again. Obviously, cooking times might vary, so play around and see what works best for you!
- For chewy jerky: 1 hr. (make sure it is dehydrated completely, though)
- For normal jerky: 1 hr. 30 mins.
- For dry, almost crunchy jerky: 2 hrs.