Before I begin, I want to make something very clear: you do not need make-up to be beautiful. I’m not here giving you makeup tips because I think that you look terrible without it; I’m simply here to remind you that you have beautiful features, and that makeup can be used to enhance and bring out all of these characteristics. Your face is a canvas and you’re free to leave it blank or fill it in with any color you desire, but that choice is yours.
I’m here today to share with you my makeup routine (including a lot of selfies) and a few wonderful tricks I’ve learned over the years.
1. Moisturizing saves lives.
Always, always, ALWAYS moisturize.
My mom is a beautiful, 50-something-year-old woman whose skin is still soft and fresh because she has been moisturizing every day since she was 16. But before I continue, I want you to know that you should stop being afraid of wrinkles, fine lines, or any other signs of aging. You’re beautiful at any age, even if the magazine covers don’t tell you that. Regardless, moisturizing is a way to keep your skin healthy and ready for makeup application. Not to mention, you will feel as soft as a baby’s butt, which is a phrase I genuinely hate to love.
Pro Tip: Find a moisturizer suitable for your needs. Not every moisturizer caters to the same type of skin. If your skin is typically dry, look for dermatologist recommended moisturizers that will keep your skin hydrated. For oily skin, find lightweight products that won't clog your pores (thicker, more generic moisturizers tend to cause breakouts!)
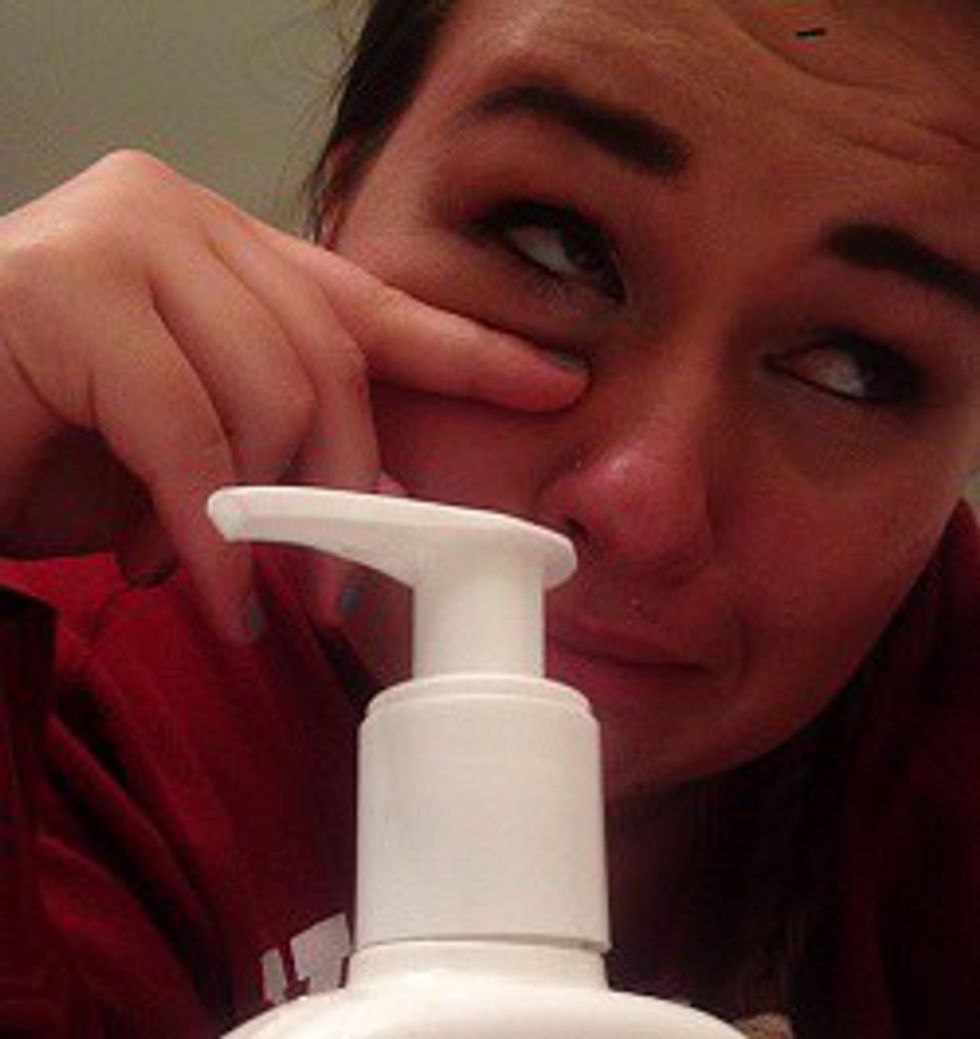
Here is actual footage of me getting emotional over my moisturizer:
2. Face Primer makes make-up last longer and makes your pores look smaller.
You ever see someone who has skin so perfect that it looks airbrushed? I can promise you they use primer. Either that or their gene pool is ridiculously strong. Priming the face is not totally necessary if you’re just throwing on some light makeup to run errands around town, but it is a great way to keep makeup looking streak-free all day long, while also giving you a pore-less, airbrushed finish. If you’re like me and have sensitive skin, buy oil-free primer that won’t cause blemishes.
I’ll break down colored primers for you:
Pink: Creates a subtle glow.
Purple/lilac: Brightens skin.
Green: Reduces redness.
Yellow: Reduces blue undertones (great for under eye circles and veins).
Pro Tip: Less is more! You don’t need to glob this stuff on, put a dab on your finger and spread over your skin/pores.
Literally this is all you need:
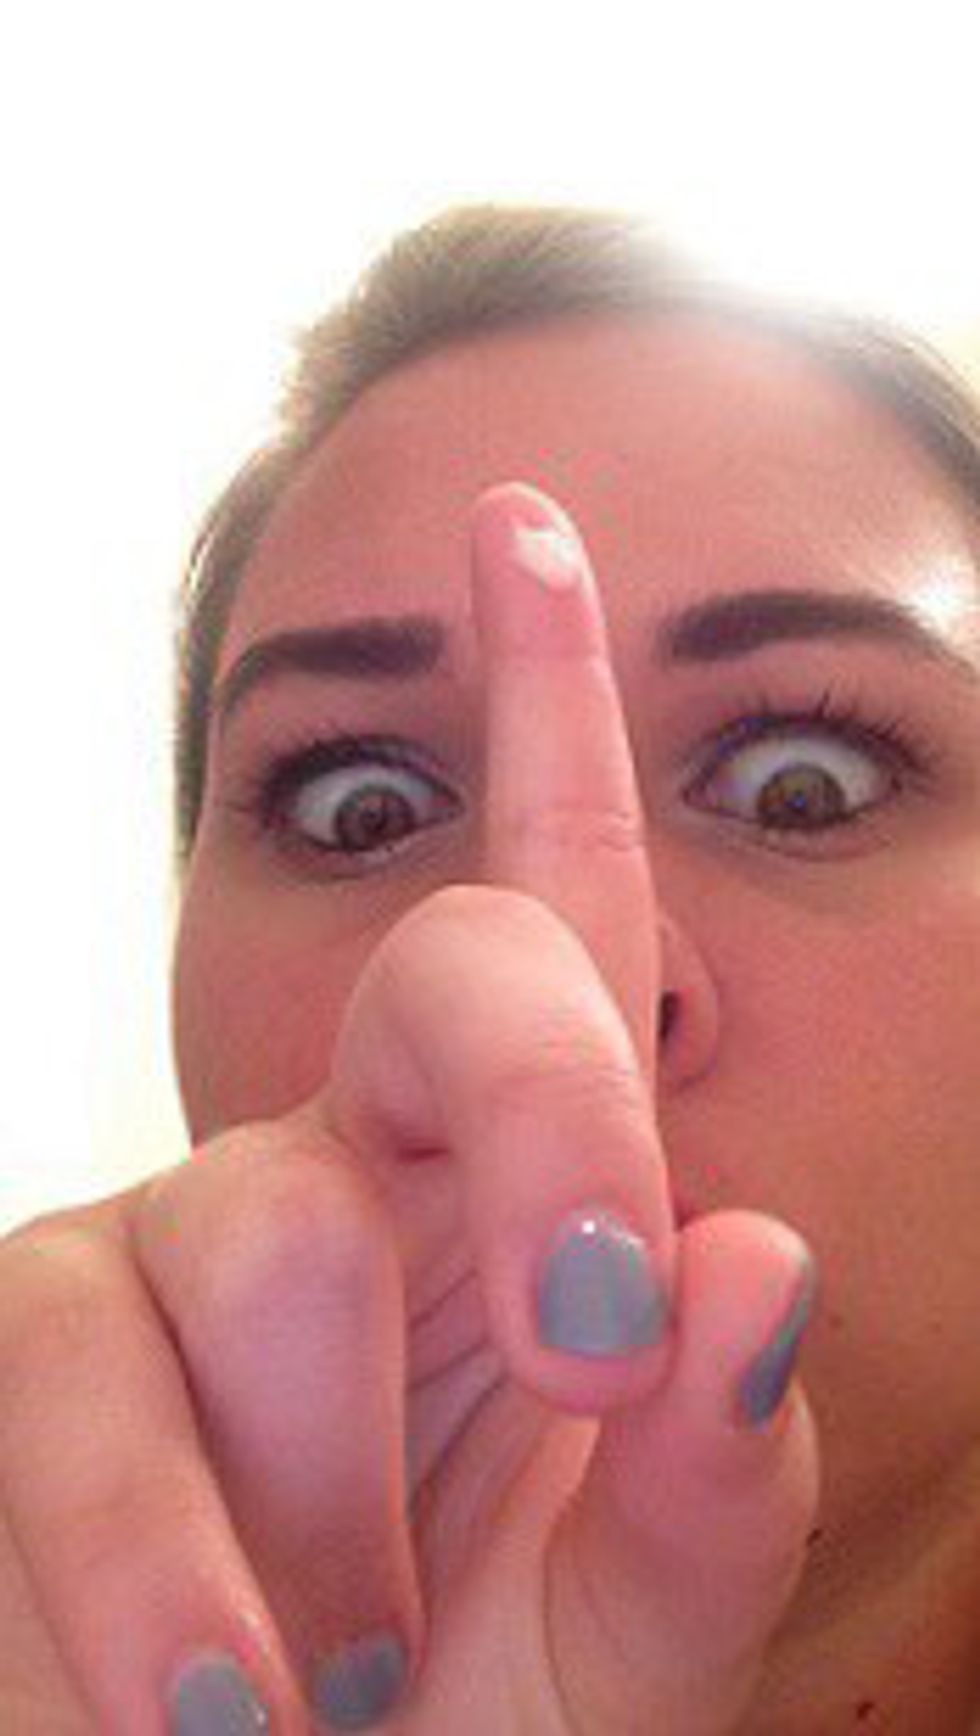
3. Concealer.
Skin can sometimes be a little problematic and there’s nothing worse than gearing up for a party and finding out that Pluto has left the solar system to take up residence on your nose instead. Concealer to the rescue! There are a lot of different kinds you can use, but I prefer concealer with a lot of coverage. I use Laura Geller’s Real Deal Concealer and it has changed my life. It’s in a tiny little tube that looks like it will only last you a week, but let me tell you, that is not true. I’ve been using the same tube of this concealer for the past TWO YEARS and it's still going strong! It was the best $22 I’ve ever spent and if you want the best bang for your buck I recommend giving it a try. Like I said, if you want a cheap alternative, hit up your local Walgreens and find one that works for you. Use this stuff to cover unwanted blemishes, discoloration, sun spots, etc.
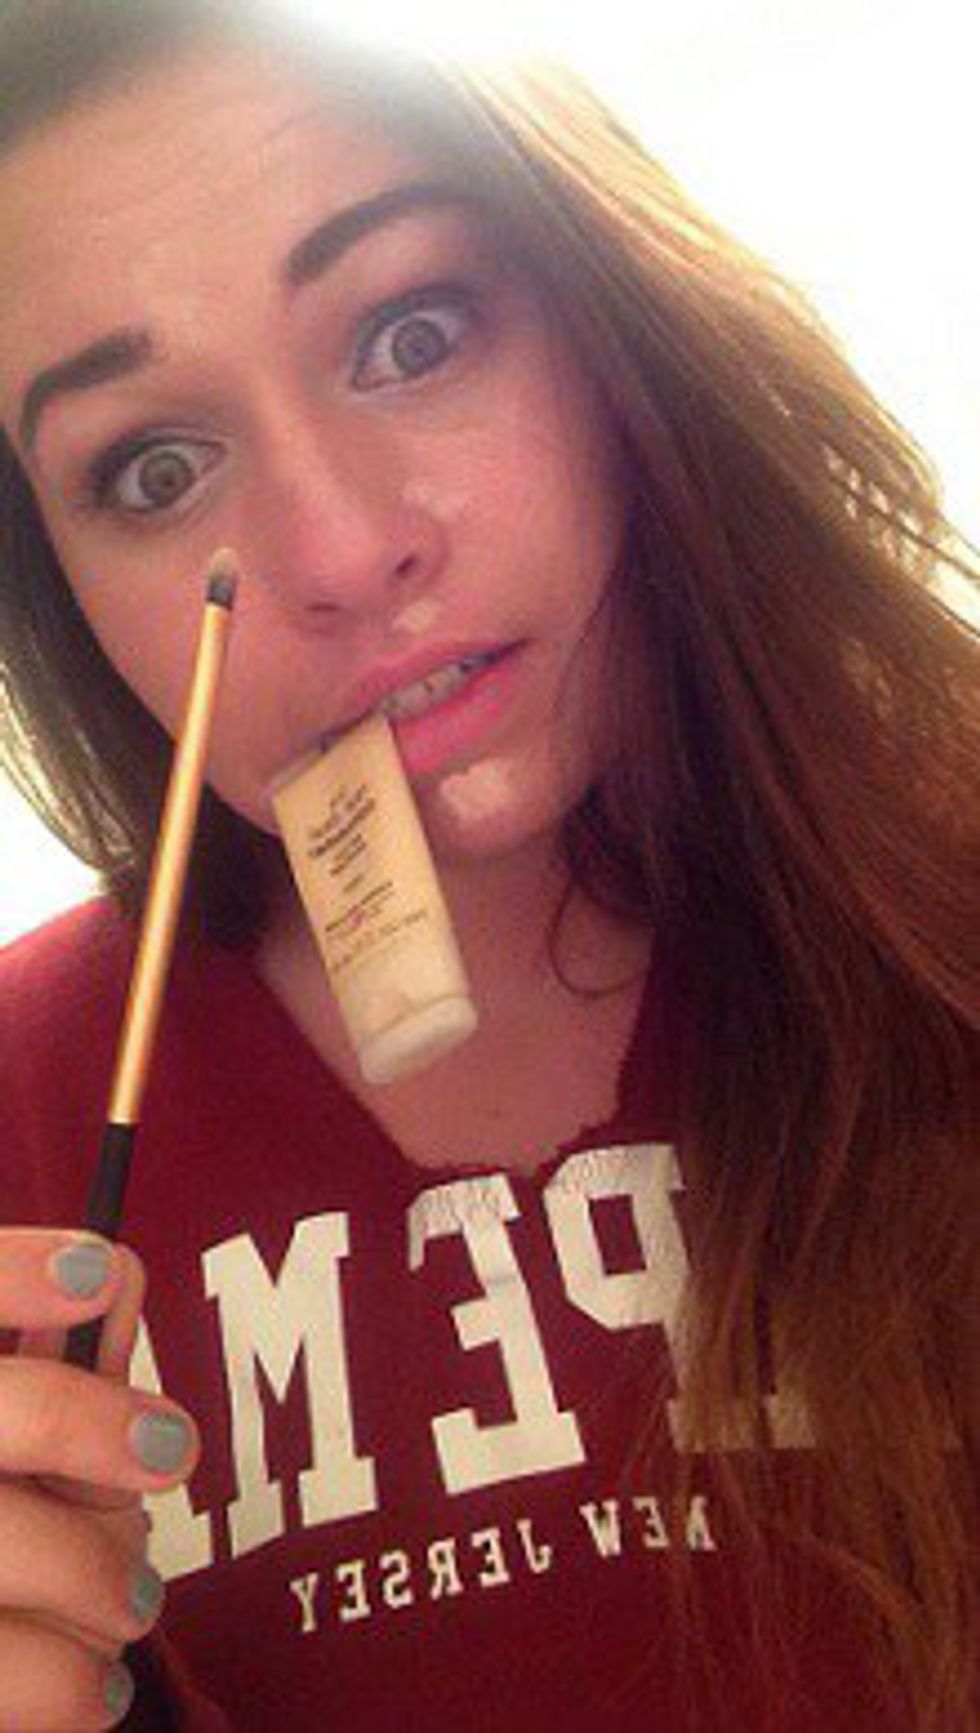
Pro Tip: I recommend using a concealer brush and not your fingers because your hands are covered in germs and will spread unwanted oils that can cause breakouts. But if you’re on a budget, fingers are free, so feel free to do you.
Here is me, doing me:
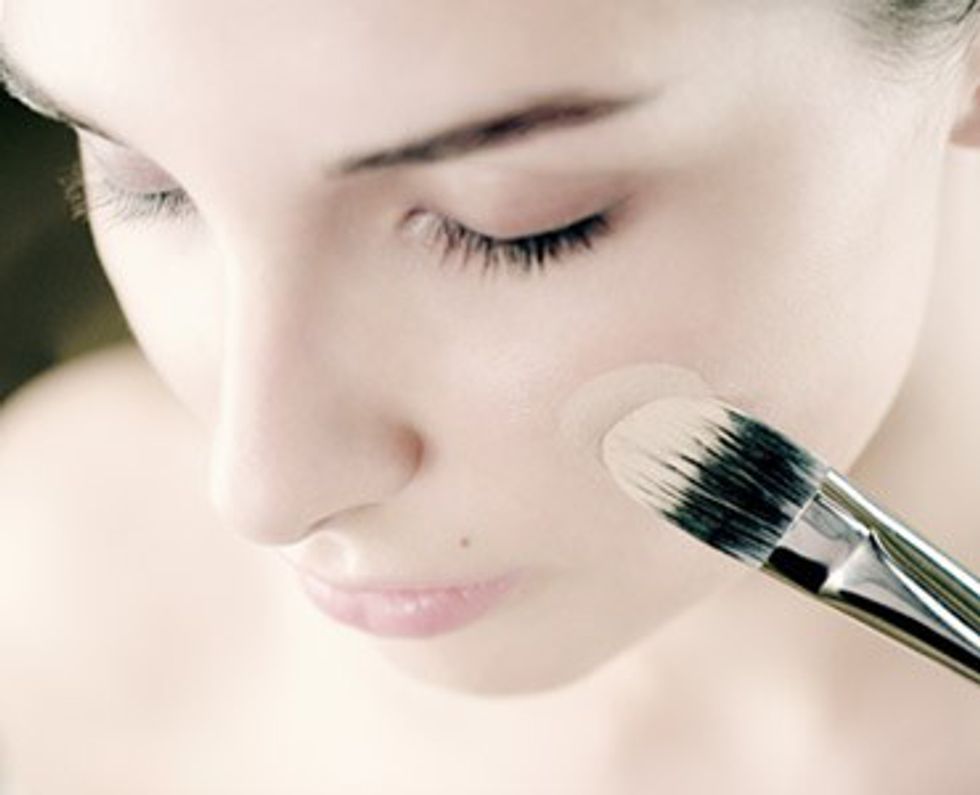
4. Foundation
This is the tricky part for a lot of people, but I’m here to save you. When buying a foundation, make sure you’re confident with the shade. Put some on the back of your hand and rub it in and compare it to the color of your face. You want to look natural, not too light or too dark. Like I’ve said before, I personally like full coverage, but if you’re lucky and have a wonderful complexion, you could definitely get away with a lighter liquid foundation (or maybe just a powder). Remember, liquid foundation is not necessary for everyone; people have very different skin types. But if you want to create a dramatic, more airbrushed look, liquid foundation will be very useful. I like to top off my liquid foundation with a powder, applying it with a soft-bristled kabuki brush (which you can get for dirt cheap at a local drug store).
Pro Tip: If you use a foundation brush make sure to apply the foundation in a DOWNWARD motion, not upward. We have little, tiny hairs on our faces and brushing foundation downward keeps the face looking soft.
I wanted to give you a break from my devastatingly good looks to share with you this beautiful human employing foundation skills:
5. White eyeliner makes your eyes look bigger.
I have smaller, almond shaped eyes, so I’m always trying to make them appear bigger and more prominent. While I’m a big supporter of jet black liner, sometimes I like to look a little less intimidating and a more fresh. Applying white eyeliner to the water line of your lower lid creates a subtle, yet beautiful look that creates the illusion of a bigger eye.
Pro tip: If your white liner is brand new it won’t spread well over your water line. Hold up the top of the eyeliner to a lighter for a second or two and the fire will melt down the liner for easy application.
Look how fresh and open her eyes look!:
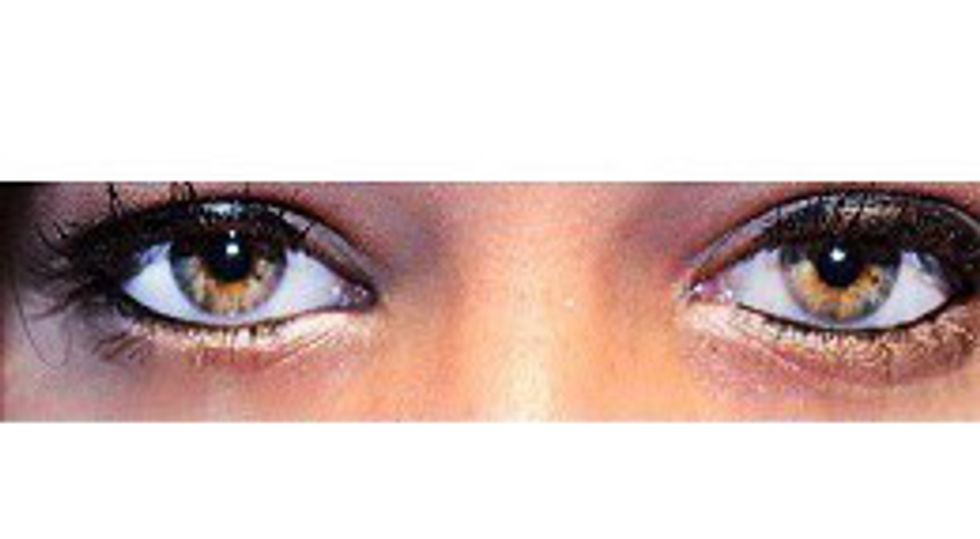
6. White in the corner of your eyes.
If you really want your eyes to stand out, invest in a more concentrated white eyeliner or white shimmery eye shadow; personally, I prefer the shadow. Apply this white shadow to the corners of both eyes and extend it to a small portion of the top lid and bottom, under the eye. This creates a beautiful, fresh look that opens the eye and enhances any eye color.
Pro tip: BLEND the white into your lid, don’t just create a harsh, white line. You want the white to look like an extension of the color you have on your lid, not a stand-alone feature.
Let's get a little up-close and personal with my retinas:
.
7. Eyelid Primer prevents creasing and smudging.
Have you ever applied flawless liner/eye shadow in the morning, only to see it faded and creased by lunch time? The best way to avoid this is to prime your eyelids before eye makeup application. Using an actual eyelid primer (usually a bit expensive but always very reliable), cover the entire lid. This little technique keeps eye shadow from creasing and top lid liner from smudging. Great for a long day of class or a night out.
Pro Tip: Can’t afford an eyelid primer? No worries! Substitute the primer with foundation or concealer- both work well and achieve the same goal.
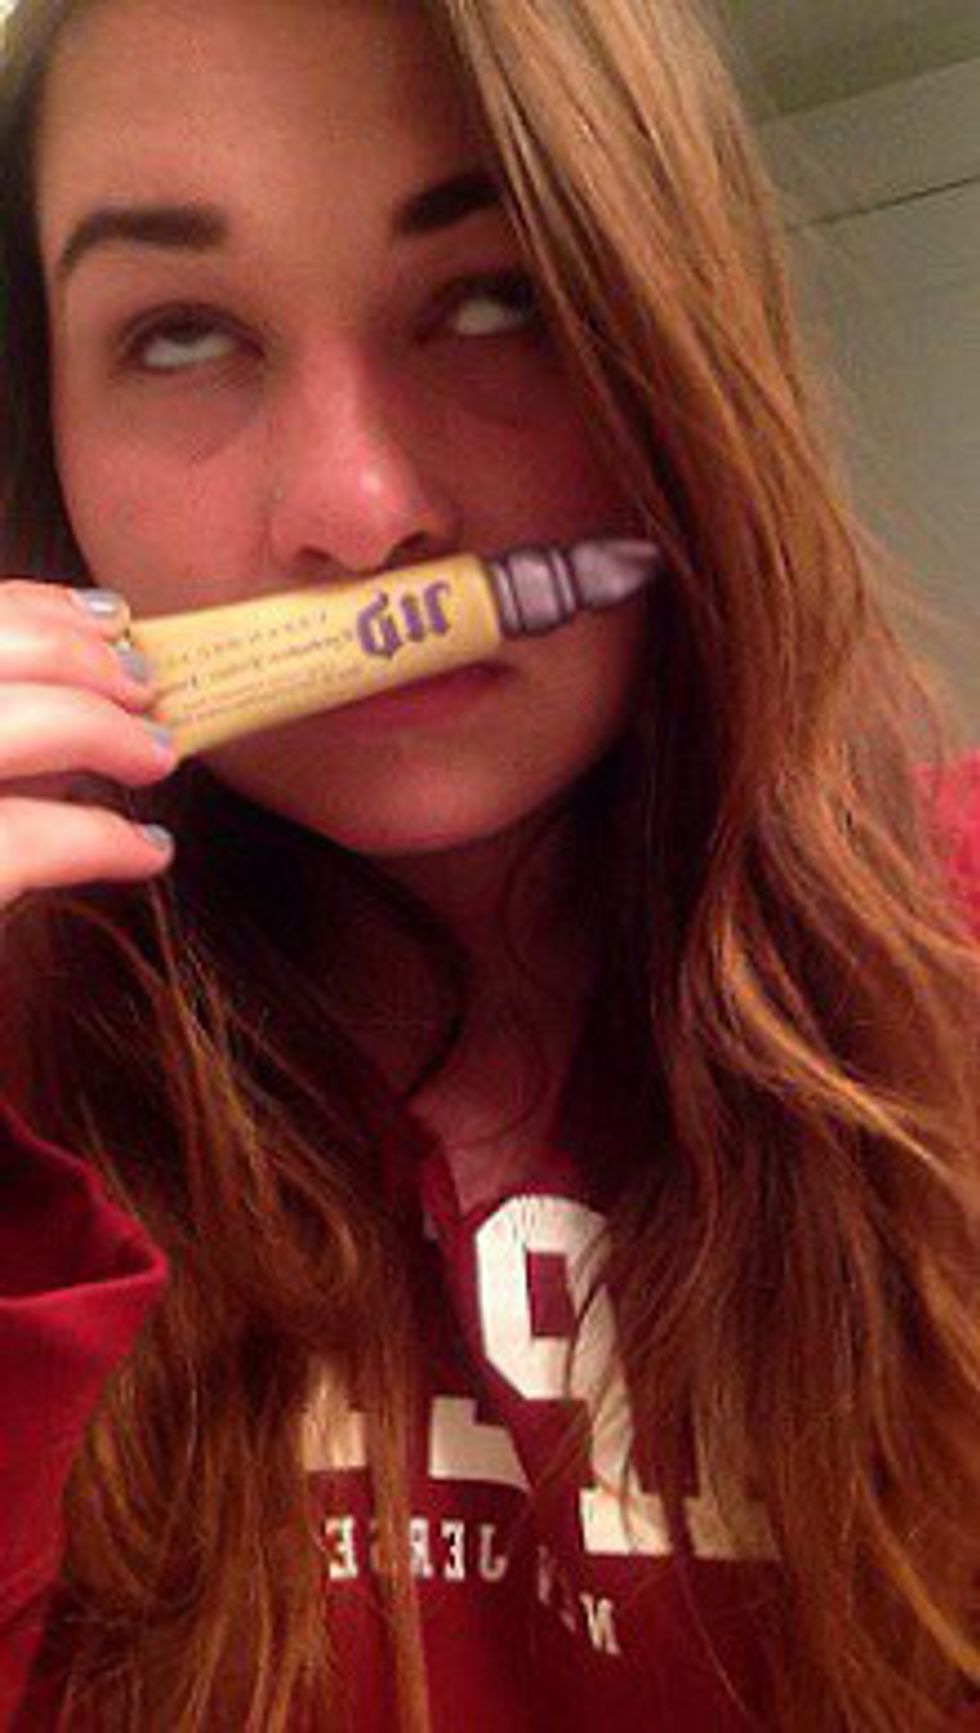
Here I am sniffing my eyelid primer from Urban Decay as if it were a rare, Cuban cigar:
8. Eye shadow for every eye color.
Eye shadow can be casual AND dressy. Just because you have on eye shadow doesn’t automatically mean you’re hitting the red carpet. You can be as natural or as smokey-eyed as you want! Let me break this down for you people real nice and slow.
I think eye shadow is essential and extremely flattering on any eye shape, for any eye color, and for any skin tone. The key is to know which colors work best for you. Let’s start with eye colors:
Brown eyes: Since brown eyes are the most neutral of the colors, a lot of eye shadow shades can work. If you want to make them pop, don’t be afraid of bolder/metallic shades. However, if you want to add richness and depth, I recommend warm colors. Golds and reddish browns are always a good call. But like I said, brown eyes can be paired with a lot of shades. Subtle greens and warm purple shadows will look absolutely stunning. Don’t fall victim to the “brown eyes are ugly” mantra because it is 100 percent untrue. Brown eyes are beautiful and warm and can be complimented just as nicely as any other eye color.
Blue eyes: Typically if you have blue eyes, you want them to pop when you apply eye shadow. If you want to take your blue eyes from beautiful to absolutely jaw dropping, I recommend orange colored shadows. WAIT! Before you close your laptop and scoff at how you would never wear neon orange shadow, remember that “orange” is a broad color. Try shades such as copper, rust, bronze, or even peach to bring out that beautiful blue. For a cooler shaded look: try purples, pinks, or very pale blues.
Green eyes: To my fellow green eyed people, there are so many options for us. If you want to keep your look very unified and monochromatic, try applying a green shadow. A forest green or green/gold shades will definitely do the trick; this leaves nothing to the imagination and says, “Here are my eyes, they’re green, and I’m amazing.” If you want a look that experiments with more colors, my go-to shades involve mauves, purples, and a mixture of pinks. No matter which look you go for, if you employ these colors, your eyes will take on an alluring, crisp color. You’ll watch them get greener before your very eyes! (Pun intended, obviously.) If you’re looking for a palette perfect for green eyes, check out the Naked 3 Palette by Urban Decay. I use it every day and it is life changing.
Hazel Eyes: Hazel eyes are awesome because they’ve got a little bit of everything in them. Essentially, you can borrow colors from either the green or brown families and your eyes will look great. If you have hazel eyes with flecks of green, try the shades I mentioned above for green eyes; these shades will bring out those small flecks for a beautiful, striking look. For more honey colored/amber hazel eyes, try golden brown tones. A lot of stores sell eye shadow trios for hazel eyes that include golds, browns, and taupe colors.
Pro Tip: Drug stores and department stores usually have a section in the makeup aisle with eye shadow palettes for every eye color. They're usually cheap and easy to use. Check them out if you're just starting to experiment.
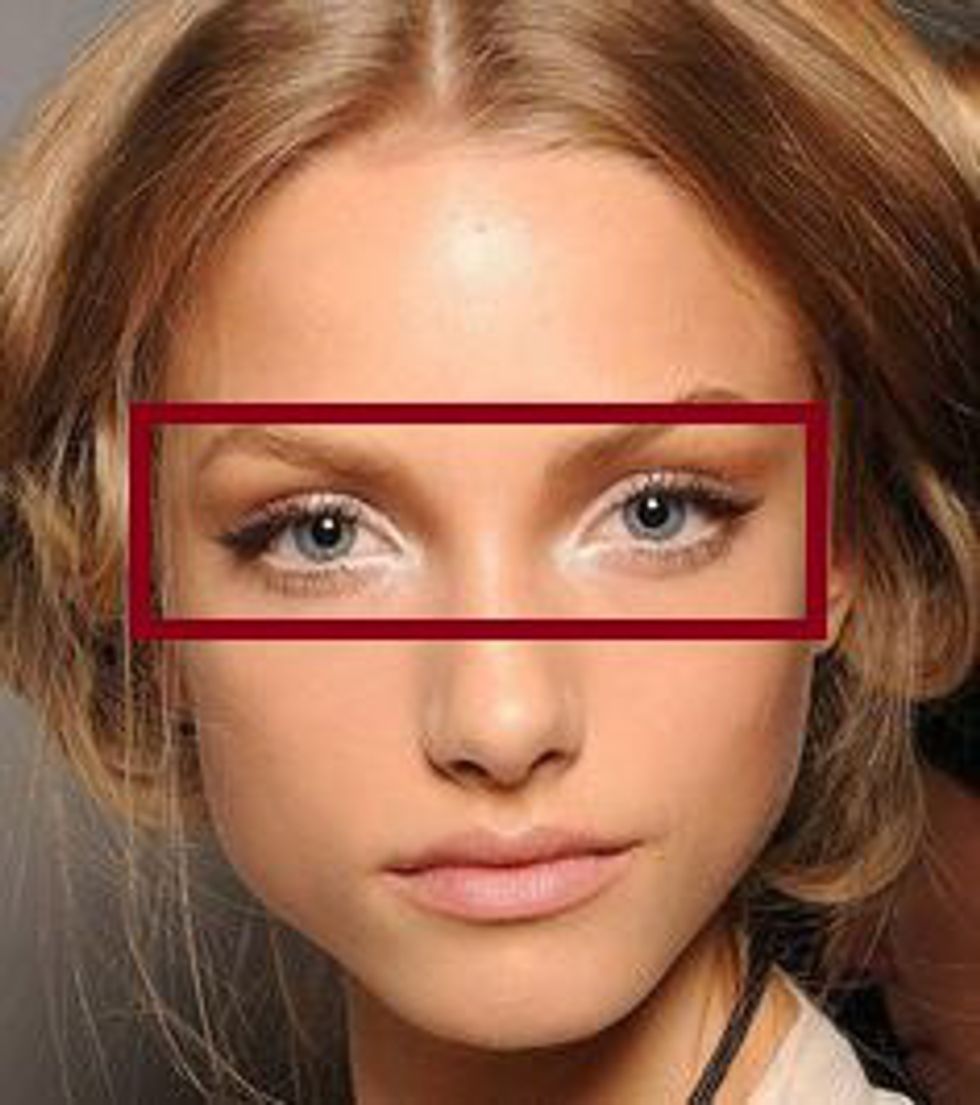
A chart for you visual learners:

9. Eyeshadow for your skin tone.
Dark Skin Tones: AVOID ashy shades! AKA shimmery whites and pale pinks. These shades will be virtually indistinguishable on your skin and will create shimmer, not color. Stick to more vibrant shades, because the deeper color of your skin will offset the vibrancy. If you want your eye shadow to stand out, go for deep, richer shades. Try metallics!
Light Skin Tones: Grey is never the answer. Grey shades tend to wash out light skin tones and sometimes smokey eyes can make the face look bruised rather than striking. However, if you have a face of makeup, including bronzer and blush, this tends to make the face less sallow. In this case, smokey eye is totally acceptable! Try softer colors, instead, to make your eyes pop without washing out your skin.
Pro Tip: Don’t be afraid to mix colors together. If there are two shades you love on a palette, put your brush in both and spread that over your lid. The mixture can be innovative and very beautiful!
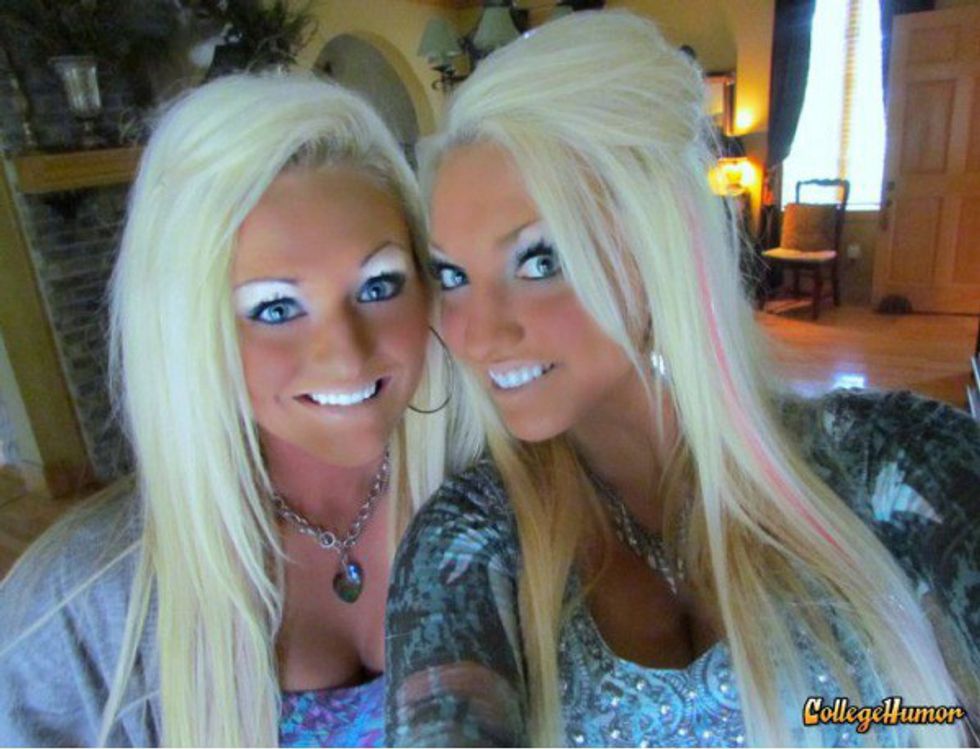
What I'm trying to say is, don't do this:
10. Flawless eyebrows.
Eyebrows are the holy grail of features and, if done correctly, can enhance your features and create a beautiful frame. Using a dual-ended brush, find where your brows should end. Usually they end diagonally to the outside corner of your eye. After this, brush the hairs with the opposite side of the brush (I call this the “floofer” side of the brush, because I’m an eloquent young woman, but it’s actually referred to as a “spoolie brush”). After you do this, fill in the sparse parts of your brow with a pencil of your choice- but when I say pencil, I don’t mean sharpie marker them in...unless that’s the look you’re going for, then by all means go for it. Or if you want to be a little more advanced, you can use eyebrow gel. After this is completed, use an angled brush and apply a pressed powder of the same color to the brows. I use a dark brown eye shadow that cost about four bucks and it works like a charm. Don’t press too hard because this will create harsh lines that will make you look like that creepy doll from The Conjuring. Use the floofer (spoolie brush) once more to brush through the brows and voila! You’re done.
Pro Tip: If you want to go the whole nine yards, use a highlighter or shimmery eye shadow on your brow bone to create extra definition. The juxtaposition between the dark eyebrow and the light brow bone will define the eye brow and ultimately create a fierce look.
Oh look, it's me again showing off my eyebrows:
 11. Long eye lashes.
When it comes to lashes, I have a lot of tricks up my sleeve. I hate fake lashes. Not because i think they're unattractive, but because I can't ever seem to apply them right. I usually glue my eyes shut and end up saying a lot of words that my parents probably don't know that I know. Anyway, because of my fake lash deficiency, I've learned how to make my short lashes appear long and voluminous.
Curl your lashes.
Curling your lashes will make them look significantly longer and will make your eyes look bigger and more lively. Curl your lashes prior to applying mascara, only on clean lashes. Curling after mascara application causes clumping. Curling your lashes is the number one trick in the book and will greatly enhance your beautiful eye look.
Mascara.
When applying mascara, wiggle the brush back and forth, starting at the base of the lashes and bringing the back and forth motion to the tip; doing this makes the first coat even. After applying the first coat, spread a little bit of baby powder over your lashes. This plumps them and creates a canvas for the second coat.
After you've done this, I recommend using a different mascara as a second coat. This creates the fake lash look without the hassle of fake lashes. I use a lengthening mascara as the first coat and for the second coat, I use a volumizing mascara. This way you're achieving both looks and creating definition all at the same time.
If you struggle with getting mascara on your upper/lower lid, use my business card trick. Take a business card and hold it behind your lashes while you apply mascara. That way all the mascara that would accidentally hit your lid will just hit the business card instead, making your process much, much easier.
Pro Tip: If your mascara begins to clump and you're tight on cash and can't buy a new one, put a drop or two of Visine in the bottle. This helps prolong the life of your mascara and also reduces clumping.
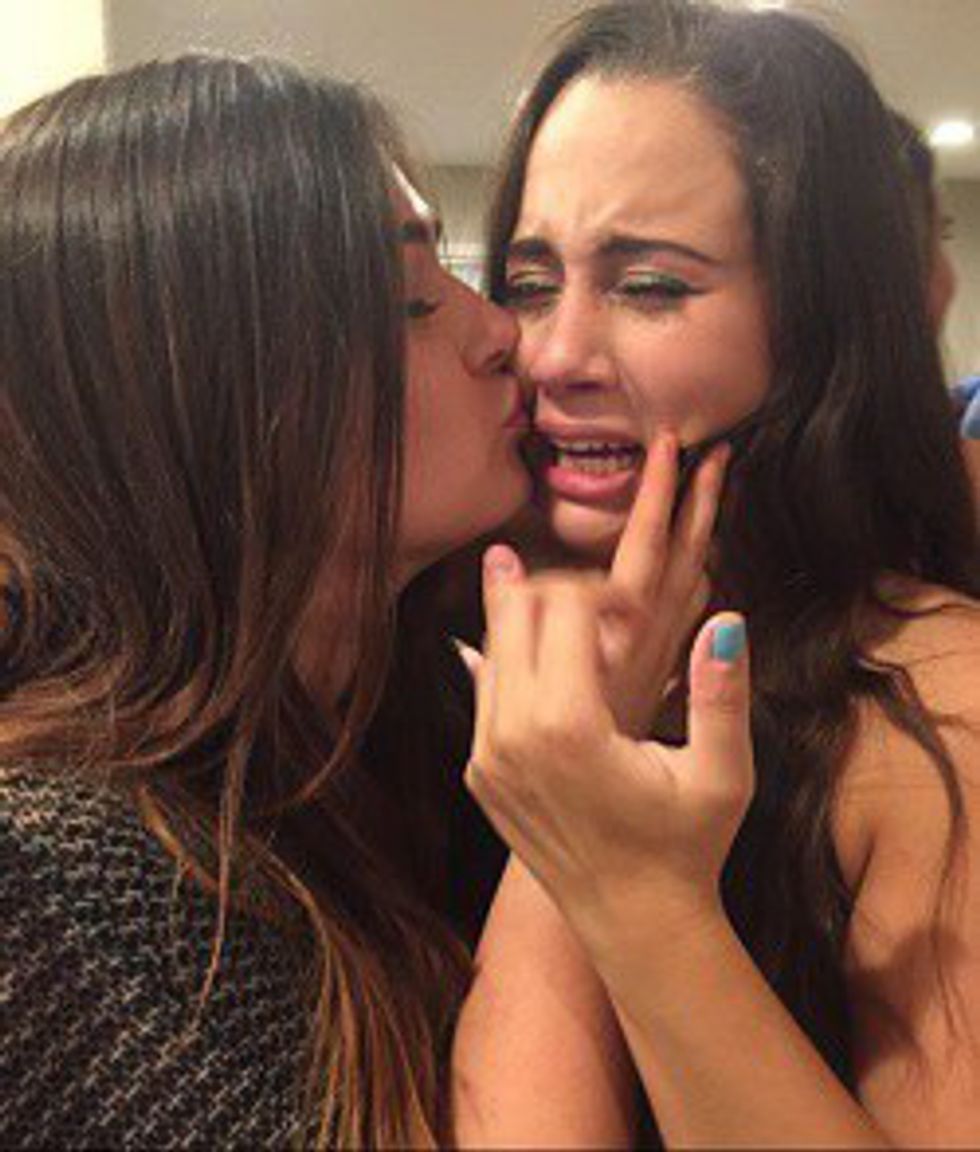
Why am I including this photo? Well because my eyelashes are perfectly curled and long and this side profile captures it. Also, this is a picture of my roommate crying because she's happy to see me, and I'm using any excuse I can to plaster it over the Internet:
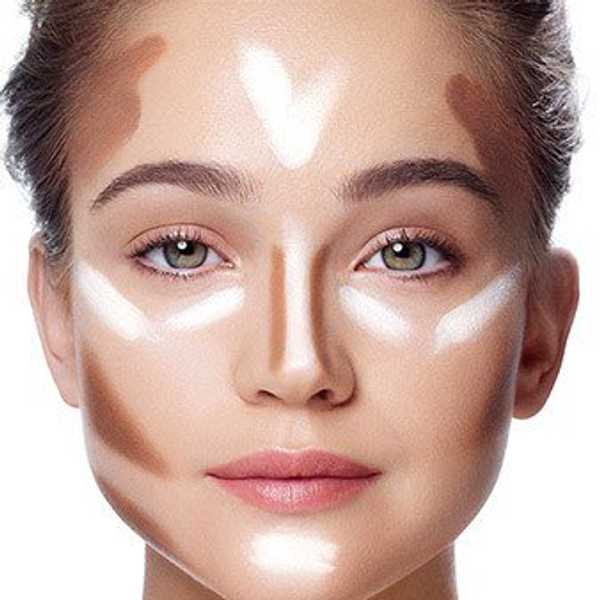
12. Contouring slims the face.
Yeah, you heard me. CONTOUR. It’s the best thing ever and if you don’t believe me just ask one of the 350 Kardashians. Contouring is a great way to enhance natural features or to create a slimmer, more sculpted face. A lot of makeup tutorials will tell you that liquid makeup contouring is the best method and while they’re not wrong, it’s a lot of makeup on the face and I recommend only doing the liquid method for special occasions. For all the other times, a nice pressed powder contour kit will do the trick. I use LORAC Pro Contour kit, or you can use a pressed powder bronzer.
Step 1: Apply highlight to brighten the key parts of your face AKA the T-Zone (Forehead, bridge of the nose, under the eyes/upper cheekbone area, and under the chin.) For me, I have light skin so I use a mixture of beige/yellow in these spots; this brightens the face.
Step 2: Apply appropriate shade of contour to the cheek bones. When doing this, first apply the contour to the top part of the cheekbone by the ear and brush up and down toward the mouth. For a harsher line, apply darker contour, for a more subtle contour, a more subdued contour shade. Extend the shade along your hairline and brush it down lightly on the top of your forehead. This makes the forehead/face upper face area appear smaller.
Step 3: To create a defined jawline and to erase double chins or just to create definition, apply contour under the jaw and extend all the way around from one jawline to the other. This creates a defined line that makes your face appear slimmer. But don’t forget to evenly distribute! Also, make sure you brush the contour DOWN to the lower part of your next to avoid the look of a harsh, orange-y line.
Step 4: To create a slimmer nose, apply lighter shade of contour directly under the start of your eyebrows and bring it down alongside the nose toward the nostril. Complete this on both sides and finish up by lightly brushing the lighter contour horizontally on the tip of your nose. This completes the look and creates a very defined nose.
Step 5: Look in the mirror and make out with yourself because your face is absolute perfection.
Pro Tip: Contour can be an everyday thing or itcanbe used for special occasions. If you want a quicker routine that adds color, invest in a blush bronzer duo. Apply bronzer to the hollows of your cheeks and apply blush to the apples of your cheeks. This creates quick color thatwill enhance the features that are targeted in contouring.
Check dat contour:
 13. Lipstick.
I have an incredible fascination with lips, and I believe that there is nothing better than a pair of lips perfectly colored. You'll need: foundation, concealer, small brush, and lip liner/lipstick of your choice.
Start by patting foundation on your lips. This makes the color appear more vibrant, especially if the color is more sheer. The foundation mutes your lips and allows for the lipstick to take. Using the lip liner, carefully outline your lips, smudging the liner toward the center of your lips as much as possible. Make sure to fill in the creases of your lip with the liner. You can use a small brush to smooth out the lines. After the liner is applied and smudged, apply the lipstick within the confines you just created. After you've applied the lipstick, use a concealer brush and concealer and trace the skin around the shape of your lips. This creates a crisp line shape and helps keep the lipstick and liner from smudging. Once you complete that, your lips are done and ready for pouting.
Pro Tip: Using a matte powder (a cheap one is only a few bucks), pat it on your lips when you're done to create a matte finish.
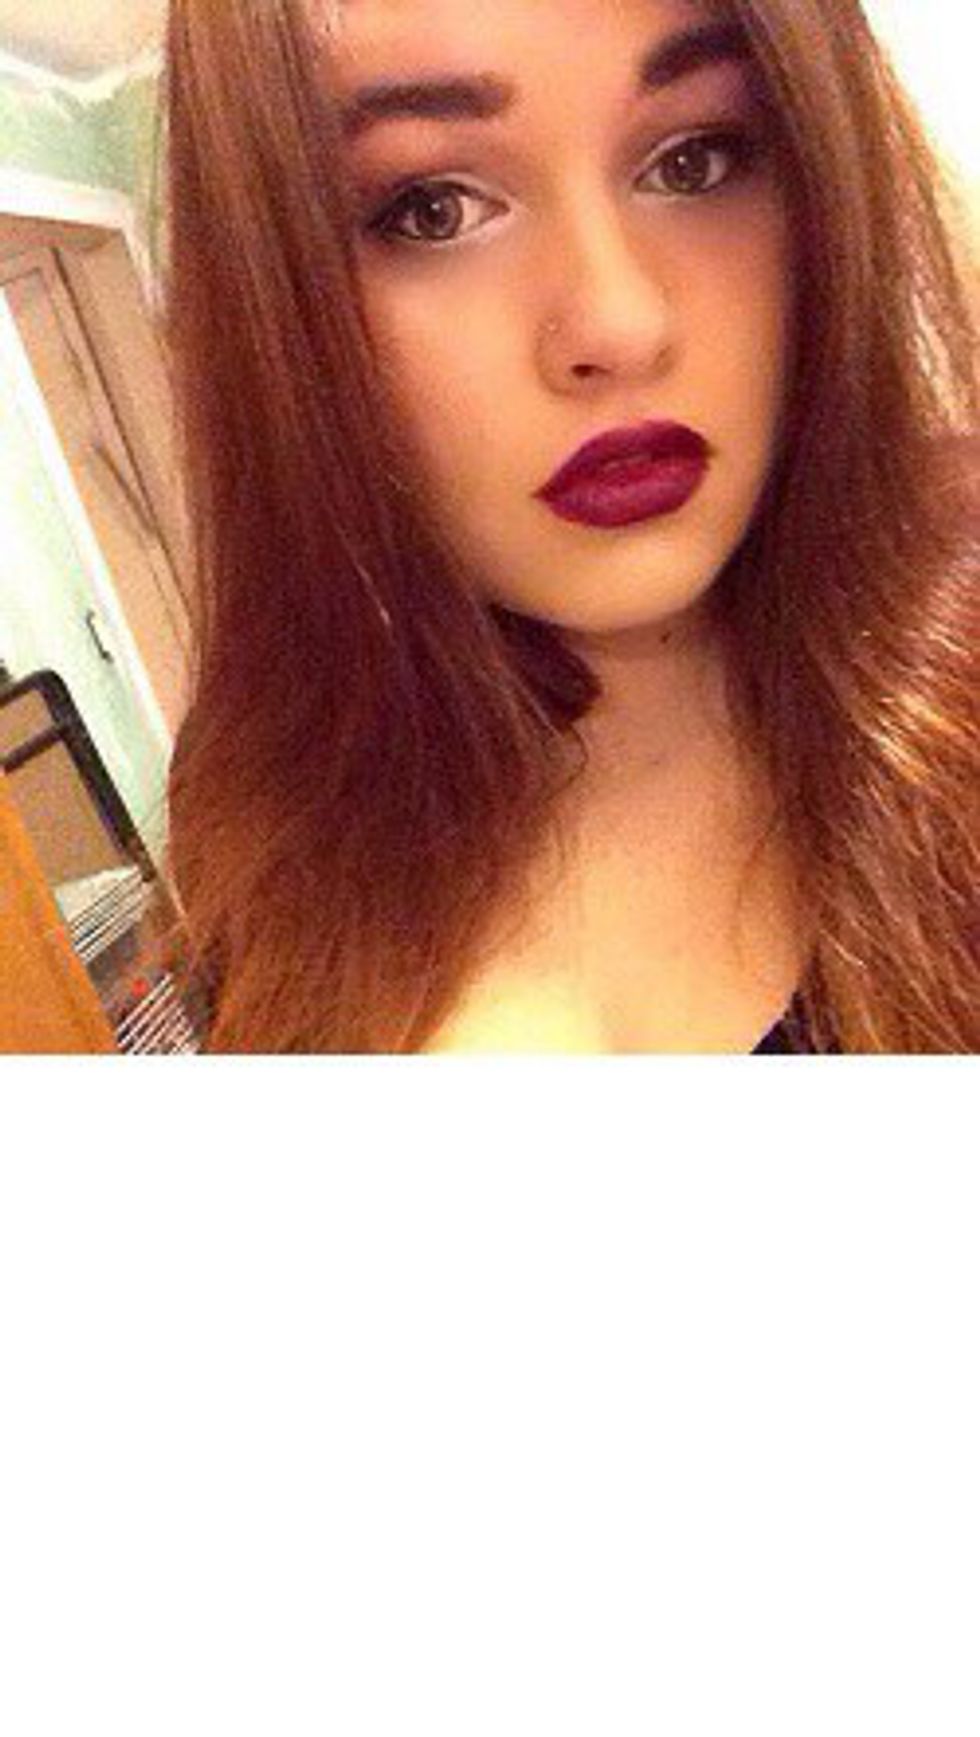
Here I am filled with teen #angst feeling super #pouty
Niagara Falls, Stonehenge, Harry Styles’ ass, and a good face of make-up. What do all of these things have in common? The answer is: They are all wonders of the world. Well, not really, but you get the idea.
Make-up is one of those things that requires a lot of time and practice, but once you get the hang of it, there’s no looking back. Use these tips at your leisure and use them to help enhance your daily routine. Maybe you’ll find a new look that you love.
But before I go, if someone ever makes you feel bad for loving make-up, take a sharp eyebrow pencil and shove it up their—I mean, remind them that you are free to treat your face/body how you please. And for all those people who accuse individuals who use make-up as “false advertising”, remind them that you are NOT A PRODUCT. You are a human being and you are not for sale. Make-up doesn’t make you any less authentic and beautiful.
Do makeup because you want to, not because you feel you have to. But if you do decide to do it, do it well and be fierce. Slay.