
In my last article about cover photo tips for Odyssey creators, I mentioned paying attention to the minimum pixel size (which is 1060x555) and its size ratio (which is 2x1). In this case, I want to elaborate on it by finding a way around it if the photo you want to use does not abide by any of those measurements. You do not want to see your photo you are set on making a headline picture either cropped off drastically or rejected for being too small. You will need not only your image software and the photo you want to use as a headline picture, but also a calculator.
Also, you should pay attention to what file type you save your photos as, because some programs may not accept PNG files but accept JPEG.
1. Copy 1 extra photo file.
This will be important for the final step.
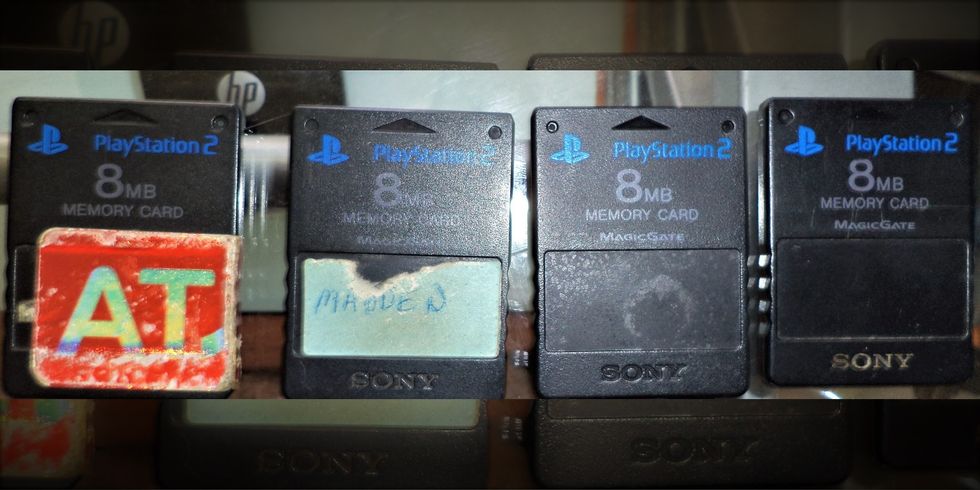
2. Make measurements.

This is important for making calculations for the resizing of the photo and the file. In this sample photo's case, the measurements are 2048x687 pixels. If I divide the width by the length, the ratio of my photo is approximately 3x1.
3. Lengthen/Widen the length/width.
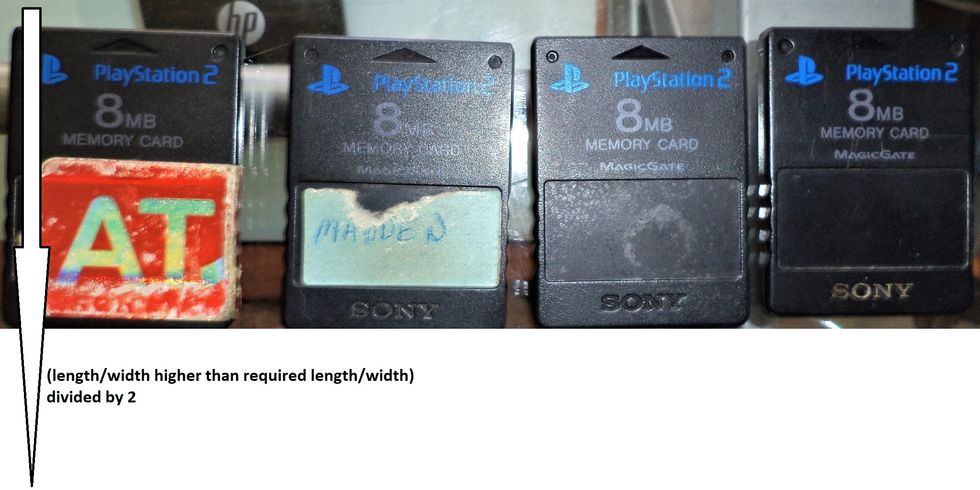
As such, I would need to adjust the file in order to modify part of this new photo. Divide or multiply the number that exceeds the ratio number in the measurement by 2 and make it the other side of the measurement. Since my width is 2048, the length would be 1024 in order to even out the ratio.
NOTE: If the size of the original image is less than both the standard length and width, then just simply expand the file to 1060x555 pixels.
What I like to do is select the entire picture, cut it, adjust the file size, and insert the photo back into the file while remaining selecting for the next step.
4. Enlarge picture.
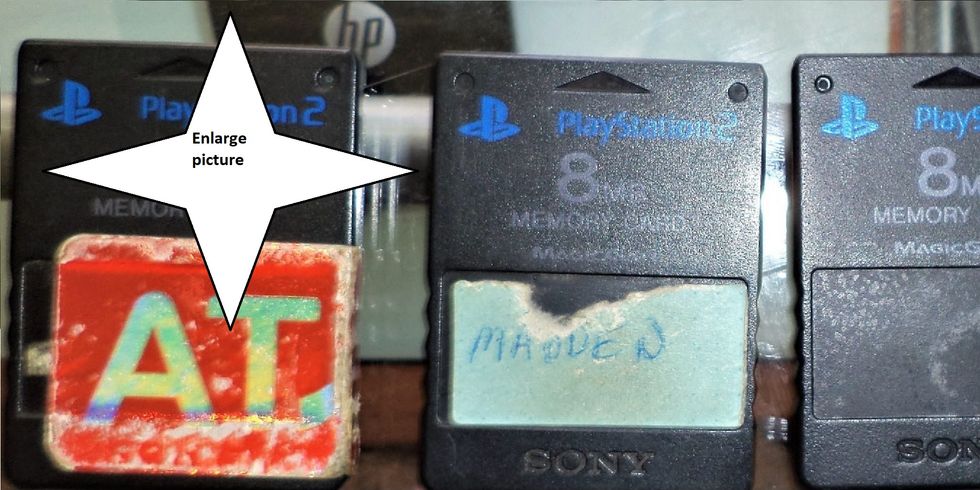
Divide this new length/width by its original number.
Since I changed the length, I will need to divide 1024 by 687, which comes out to 1.490538574 on my calculator.
Multiply that result with the unchanged width/length.
Since my width was unchanged, I will multiply 1.490538574 with 2048, which makes approximately 3053.
Make that result into the length/width of the photo's size.
In my photo's case, I will need to enlarge it to 3053x1024 pixels.
It is important to remain selecting the newly enlarged photo for the next step.
NOTE: If the image was just like it was described in the previous step as being smaller than the standard length and width, then just simply expand the image itself by 2 in both parameters.
5. Center enlarged picture.

While still selecting the photo, move it to the center, in either direction depending on the ratio of the previous photo.
6. Use image software.

Depending on whether you are using Photoshop or a software already installed as a default program in your computer/laptop, use it to further modify the photo. I do this in order to obscure and darken it.
7. Insert and center the original photo.

Copy the original photo from the first file, paste into this new file, and center it the same way the modification was centered in the previous step. This is where you have your new photo.
It was a bit mind-blowing for me to do this, but it was really within sight, especially since it is common for YouTube videos to do this when a band's song is uploaded. It is not just I who came up with this idea, but other Odyssey writers have also used this technique. I also did not add this to my previous cover photo tips article because I felt like this tip was an article in itself.

 Photo by
  Photo by
  Photo by
  Photo by

 people sitting on chair in front of computer
 all stars lol GIF by Lifetime
 two women talking while looking at laptop computerPhoto by
  shallow focus photography of two boys doing wacky facesPhoto by
  happy birthday balloons with happy birthday textPhoto by
  itty-bitty living space." | The Genie shows Aladdin how… | Flickr
 shallow focus photography of dog and catPhoto by
  yellow Volkswagen van on roadPhoto by
  orange i have a crush on you neon light signagePhoto by
  5 Tattoos Artist That Will Make You Want A Tattoo
 woman biting pencil while sitting on chair in front of computer during daytimePhoto by
  a scrabbled wooden block spelling the word prizePhoto by
 StableDiffusion
 StableDiffusion
 StableDiffusion

 women sitting on rock near body of waterPhoto by


