
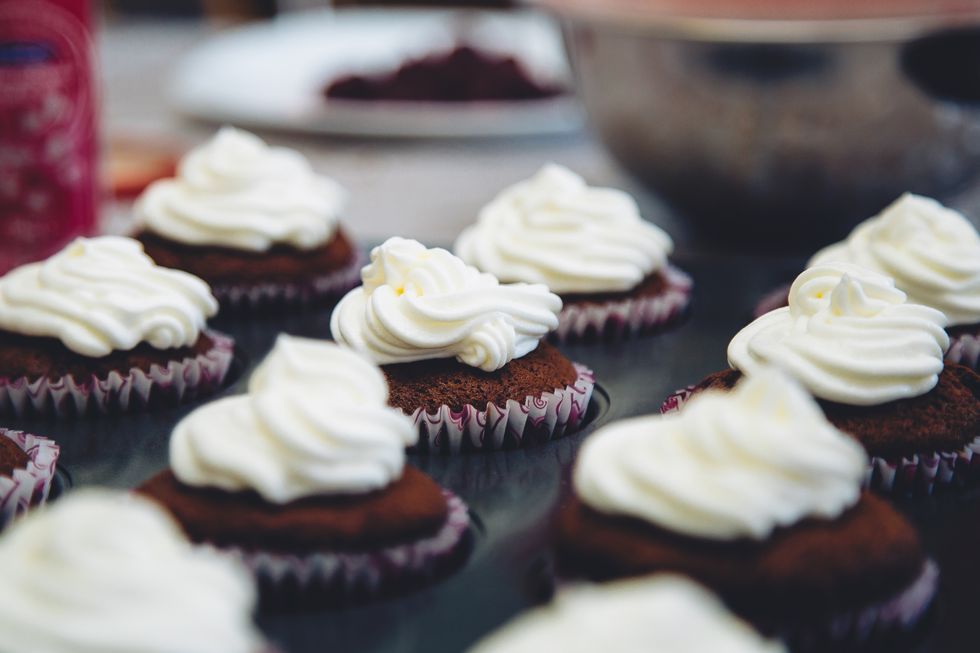
Someone has rightly said, “Cooking may be an art, but baking is a science.” You may think you have mastered baking but ask any pro and they'll tell you that learning never ends, there's always room for improvement so why ever stop learning to bake, right?
So here are some tips and tricks left which are very important for a good baker to know. These baking tips will help you take your skills to next level (just what you need before you set up your own bakery).
1. Bring all the Ingredients at Room Temperature
- If you keep all your ingredients at room temperature, trust me you can mix the batter in a better way.
- Don’t get confused between melted butter and softened butter as they are not the same. Cold butter is quite hard and difficult to mix with other ingredients, also difficulties arise with melted butter. Softened butter means it is solid but bit easy to break apart and you can mix it with other ingredients well.
- keep the eggs at the room temperature so that it can shorten their shelf life, but let them get warm before you make the batter for the cake that will help to blend all the ingredients properly.
2. Follow Every Step in The Recipe
- Don’t ever forget to miss any single step as it can create a lot of differences.
- Always make sure that you go through the recipe properly and understand every step before you start doing.
3. Set Everything You Will Need Out Before You Start
- Try to have all the tools and ingredients that can make the baking much easier.
- Another benefit of this step is you’ll never forget an ingredient.
4. Position the Oven Racks in the Center of the Oven
This will help you to bake your cake more evenly. It may seem that the heat is distributed evenly, but there are areas where it provides more consistent heat than others.

5. Preheat Your Oven
- Generally, ovens take some time to reach the right temperature but if you put your cakes before it is not properly heated, they will not cook right.
- On an average, it takes 20 minutes to reach 350° i.e. the standard temperature at which cakes are baked. If you put the cake in the oven before it preheats properly that means you’ll baking your cake for the first 20 minutes at a lower temperature.
6. Choose the Right Pan
- Just like the batter, a pan is also very important part to bake a cake successfully. All you need to do is, choose the right pan for baking.
- You can use any non-stick pan for baking a cake. However, if you spend bucks on a high-quality non-stick bakeware can help you bake it in a better way. Having a higher-quality, non-stick or silicone is not only helpful for easier release but also bakes your cake evenly.
7. Double the Non-Stick Surface
If you are using a non-stick pan, there are still some possibilities that the cake will stick in a few spots. So, if you don’t want this thing to happen, try these techniques.
- Traditional Butter and Dusting: Try to use softened butter on the bottom and sides of the pan you are using, you can also use non-stick cooking spray. If you want to butter your pan more evenly, just take a paper towel or stick of butter and use a pastry brush to do the same.
- Dust the Buttered Pan: Generally, only flour is used for this step. But, we would recommend using all the dry ingredients you are going to use in your cake to dust the pan.
- Parchment Paper Liners: Here, what you need to do is trace around your pan on a roll of parchment paper and then cut within the lines to make liner of perfect size for the bottom of your pan. You’ll have to dust and butter the sides of the pan.
- Non-Stick Baking Mats: These are nothing but some specially designed silicone mats to be used instead of parchment paper liners for baking. With these mats, there is no need of greasing and are ready with an already prepared area like cookies, pie crusts and more.

8. Scoop Dry Ingredients
- Always remember that instead of scooping out the dry ingredients directly with the measuring cup, you should first scoop it out with the spoon and the collect that into the measuring cup. This is done so that you get exactly the right amount of every ingredient in your recipe.
- After this, you can use the flat side of the butter knife to throw back the extra ingredients into the container.
- You must have seen sometimes when you mix flour into the batter, some clumps start forming in an area. So, instead of directly dumping the flour in the mix, you should use a sifter so that the flour can be spread evenly.
9. Fill Cake Pans only 2/3 Full
We always want more than enough, right? And that is the reason we usually fill the cake pan to the top before we put it into the oven. Try to fill the pan only 2/3 full so that when the batter expands and rise, it doesn't overflow over the edge of the pan.
10. Separate and Rotate the Pans in the Oven
- Keep your pans in such a way that they are close to the center of the oven as possible. If you are using two pans at a time, make sure that they do not touch each other or oven walls.
- Rotate the pans during baking for even cooking. Always wait until the cake has set because it will stop your cake from collapsing.
- Keep in mind that when you open the door of the oven it lowers the temperature so also add this time to the cake's total bake time.

11. Use The Toothpick Test
- This is the one such step to know if your cake is ready.
- What you need to do is, insert a toothpick into the middle of your cake and if it comes out clean that means your cake is ready.
12. Let it Cool
- After your cake is prepared, leave the pan on the rack for about 5 to 10 minutes.
- Then, invert the pan and allow it to release onto the cooling rack upside down. Why upside down, because this flattens the top out so you can easily stack, frost and decorate.

 Photo by
  Photo by
  Photo by
  Photo by

 people sitting on chair in front of computer


 all stars lol GIF by Lifetime
 two women talking while looking at laptop computerPhoto by
  shallow focus photography of two boys doing wacky facesPhoto by
  happy birthday balloons with happy birthday textPhoto by
  itty-bitty living space." | The Genie shows Aladdin how… | Flickr
 shallow focus photography of dog and catPhoto by
  yellow Volkswagen van on roadPhoto by
  orange i have a crush on you neon light signagePhoto by
  5 Tattoos Artist That Will Make You Want A Tattoo
 woman biting pencil while sitting on chair in front of computer during daytimePhoto by
  a scrabbled wooden block spelling the word prizePhoto by
 StableDiffusion
 StableDiffusion
 StableDiffusion

 women sitting on rock near body of waterPhoto by


