

A new challenge sweeping the internet is called the Vogue Challenge. The Vogue Challenge originally got its' start on Tik Tok when individuals posted videos featuring their newly edited covers. Now this challenge has close to a 100 million views across the app. The way the Vogue Challenge works is you edit your photos to resemble a Vogue cover. While this might sound complex, the challenge isn't as hard as it sounds. Today, I will be breaking down the steps involved in this challenge. Hopefully, it inspires you to create your own Vogue cover!
1. Get inspiration from previous Vogue covers
A great way to start this challenge is by getting inspired by looking at previous Vogue covers. Each cover is unique so there are really no rules behind what yours should look like; this will just give you a few ideas. You can also look at other peoples' Vogue Challenges for even more ideas.
2. Take or select the photos you want to use
The next step for this challenge is either taking or selecting the photos you want to use. While you might feel inspired to take new photos for this challenge you certainly don't have to. This is a great way to add a unique edit on a photo you have already taken.
3. Select your Vogue logo
Once you've selected your photos, you need to select the logo design you want to use. The Vogue logo is typically the same but they will change the color depending on the cover. So figure out what color you want your logo to be and save it. Depending on how much time you want to spend editing, it might be easier if you select one with a transparent background.
4. Edit your photos
The next step is editing your photos. Before you add the logo, you are going to want to edit your photos first. During this part, you'll adjust your lighting or edit out anything you don't want in the photo. Once that is done, you are going to use an app like Photoshop (I like to use Photoshop Mix on my phone) or PicsArt to add the logo. It doesn't matter what app you use as long as it lets you layer pictures. Begin adding the logo by placing it on top of your image. Make sure you have it the way you want it to look and then start to edit out the background of the logo. Depending on the app you use this will look different. If you are unsure how to do it on the app you found, see if the app offers a tutorial or if you can find one online.
5. Save and share your photos
Now that you added in the logo, the hard part is done. It's just time to save and share your hard work.

 women in street dancing
Photo by
women in street dancing
Photo by  man and woman standing in front of louver door
Photo by
man and woman standing in front of louver door
Photo by  man in black t-shirt holding coca cola bottle
Photo by
man in black t-shirt holding coca cola bottle
Photo by  red and white coca cola signage
Photo by
red and white coca cola signage
Photo by  man holding luggage photo
Photo by
man holding luggage photo
Photo by  topless boy in blue denim jeans riding red bicycle during daytime
Photo by
topless boy in blue denim jeans riding red bicycle during daytime
Photo by  trust spelled with wooden letter blocks on a table
Photo by
trust spelled with wooden letter blocks on a table
Photo by  Everyone is Welcome signage
Photo by
Everyone is Welcome signage
Photo by  man with cap and background with red and pink wall l
Photo by
man with cap and background with red and pink wall l
Photo by  difficult roads lead to beautiful destinations desk decor
Photo by
difficult roads lead to beautiful destinations desk decor
Photo by  photography of woman pointing her finger near an man
Photo by
photography of woman pointing her finger near an man
Photo by  closeup photography of woman smiling
Photo by
closeup photography of woman smiling
Photo by  a man doing a trick on a skateboard
Photo by
a man doing a trick on a skateboard
Photo by  two men
  running man on bridge
Photo by
running man on bridge
Photo by  orange white and black bag
Photo by
orange white and black bag
Photo by  girl sitting on gray rocks
Photo by
girl sitting on gray rocks
Photo by  assorted-color painted wall with painting materials
Photo by
assorted-color painted wall with painting materials
Photo by  three women sitting on brown wooden bench
Photo by
three women sitting on brown wooden bench
Photo by 
 Photo by
  Photo by
 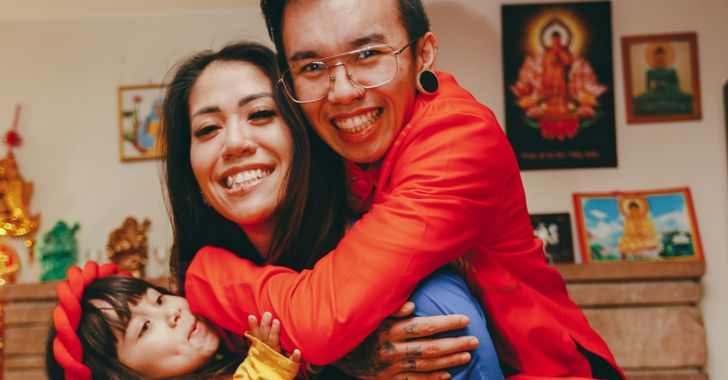 Photo by
 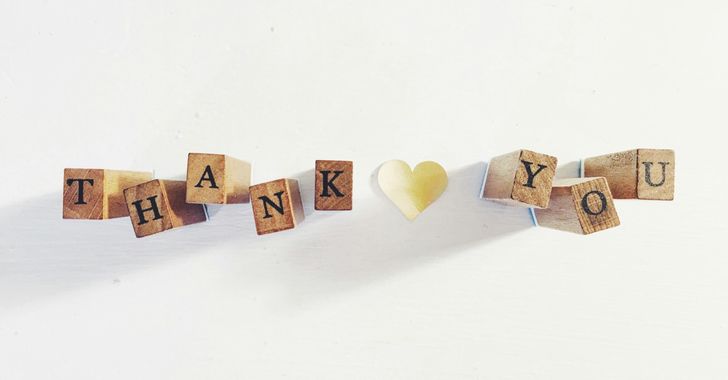 Photo by

 people sitting on chair in front of computer
 all stars lol GIF by Lifetime
 two women talking while looking at laptop computerPhoto by
  shallow focus photography of two boys doing wacky facesPhoto by
  happy birthday balloons with happy birthday textPhoto by
  itty-bitty living space." | The Genie shows Aladdin how… | Flickr
 shallow focus photography of dog and catPhoto by
  yellow Volkswagen van on roadPhoto by
  orange i have a crush on you neon light signagePhoto by
  5 Tattoos Artist That Will Make You Want A Tattoo
 woman biting pencil while sitting on chair in front of computer during daytimePhoto by
  a scrabbled wooden block spelling the word prizePhoto by
 StableDiffusion
 StableDiffusion
 StableDiffusion


