
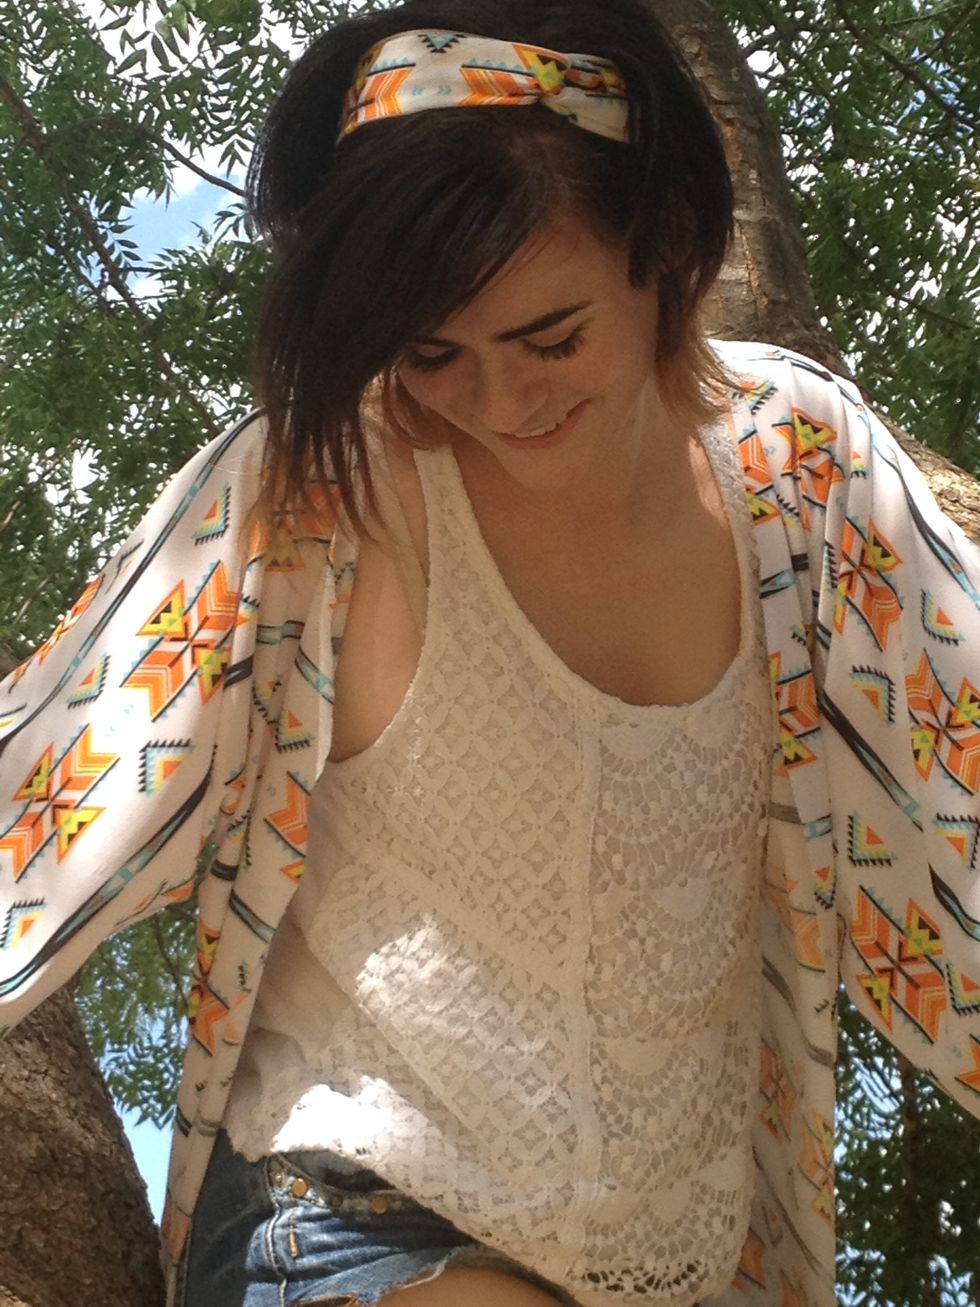
Leftover knit pieces are perfect for making these comfy headbands that keep your hair out of your face while adding some style to your daily wear.
Keep reading to learn how to make these easy accessories!
Difficulty Level: Kindergarteners could handle it.
Cost: Free, just use leftover fabric! If you have to buy some, get an 1/8th of a yard which should only cost you a dollar or two.
Time: 15 minutes.
Got Space?: You could probably do this while laying in bed.
Materials:
-knit fabric
-needle and thread or sewing machine
-scissors
These headbands are going to work best for you if you use a stretchy fabric, but don’t limit yourself to just-bought fabric. You could even use an old t-shirt you don’t wear anymore! Make them a little bit smaller or bigger than the suggested length depending on the size of your head.
1) Cut two rectangles to approximately 22 inches long and six inches across. This will create a wide headband. If you’re like me and your head can’t handle too wide of a headband, go a little smaller. Mine was roughly 4 inches long—I just followed the lines in my pattern.
2) With the pattern right side in, fold your rectangles “hot-dog style” and sew along the outer edge, leaving the ends unfinished. Scrunch the tube up and flip it right side out.
3) Cross your strips into an X with the seams meeting each other in the middle. Then, fold over the bottom one so that the two ends are together, do the same with the top so that you have one long line.
4) Take all four ends together and sew, I went over mine about three times to ensure durability. If you wear your hair up with headbands, take the time to match the edges so that it looks less messy, if you wear your hair down it doesn’t have to be so precise.
It’s as simple as that! Get together with some sisters so you can share fabrics and get lots of headbands!


 people sitting on chair in front of computer

 all stars lol GIF by Lifetime
 two women talking while looking at laptop computerPhoto by
  shallow focus photography of two boys doing wacky facesPhoto by
  happy birthday balloons with happy birthday textPhoto by
  itty-bitty living space." | The Genie shows Aladdin how… | Flickr
 shallow focus photography of dog and catPhoto by
  yellow Volkswagen van on roadPhoto by
  orange i have a crush on you neon light signagePhoto by
  5 Tattoos Artist That Will Make You Want A Tattoo
 woman biting pencil while sitting on chair in front of computer during daytimePhoto by
  a scrabbled wooden block spelling the word prizePhoto by
 StableDiffusion
 StableDiffusion
 StableDiffusion

 women sitting on rock near body of waterPhoto by
 Photo by
  Photo by
  Photo by
  Photo by
  Photo by
  Photo by
  Photo by
  Photo by
  Photo by
  Photo by


